I used to buy the fanciest pots I could find and then panic when they sat empty. Over time I learned that good design doesn’t need high spend—just the right pots in the right place.
These ideas are ones I’ve used, failed with, and fixed. They’re simple, affordable, and realistic.
22 Budget-Friendly Budget Outdoor Flower Pots For Stylish Spaces
These 22 ideas are practical, low-cost ways to dress an outdoor space with pots you can actually live with. I include what to buy and what I learned along the way.
1. Terracotta Trio for a Sunny Corner
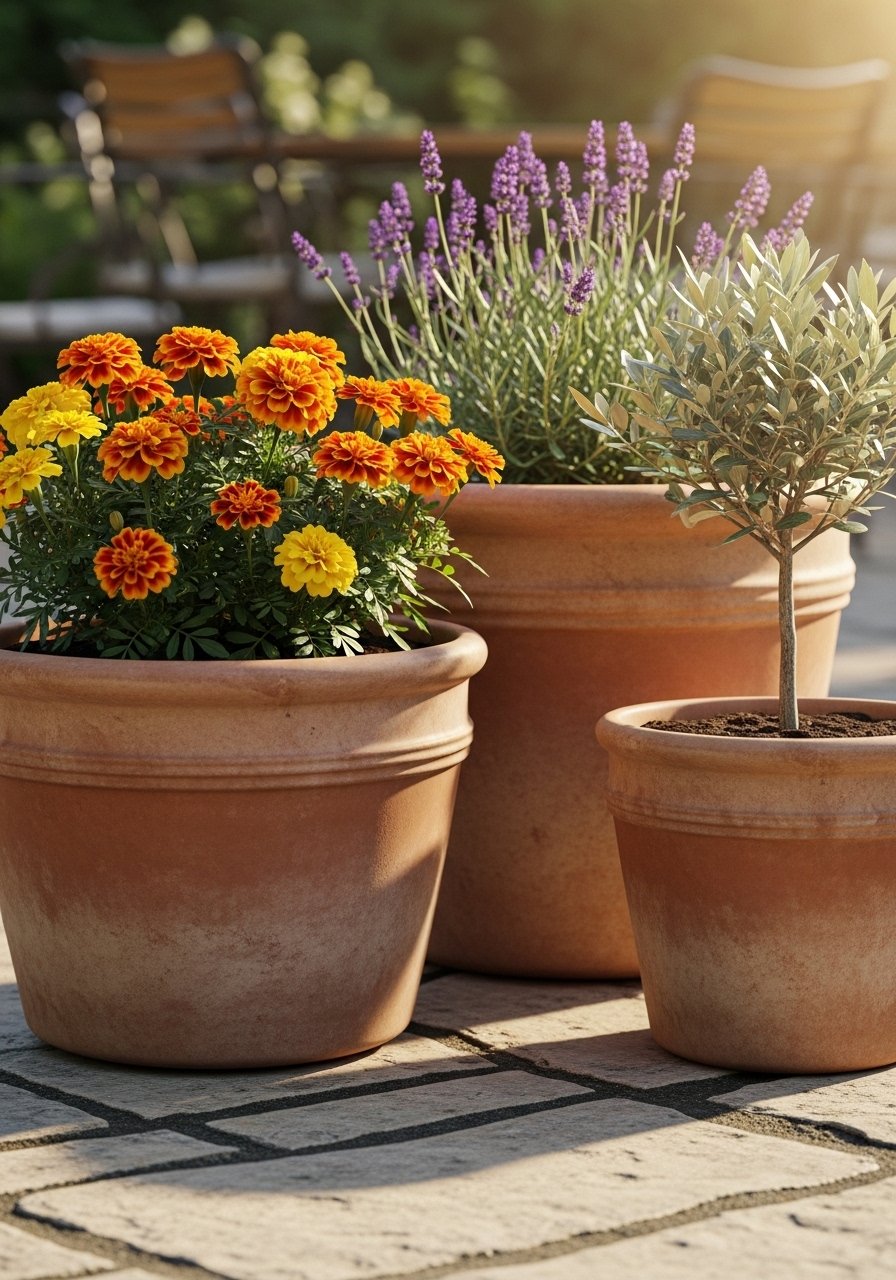
I started with cheap terracotta and it changed a scrappy corner into something calm. The clay breathes. The colors warm up faded brick and worn wood.
I used three heights to give depth. That made the corner feel intentional, not cluttered.
Watch out: terracotta dries fast. I learned that the hard way last summer. Add a saucer and check moisture more often.
What You’ll Need for This Look
2. Painted Dollar-Store Pots With Patterned Trim
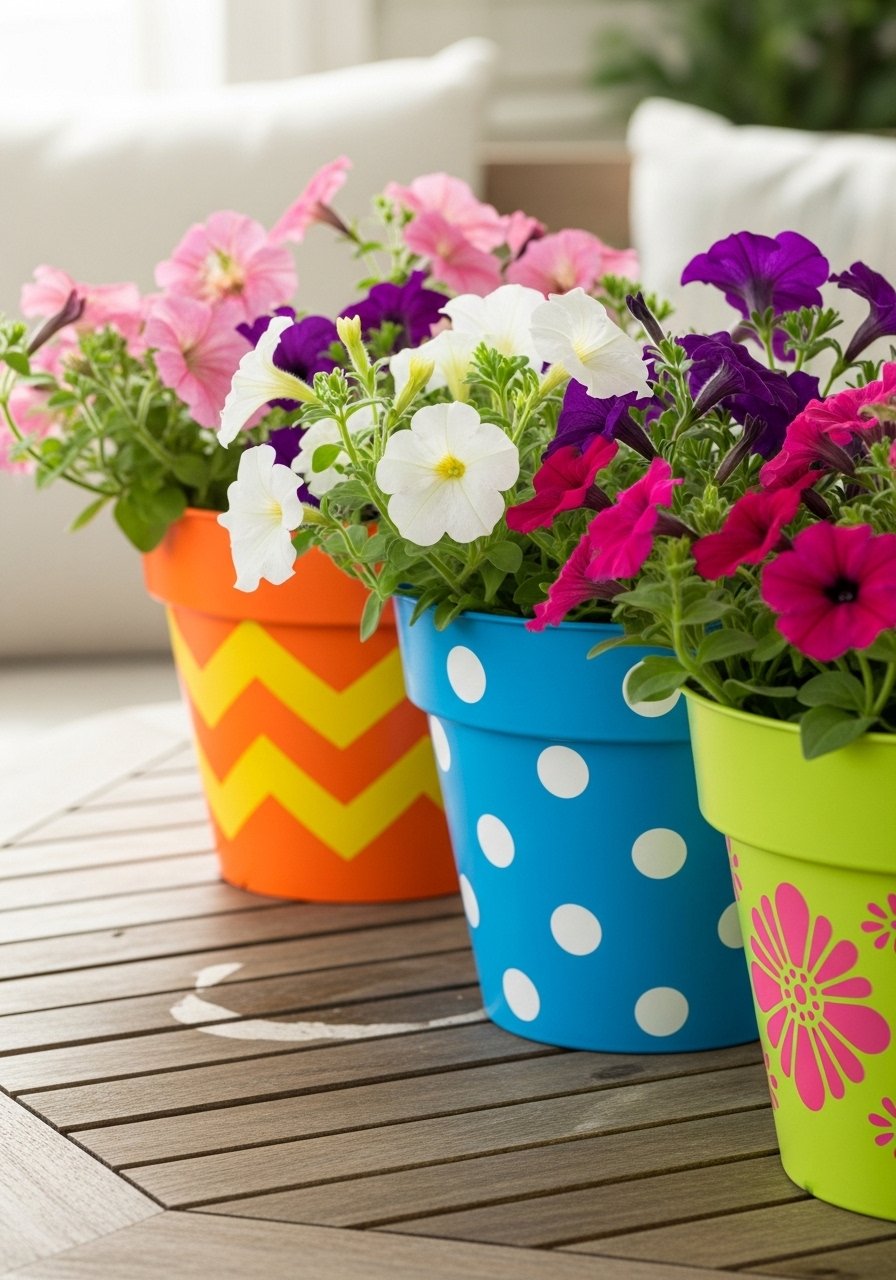
I painted cheap plastic pots to match my cushions. It cost almost nothing and felt like a new investment.
I used spray primer first. That stopped paint from peeling. Then I stenciled a simple pattern on each pot for cohesion.
Use exterior spray paint. The colors last through a season if you seal them. This is perfect if you want color on a budget.
What You’ll Need for This Look
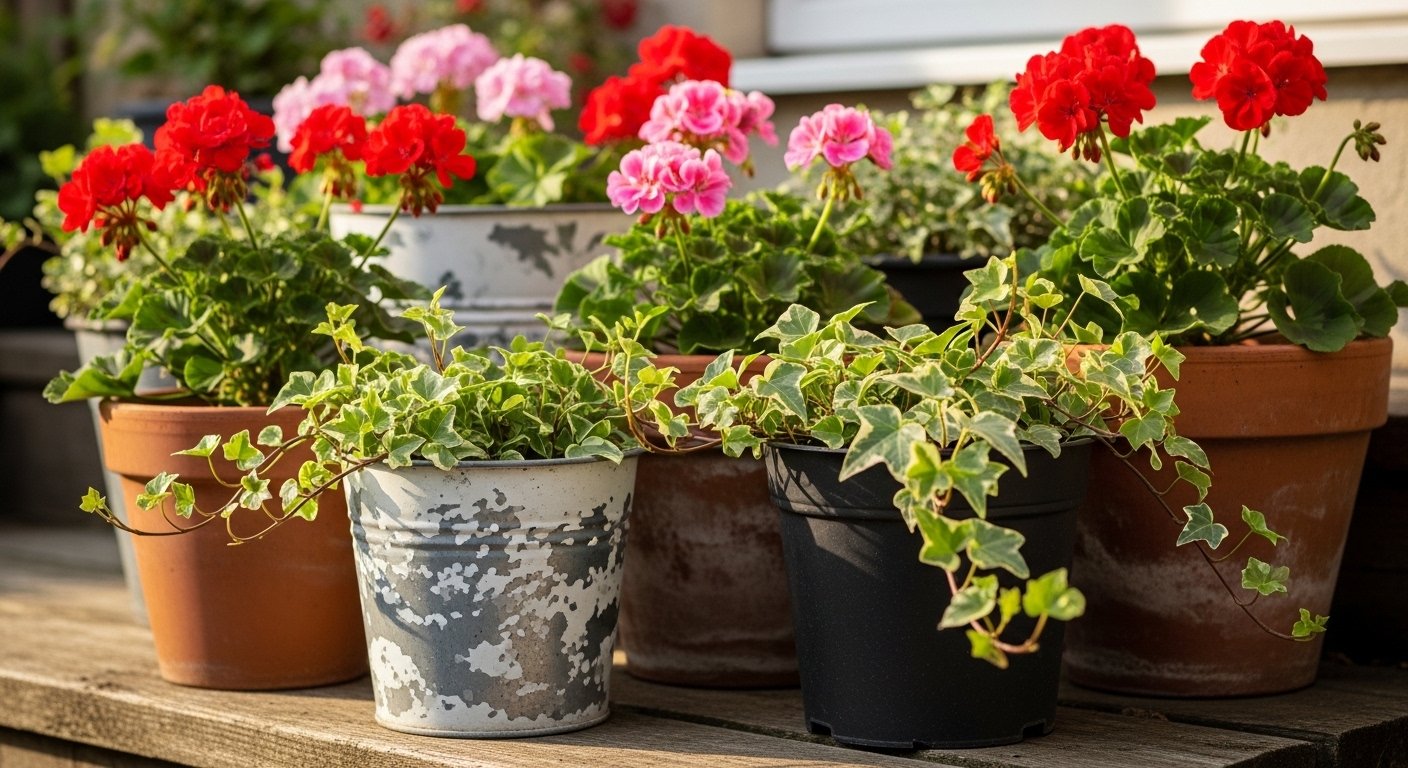
3. Grouped Mismatched Pots That Read Intentional
I inherited a handful of pots with no plan. I grouped them by color and height and it read like design, not accident.
I’d place them close so plants feel connected. That filled the sightline and hid a cracked pot I kept using.
Mistake: I once put thirsty plants in small pots and they suffered. Now I match plant needs to pot volume before styling.
What You’ll Need for This Look
4. Hanging Basket Duo Over the Porch
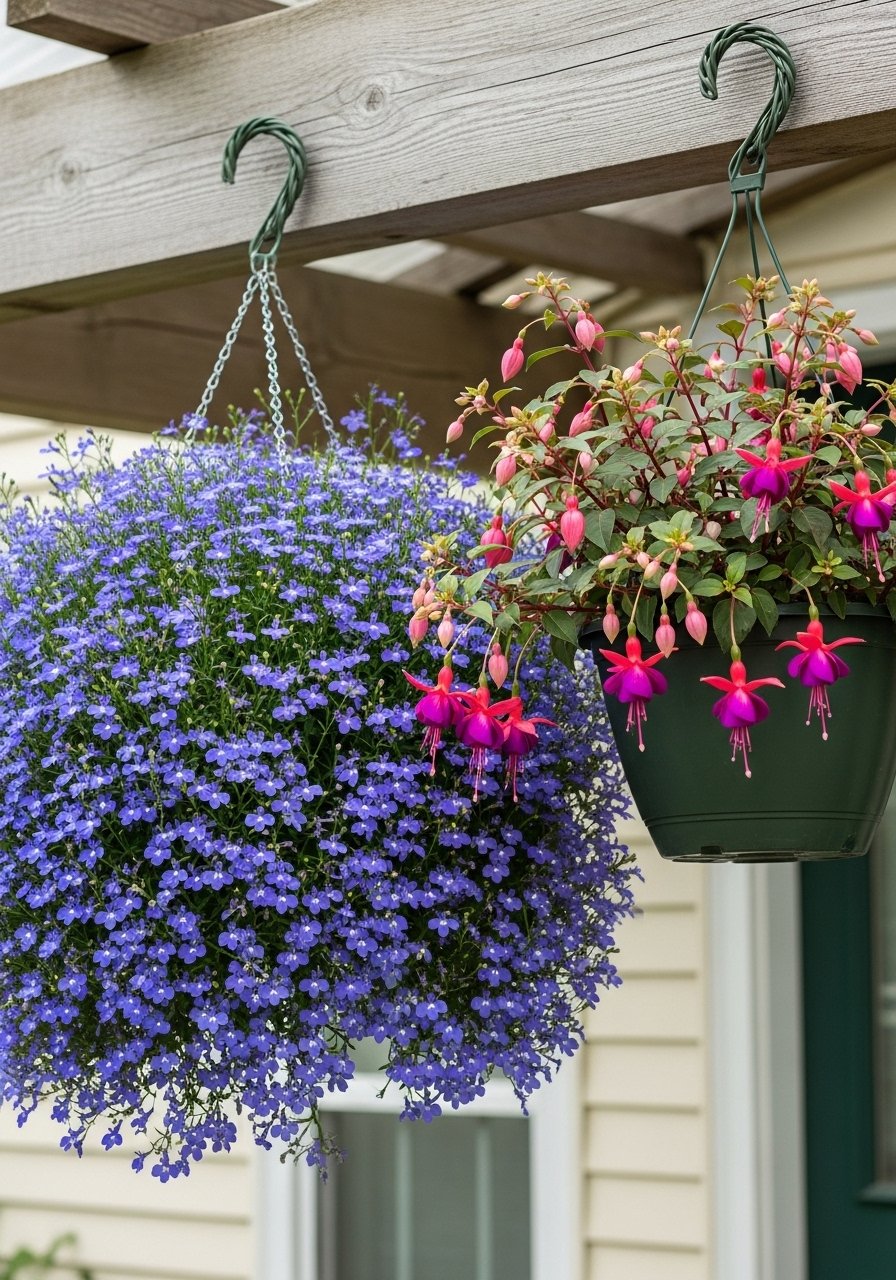
I hung two matching baskets instead of one. Symmetry calmed the entry and drew the eye up.
Trailing plants make the baskets feel generous. I keep them high enough to water without spilling on guests.
Tip: use a lightweight mix for hanging baskets to avoid sagging. They dry faster too, so watch water in hot spells.
What You’ll Need for This Look
5. Window Box That Reads Cottage, Not Busy
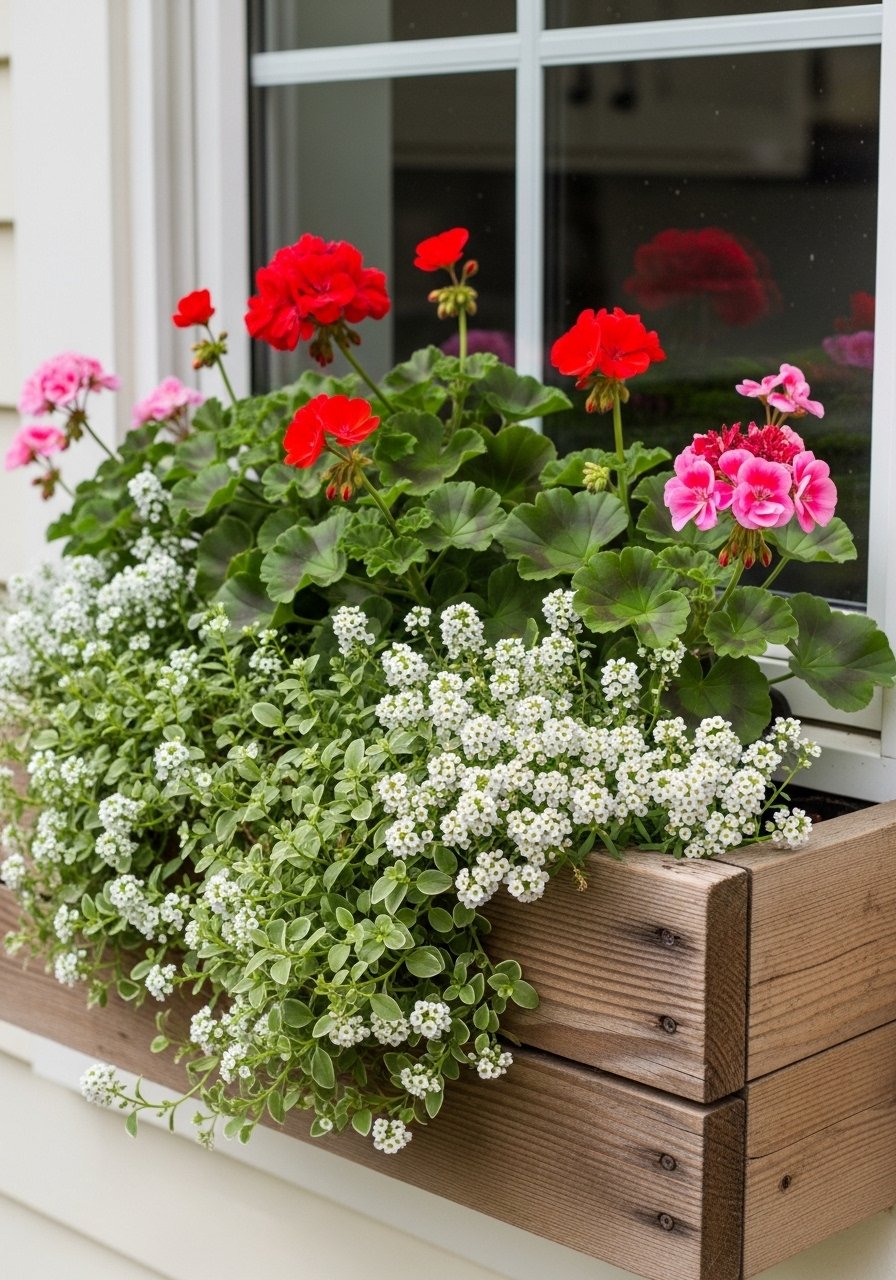
I fitted a long wooden window box under the kitchen window. It made the house feel friendlier without much effort.
I planted a mix of spillers and anchor plants. The spillers soften the edges and the anchors give height.
Note: I lined mine with plastic to protect the wood. That added a season of life before I replaced the box.
What You’ll Need for This Look
6. Vertical Pallet Pot Wall for a Narrow Path
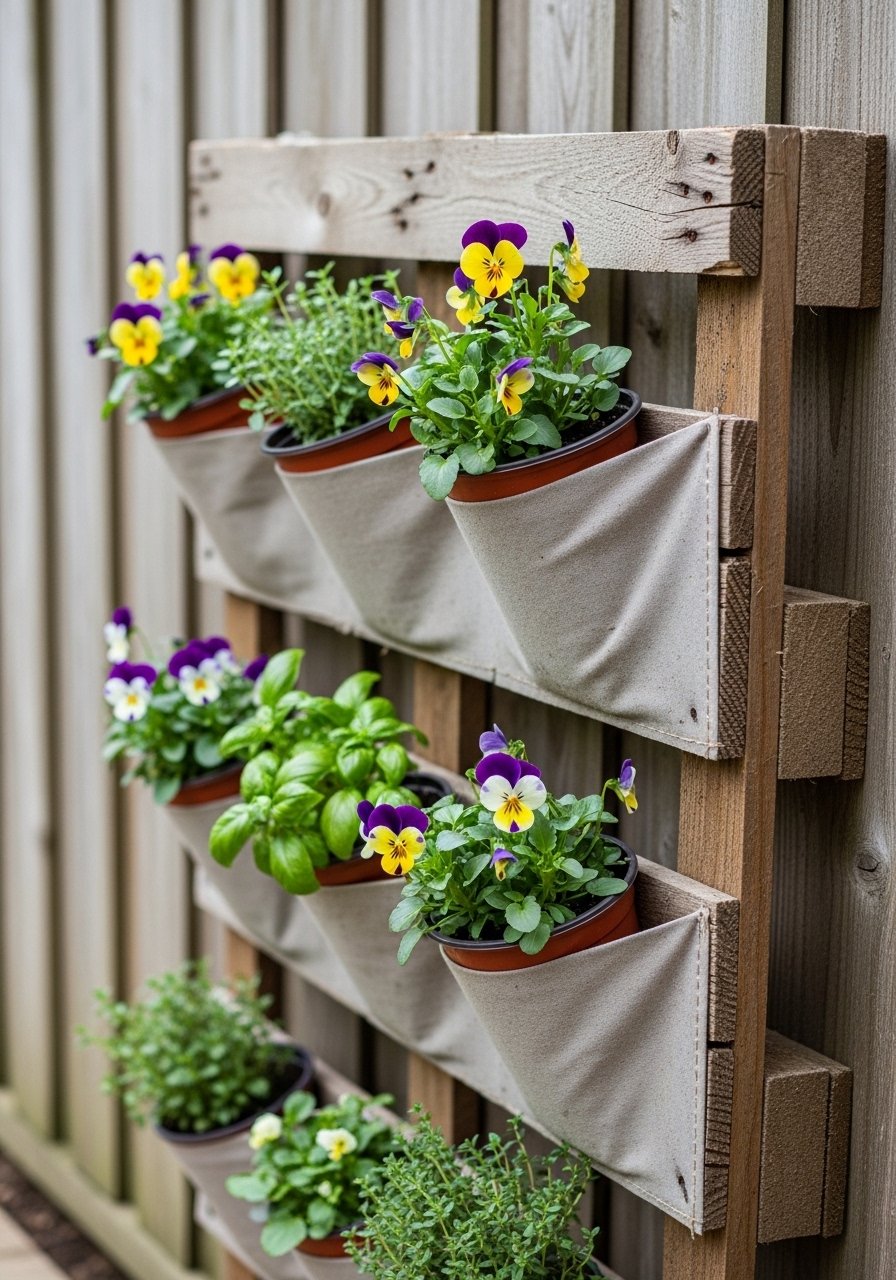
I built a pallet wall for a skinny walkway. It turned wasted vertical space into a blooming screen.
I drilled holes and fit small pots into the slats. It created a layered, living texture that softened the fence.
Keep it light. Heavy pots can pull the pallet. I use small annuals and herbs so the structure stays steady.
What You’ll Need for This Look
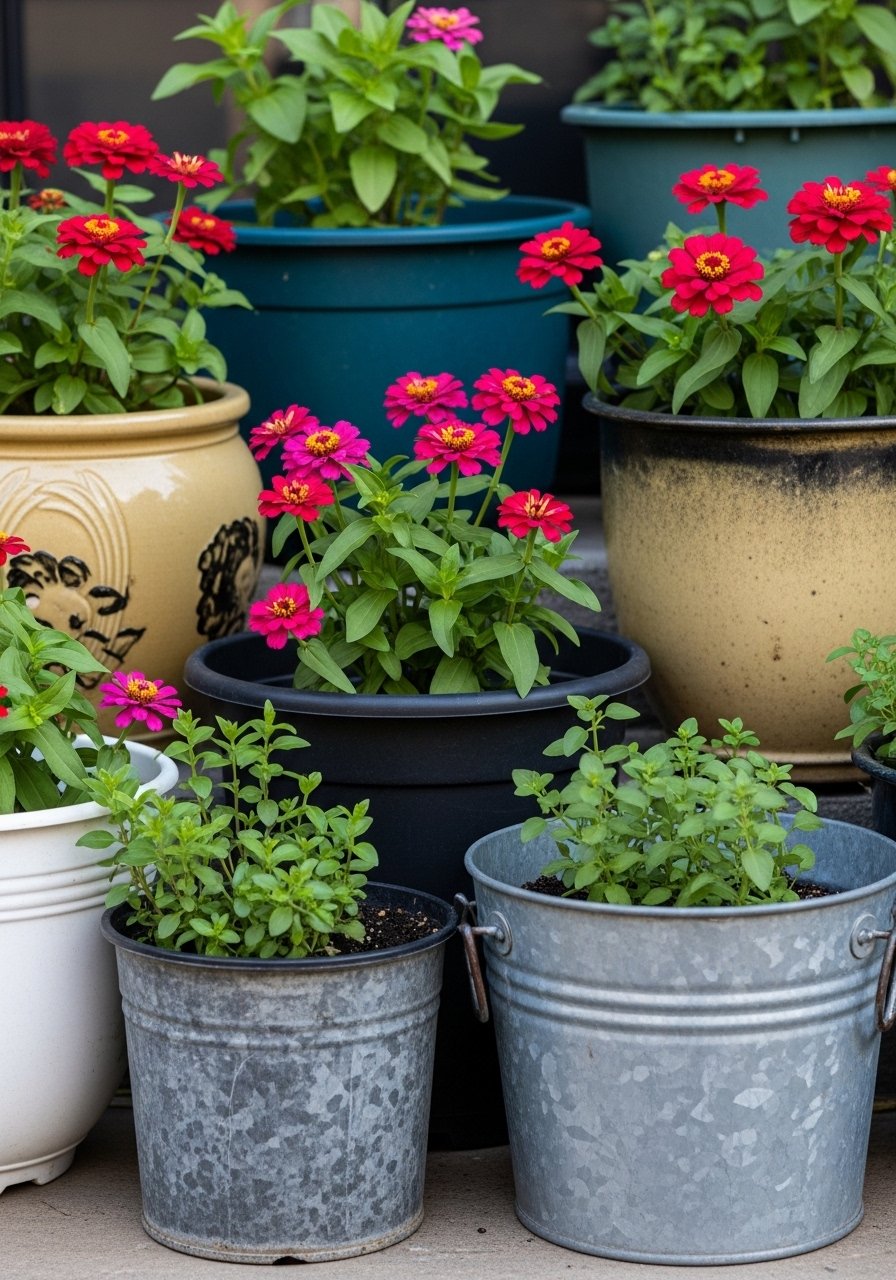
7. Galvanized Buckets as Rustic Statement Pots
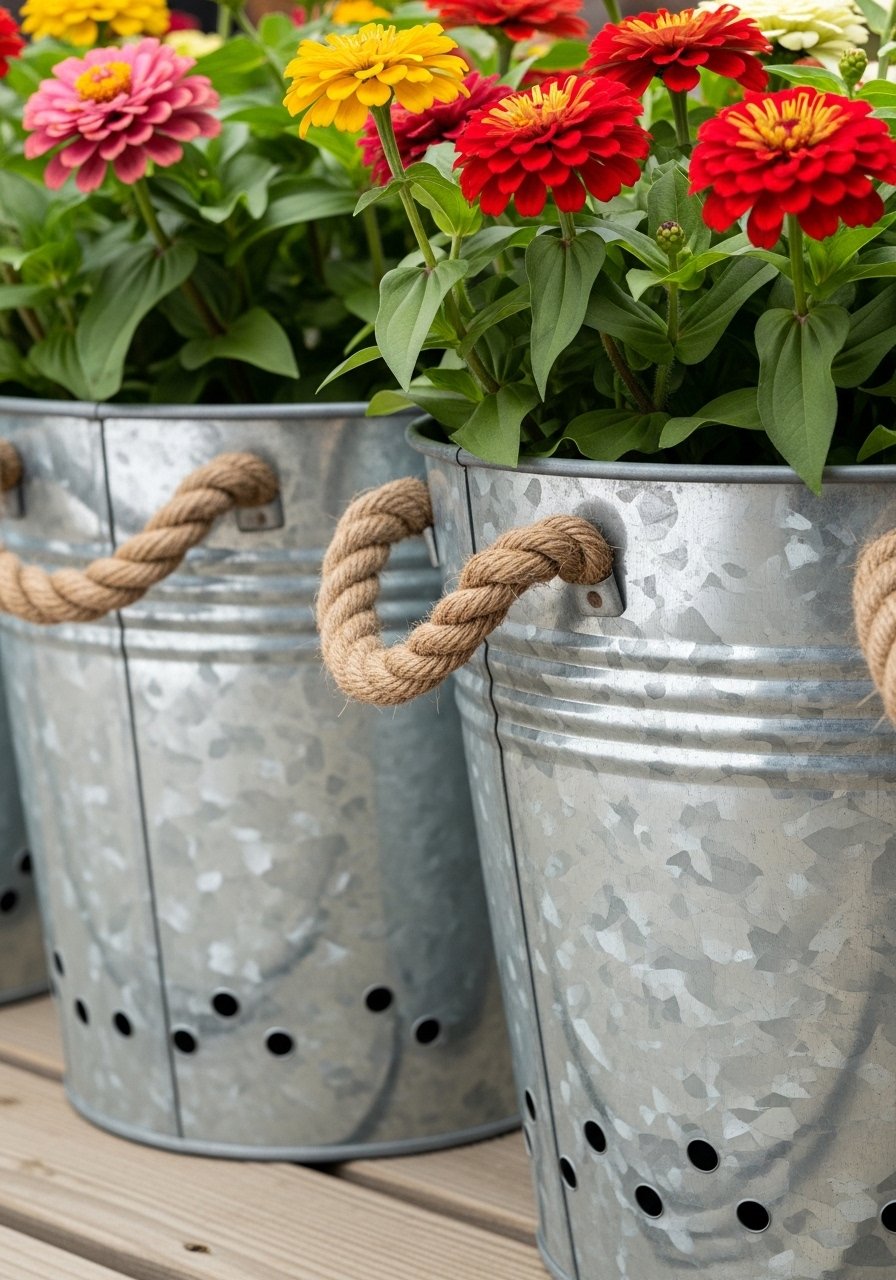
I bought cheap galvanized buckets and drilled drainage holes. They felt bold and rustic on my deck.
I used buckets of different sizes. The metal catches light and anchors a seating area.
Mistake: I left one without drainage and lost a plant. Now I always drill at least three holes and add a layer of gravel first.
What You’ll Need for This Look
8. Whiskey Barrel Half for a Low-Maintenance Focal Point
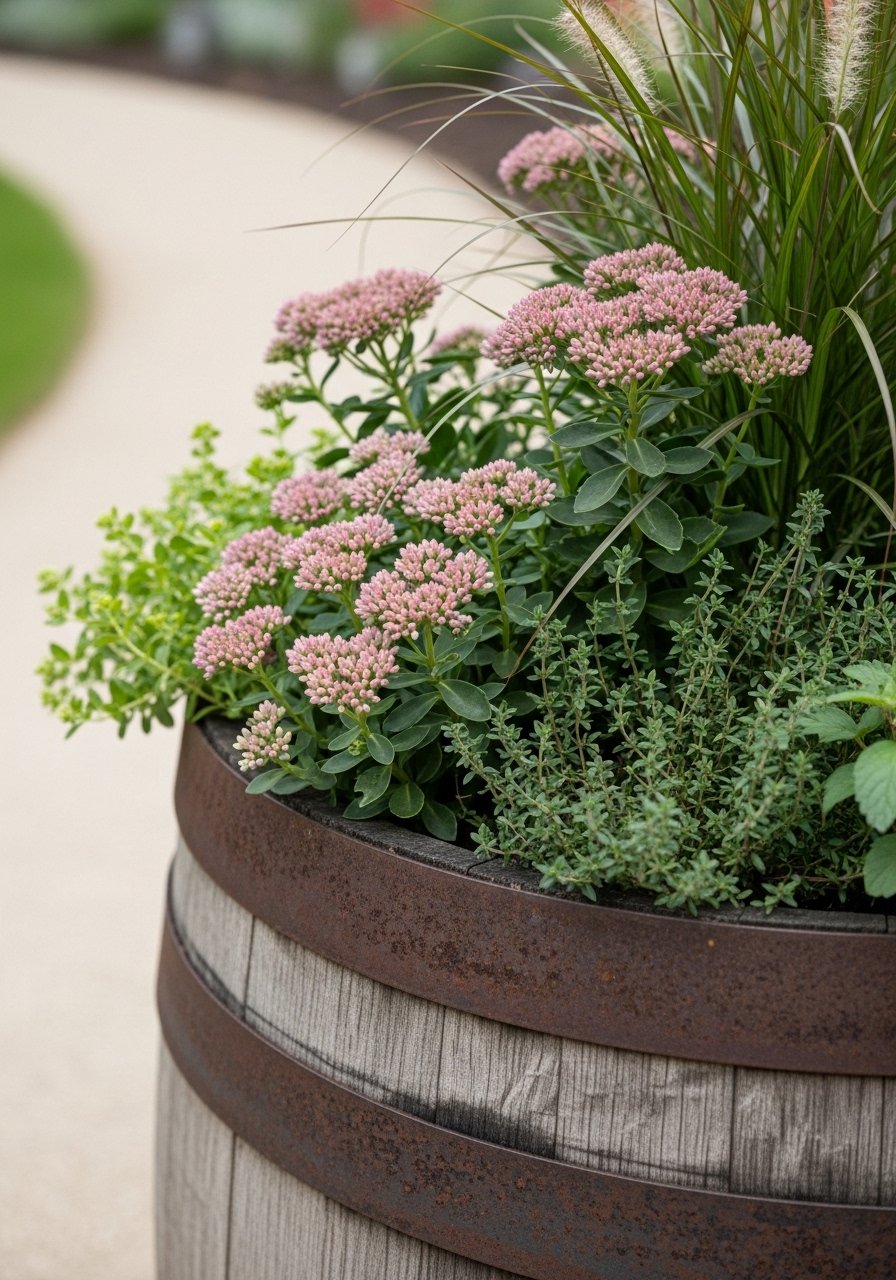
A barrel half gave me instant scale. It feels planted-in, even when contained.
I used coarse soil and drought-tolerant plants. It needed little fuss. It also handles root space well for shrubs.
Tip: line the inside with landscape fabric. It holds soil but lets water escape, and the barrel lasts longer.
What You’ll Need for This Look
9. Concrete DIY Planters with a Modern Edge
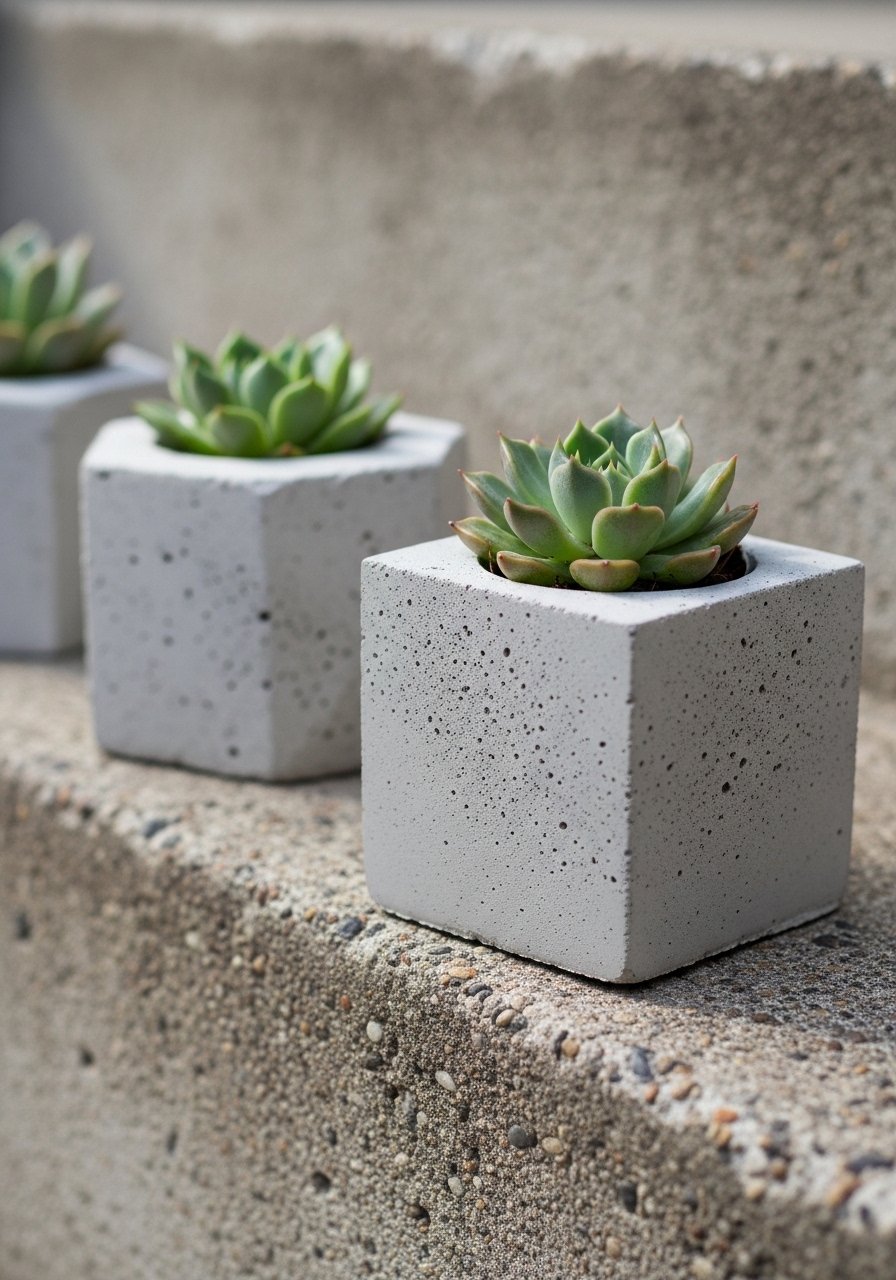
I mixed a small batch of concrete and used molds. The result felt heavy and modern without spending much.
I liked how the gray played with greens. The weight keeps them from tipping in wind.
Concrete can be rough on roots. I added a layer of potting mix in the center and monitored watering more closely for fragile plants.
What You’ll Need for This Look
10. Self-Watering Containers for Busy Summers

I started using self-watering pots when I was away a lot. They keep moisture steady and rescued a summer of tomatoes.
They’re not magic, but they cut down daily watering. I also noticed fewer brown edges on leaves.
Tip: refill water in the morning. Also flush the reservoir occasionally to avoid buildup.
What You’ll Need for This Look
11. Strawberry Troughs for Sweet, Low-Key Color
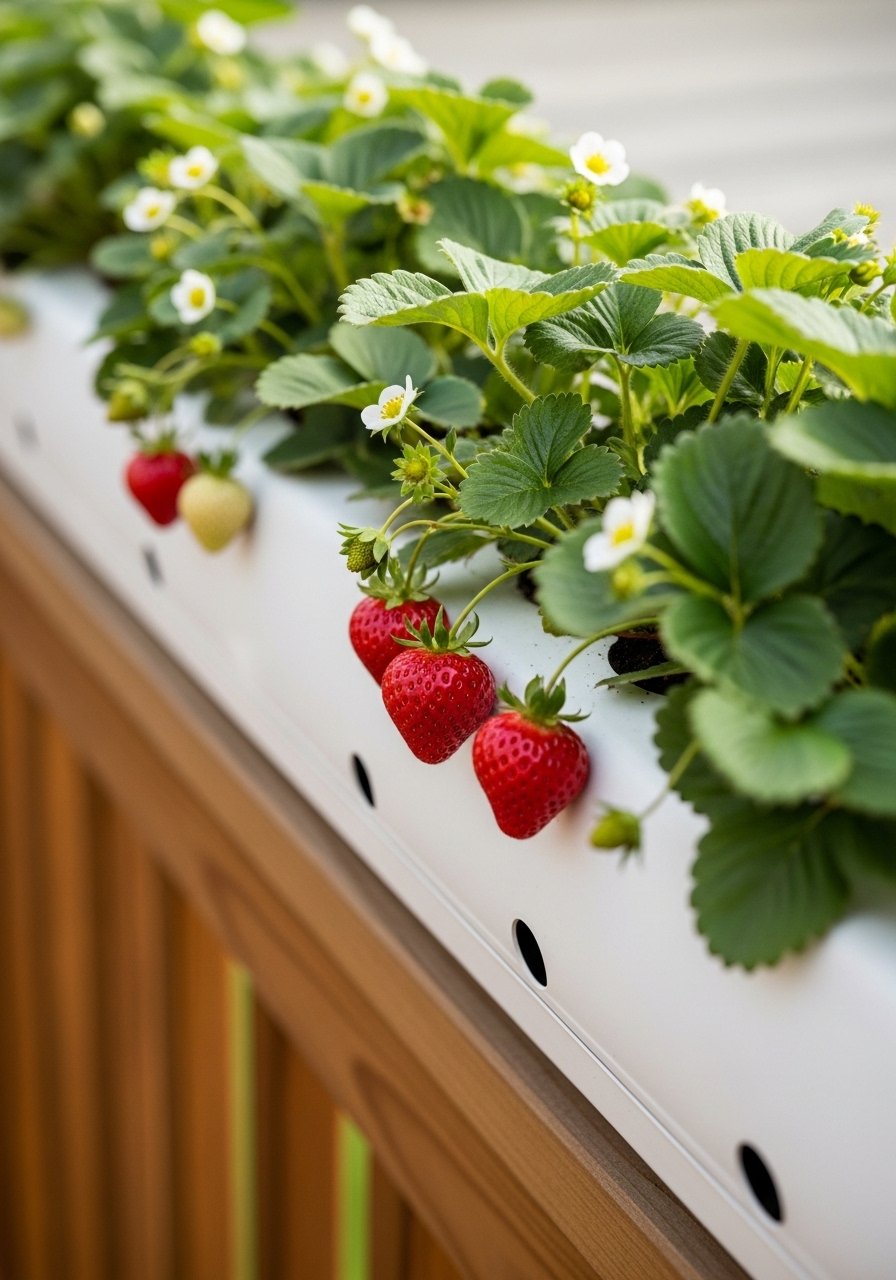
I planted a shallow trough with strawberries and a few trailing flowers. It kept the plants accessible and tidy.
It’s practical and pretty on a deck railing. You get flowers and fruit in the same pot.
Keep the soil fresh. I replace half the mix each year. Strawberries like regular feeding and neat drainage.
What You’ll Need for This Look
- Strawberry trough planter
- Strawberry plants (varieties for containers)
- Container fertilizer for fruiting plants
12. Succulent Rock Garden Pots with a Mediterranean Vibe

I created small rock garden pots to survive hot, dry spots. Succulents love shallow, gritty pots.
I used varied textures: stones, sand, and low soil. That made a miniature landscape that needed almost no care.
Mistake: I once used heavy soil and lost plants to rot. Now I mix grit and cactus mix for drainage.
What You’ll Need for This Look
13. Herb Pot Cluster for the Kitchen Door
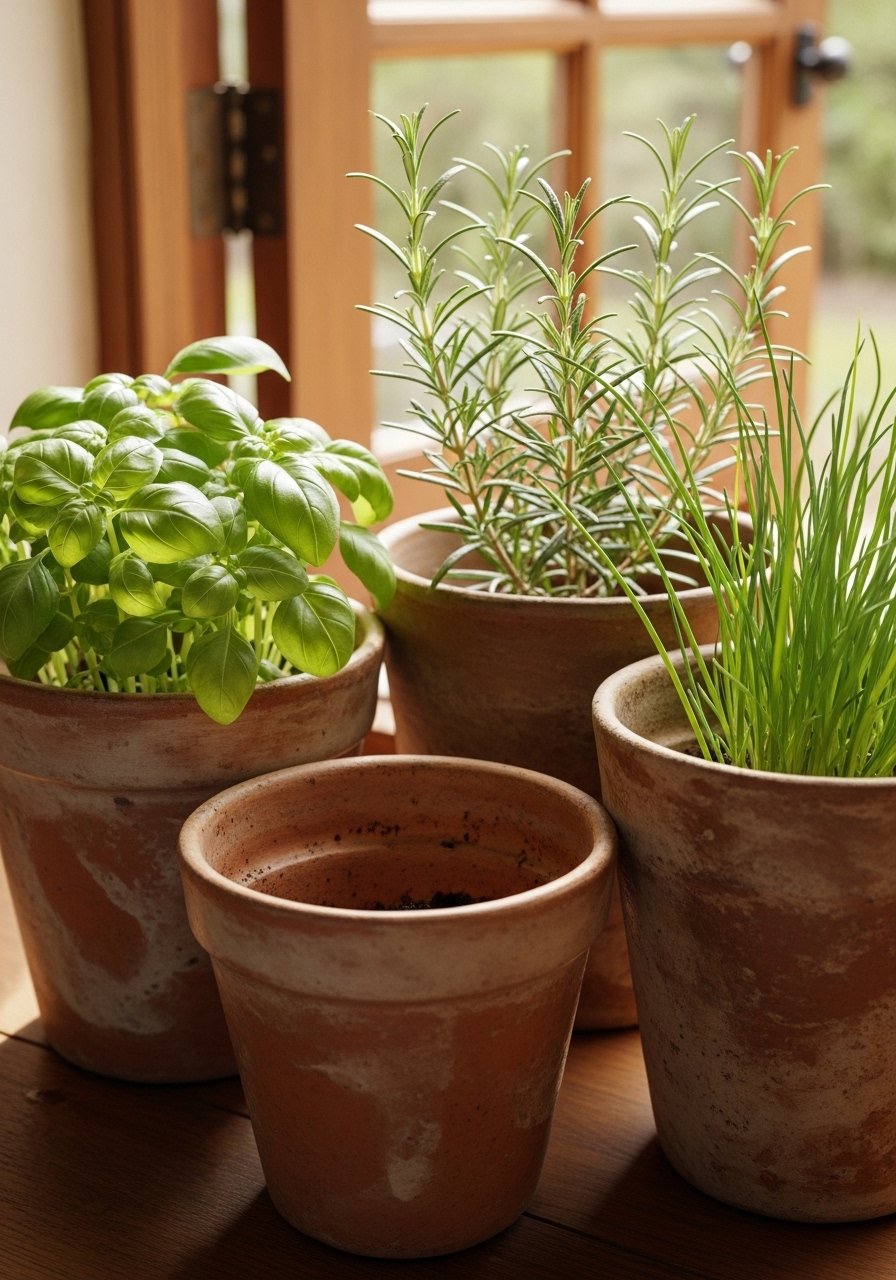
I grouped herbs in matching pots beside the kitchen door. It makes cooking feel connected to the garden.
I keep thyme and rosemary in larger pots and basil in a medium pot. That keeps the herbs healthy and easy to harvest.
Tip: trim regularly. They look better and produce more. I learned pruning beats passivity every season.
What You’ll Need for This Look
14. Bulb Bowls for Early Spring Interest
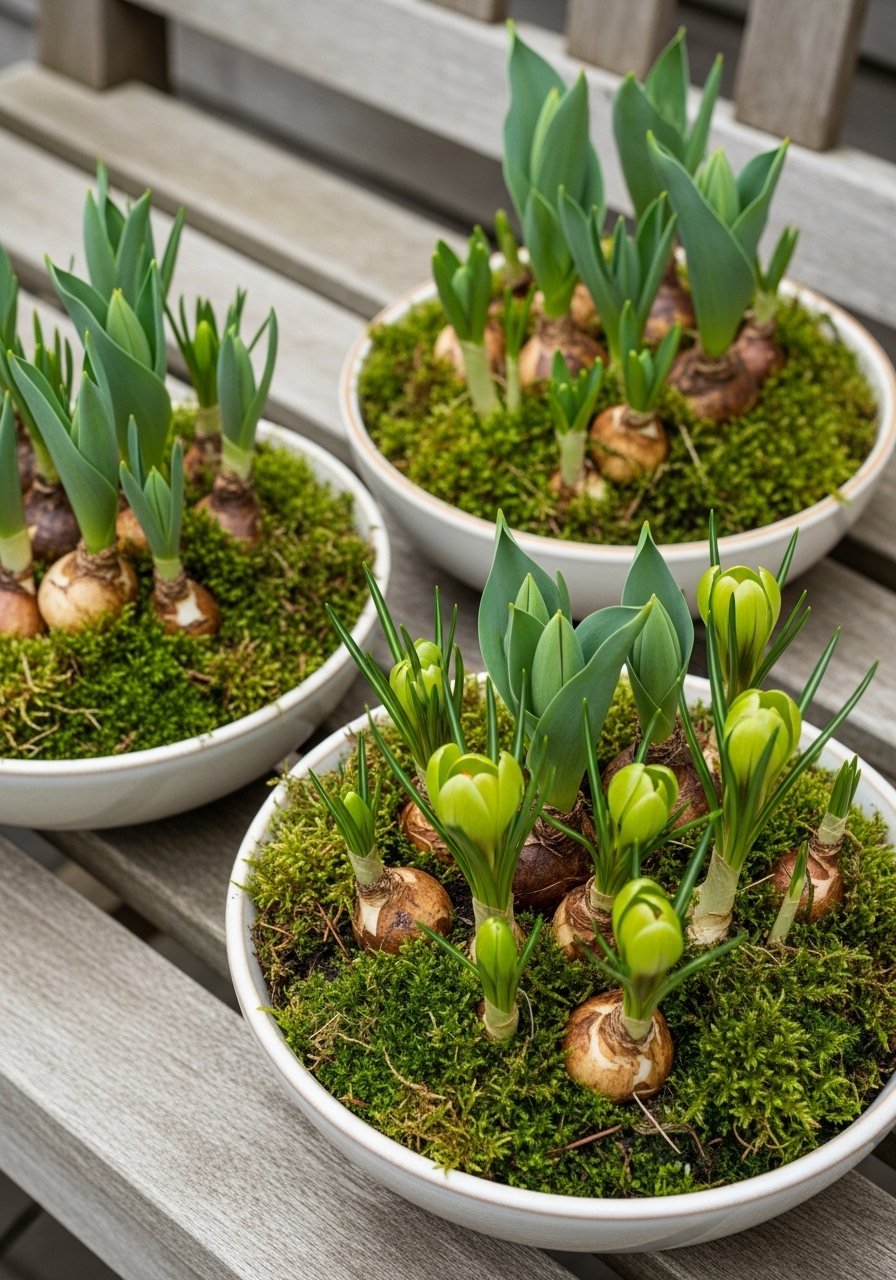
I plant bulbs in shallow bowls for early spring color on the patio. It’s a small project with big payoff.
I pack bulbs close and cover them with moss. They push up through the gaps and give a dense, cottage look.
Store the bowls in a cool spot if you force bulbs. It took me two tries to get timing right for my porch.
What You’ll Need for This Look
15. Rope-Wrapped Pots for a Coastal Touch
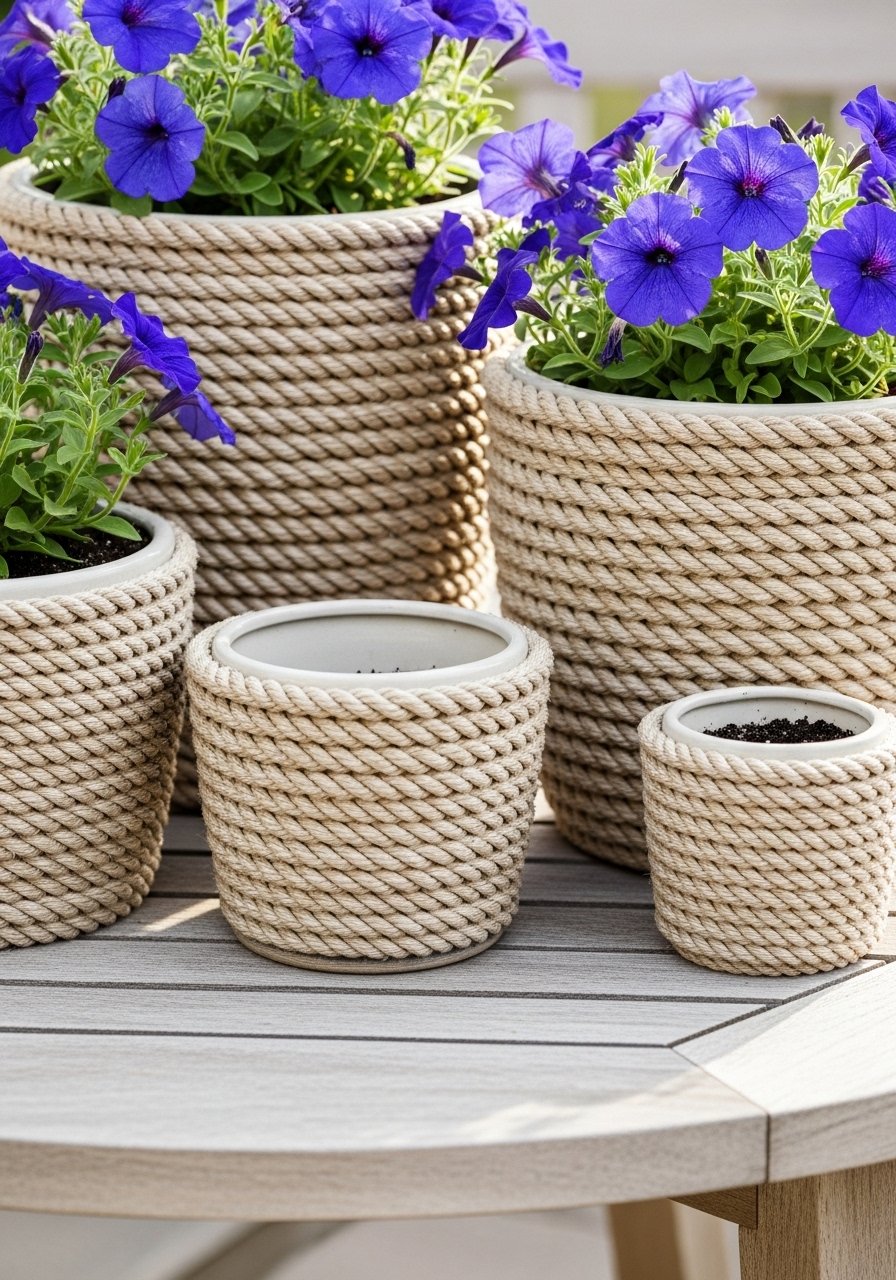
I wrapped a few cheap pots with rope for a coastal feel. The texture softens the look and hides worn edges.
It’s simple to fix with hot glue. The rope weathers nicely, giving a relaxed, lived-in look.
Use synthetic rope for outdoor durability. Natural rope frayed faster in my first attempt.
What You’ll Need for This Look
16. Repurposed Colanders as Airy Hanging Pots
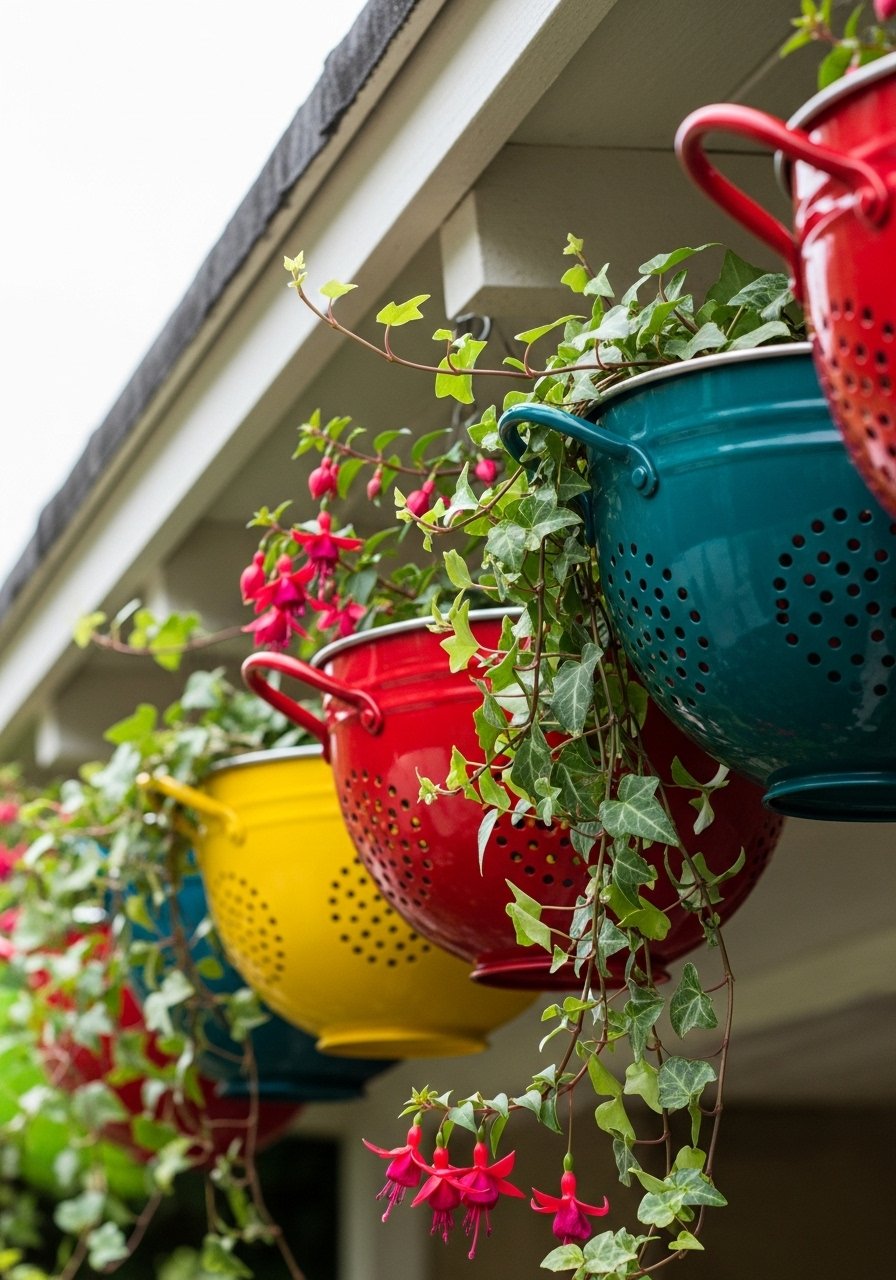
I hung old colanders as airy planters for trailing plants. The holes make drainage perfect and they’re light to hang.
They feel homey and odd in a good way. I painted a couple to match the trim. People comment on them every time.
Make sure you line them with coco coir or a small pot so soil doesn’t escape when watering.
What You’ll Need for This Look
17. Stackable Planters for Vertical Color
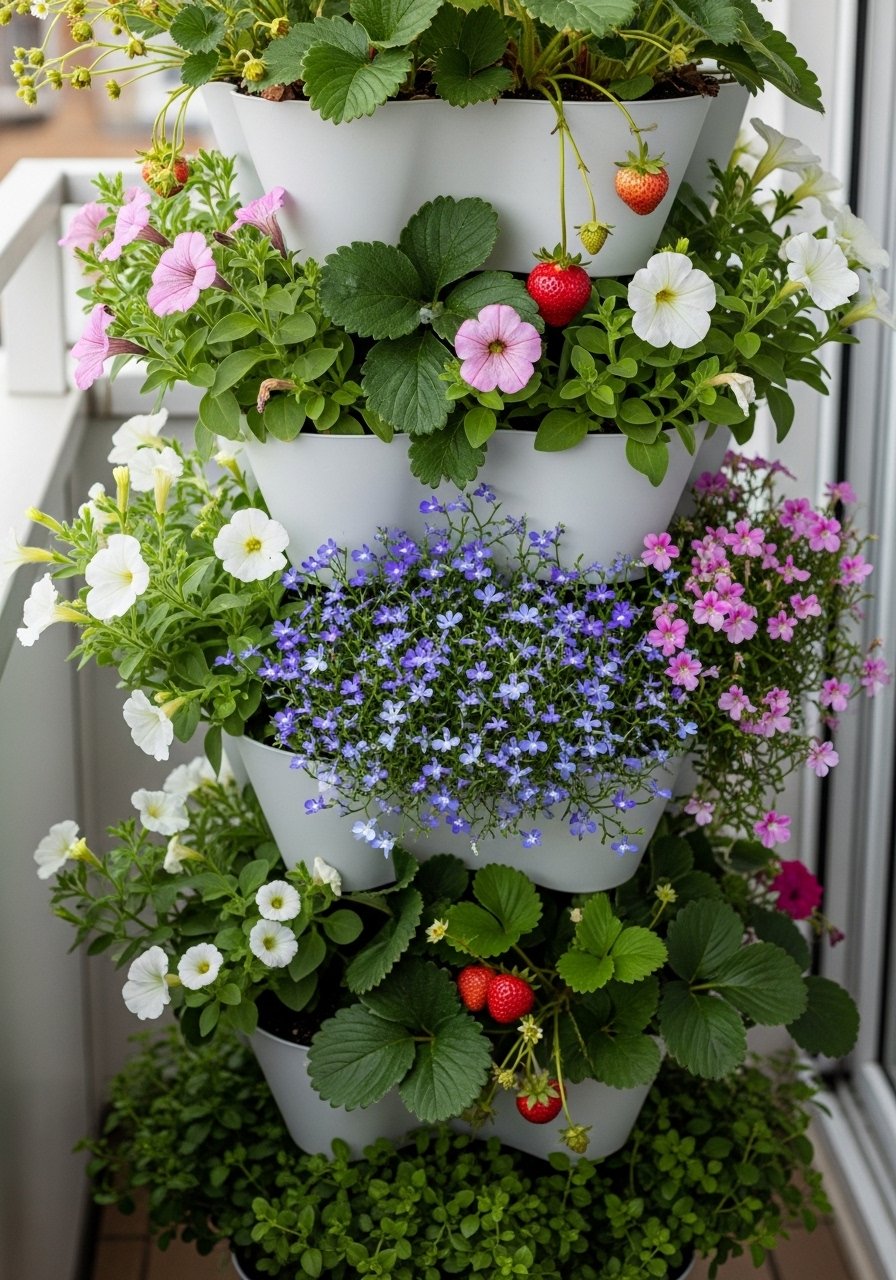
I switched to stackable planters when space ran out. They give vertical color with minimal footprint.
I plant different things in each tier for layered interest. It looks fuller than separate pots and saves steps when watering.
Stability is key. I anchor the stack to a railing. That kept it from rocking in strong wind.
What You’ll Need for This Look
18. Painted Chalkboard Pots for Labels and Charm
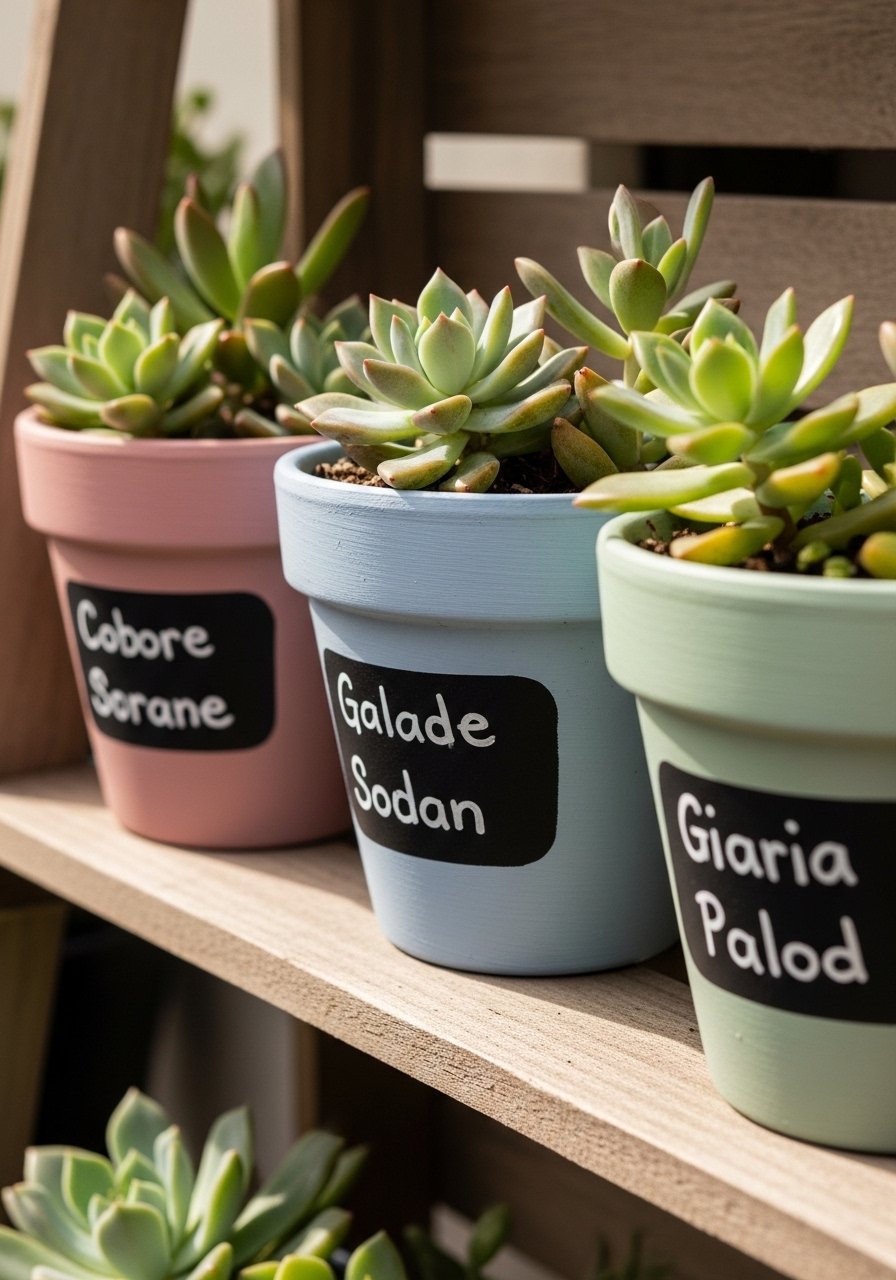
I painted a few pots with chalkboard paint to label herbs and annuals. It’s practical and looks tidy.
I write the plant and watering notes. It helped me remember which pot needed daily care.
Mistake: I used glossy paint first and the chalkboard top didn’t adhere well. After sanding it worked fine. Sanding matters.
What You’ll Need for This Look
19. Painted Rope-Coated Cement Pots for Weight and Warmth
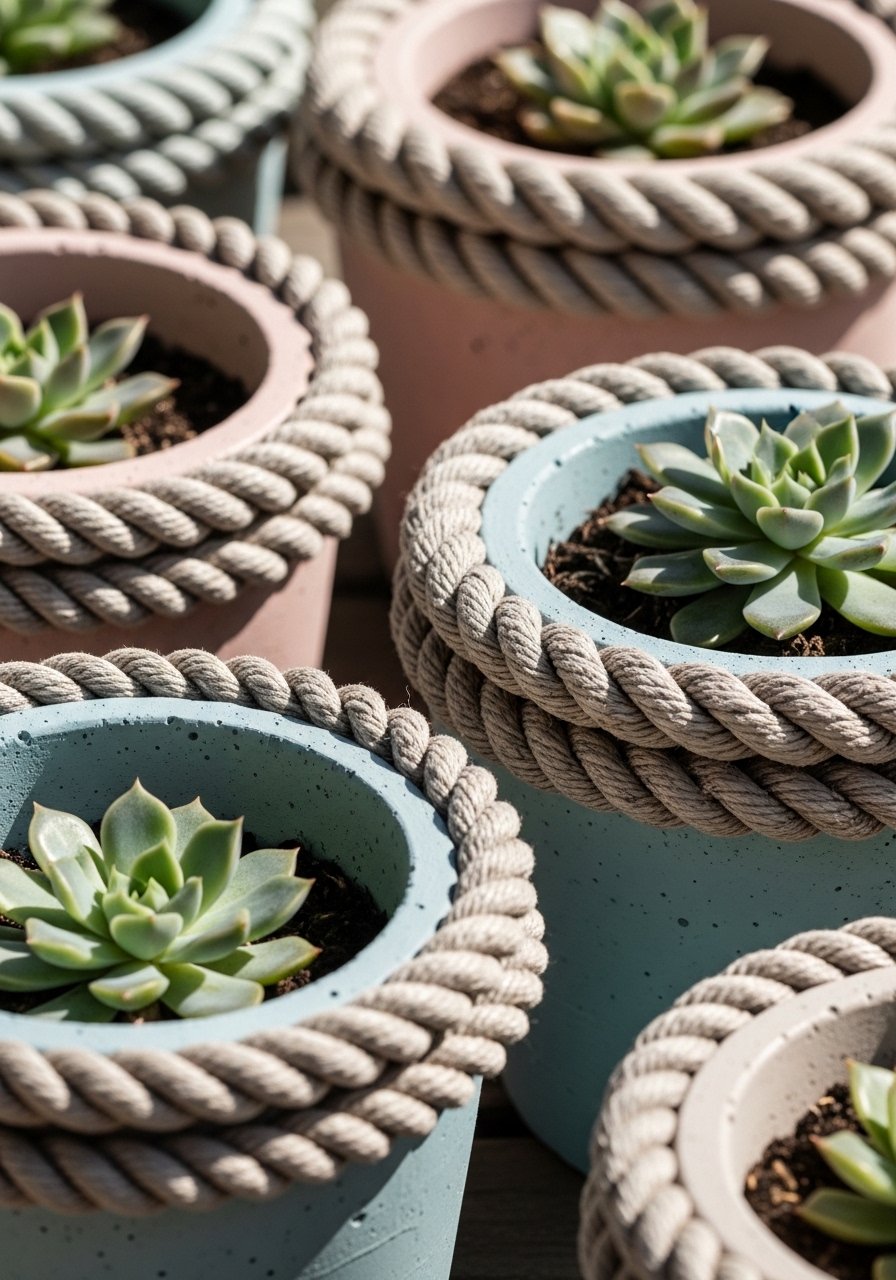
I painted inexpensive cement pots and wrapped their rims with rope. The pots feel sturdy and the rope warms the look.
They work well on windy patios. The weight holds everything in place and the rope hides cracks.
Be cautious: cement can leach lime. I pre-soaked mine and rinsed before planting to avoid pH surprises.
What You’ll Need for This Look
20. Low Raised Planter on Wheels for Flexibility
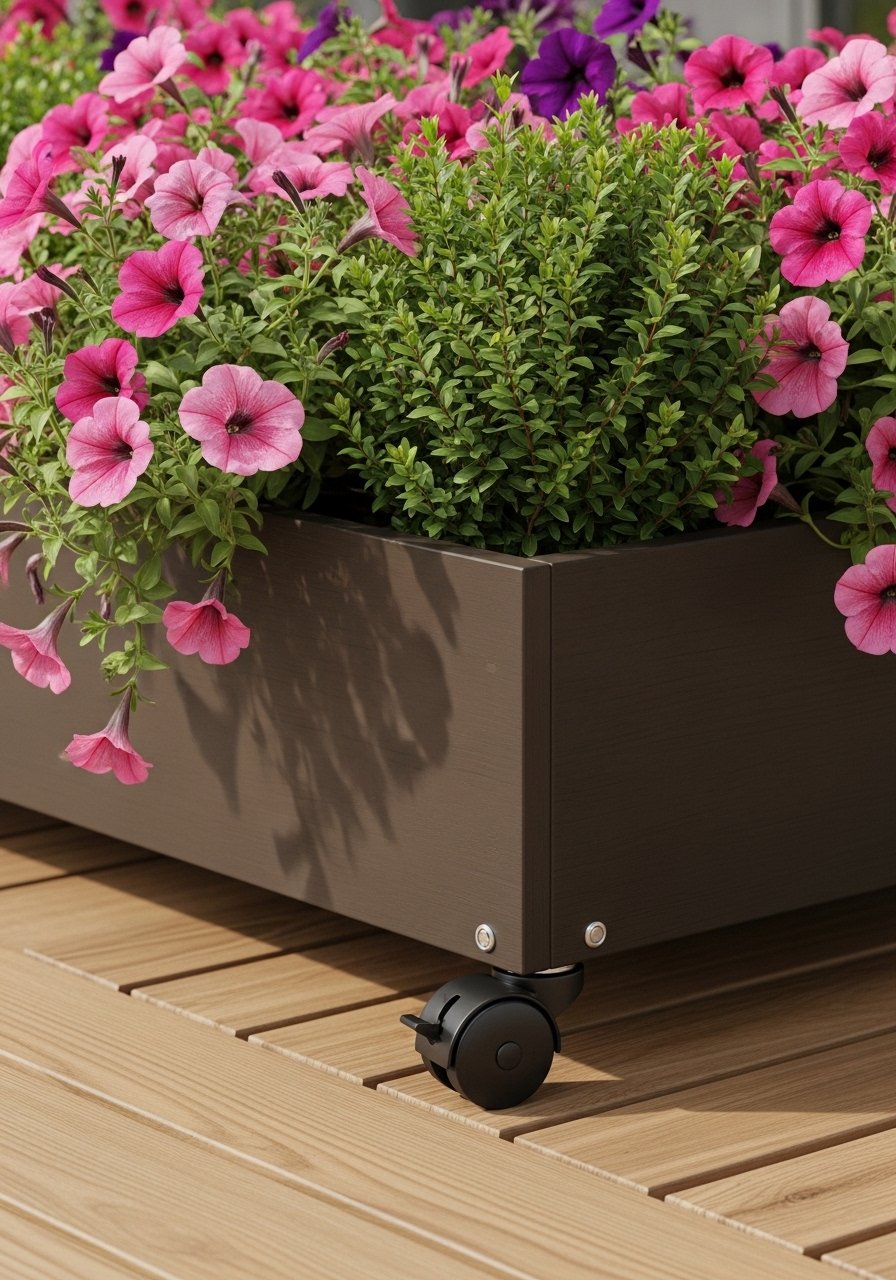
I built a low raised planter on wheels for my sunniest spot. I can move it for shade or better view.
It’s great for seasonal rearranging. I roll it into sun for summer and tuck it near shelter in storms.
Pick heavy-duty casters and lock them. I learned that the hard way when it rolled during a windy night.
What You’ll Need for This Look
21. Mix-and-Match Concrete and Clay for a Modern Rustic Row
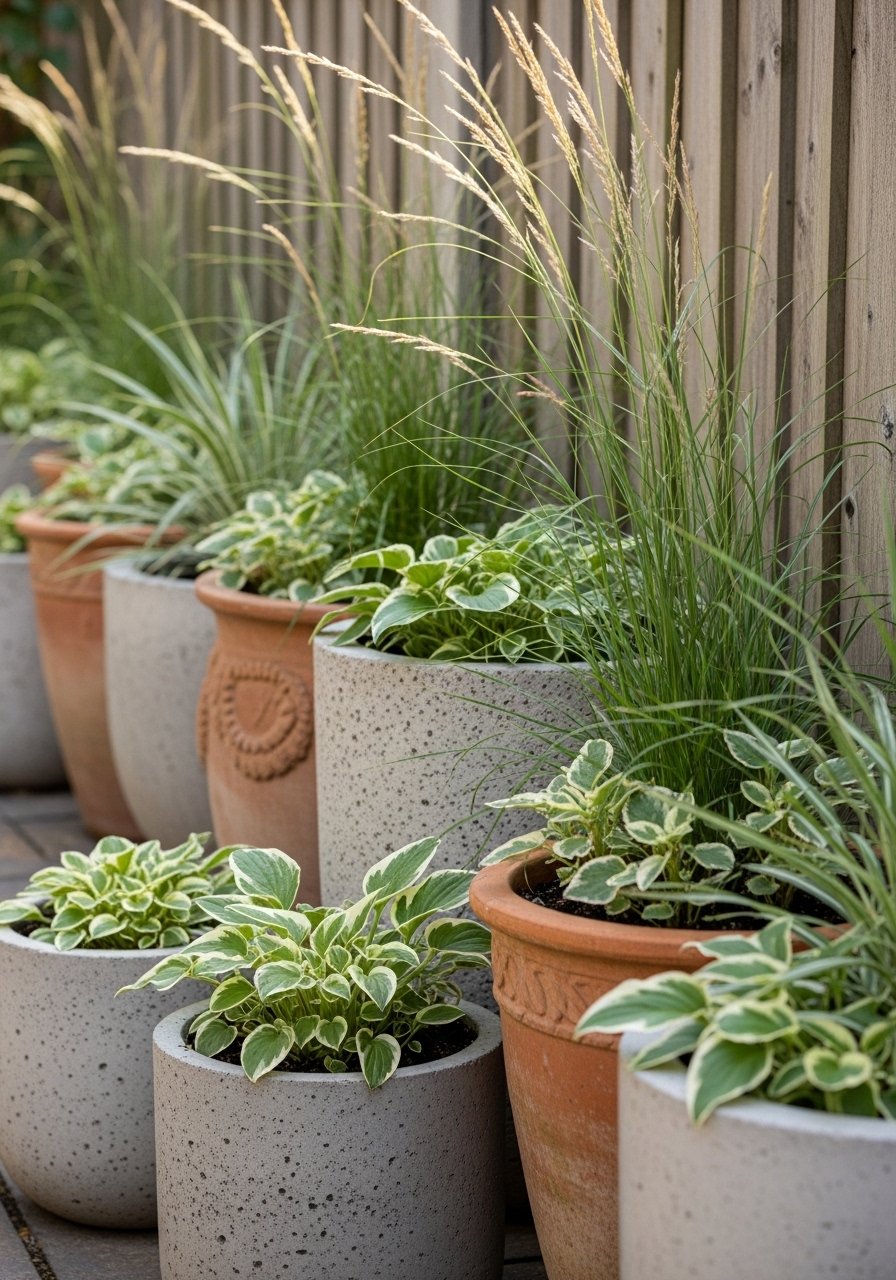
I put concrete and clay pots in a row along the fence for a clean, modern-rustic rhythm.
Alternating materials created interest without fuss. It reads intentional and looks cohesive from the path.
Keep plant sizes in mind so the line reads balanced. I swapped one too-small pot once and it threw the rhythm off.
What You’ll Need for This Look
22. Cozy Porch Pot Group with Lighting and Seating Accent
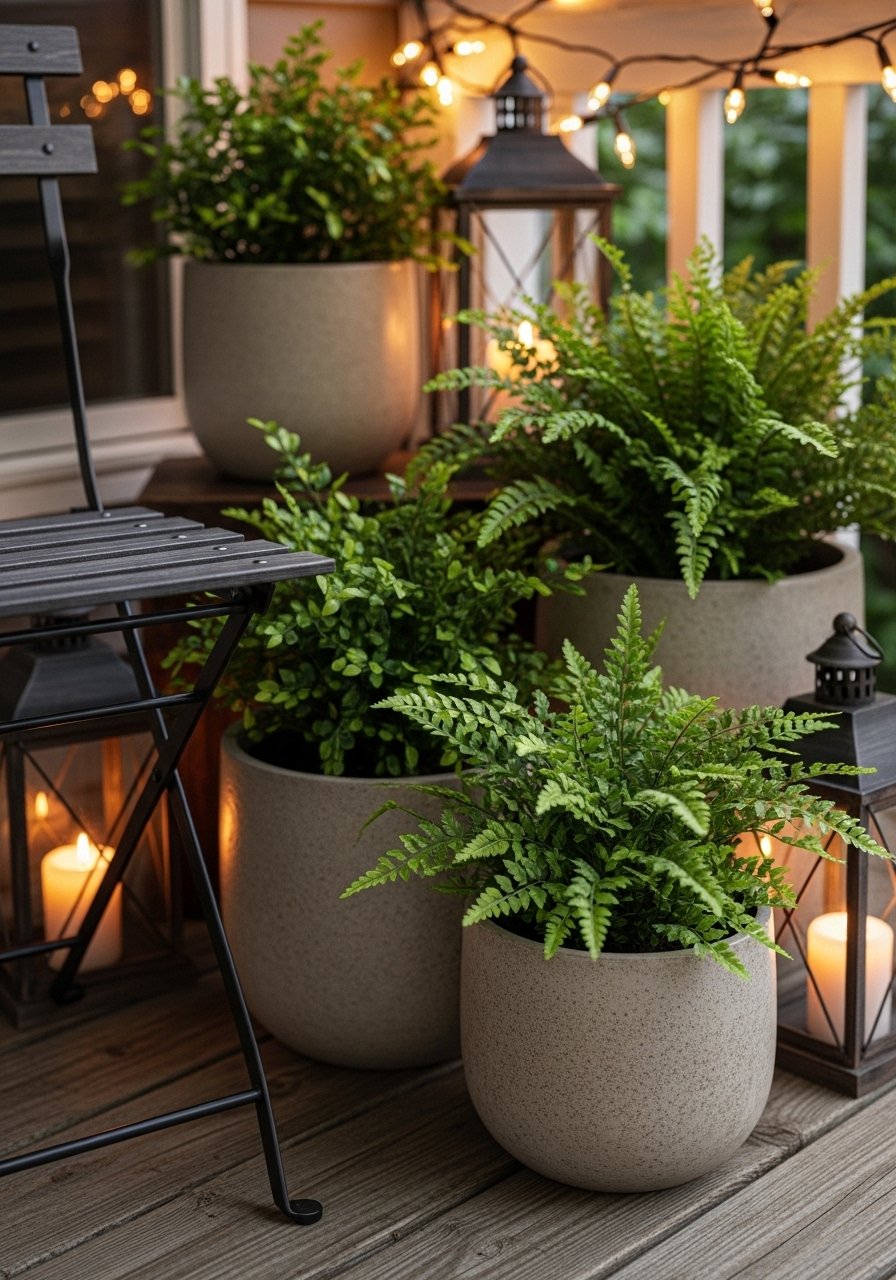
I gathered a few pots, a lantern, and a small seat for a cozy porch vignette. It invites sitting even for five minutes.
Lighting changed the mood. A small solar lantern at dusk makes the pots read as a scene, not just plants.
Keep the seating small and moveable. I like being able to shift the chair when guests arrive.
What You’ll Need for This Look
Final Thoughts
You don’t need to do all of these. Pick one corner and one pot style. Start small and tweak.
I’ve bought mistakes and fixed them. That’s how my garden learned to look like mine.
Leave a Reply