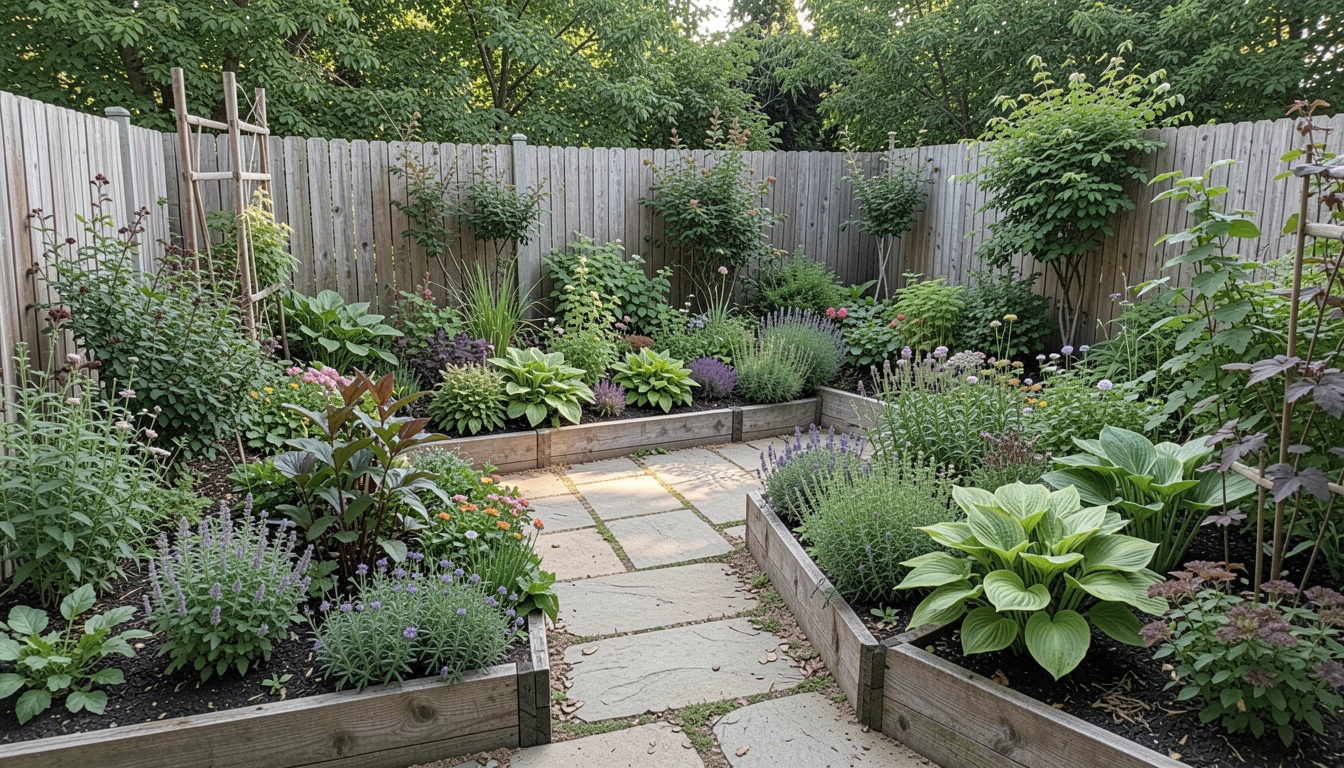
I stared at my backyard bed last spring. The grass crept in everywhere. Plants spilled over the edge. It looked messy, not held together.
I wanted clean lines without it feeling rigid. Something that let the garden breathe but stayed put.
Turns out, borders fix that. They ground the space. Now mine feel balanced.
How To Make Borders For Backyard Garden
This is the method I use every time a garden feels unfinished. You’ll end up with borders that frame your backyard beds. They look intentional and hold everything in place.
What You’ll Need
- 12-inch black plastic landscape edging, 40-foot roll
- Natural river rock, 0.5 cubic foot bag
- Premium hardwood mulch, 2 cubic foot bag
- Dwarf hosta plants, 1-gallon pots
- Creeping phlox groundcover, 4-inch pots
- Compact daylily perennials, bare root bundle
- Garden fabric landscape weed barrier, 3×50 foot roll
- Hand trowel with ergonomic handle
Step 1: Walk the Line of Your Bed
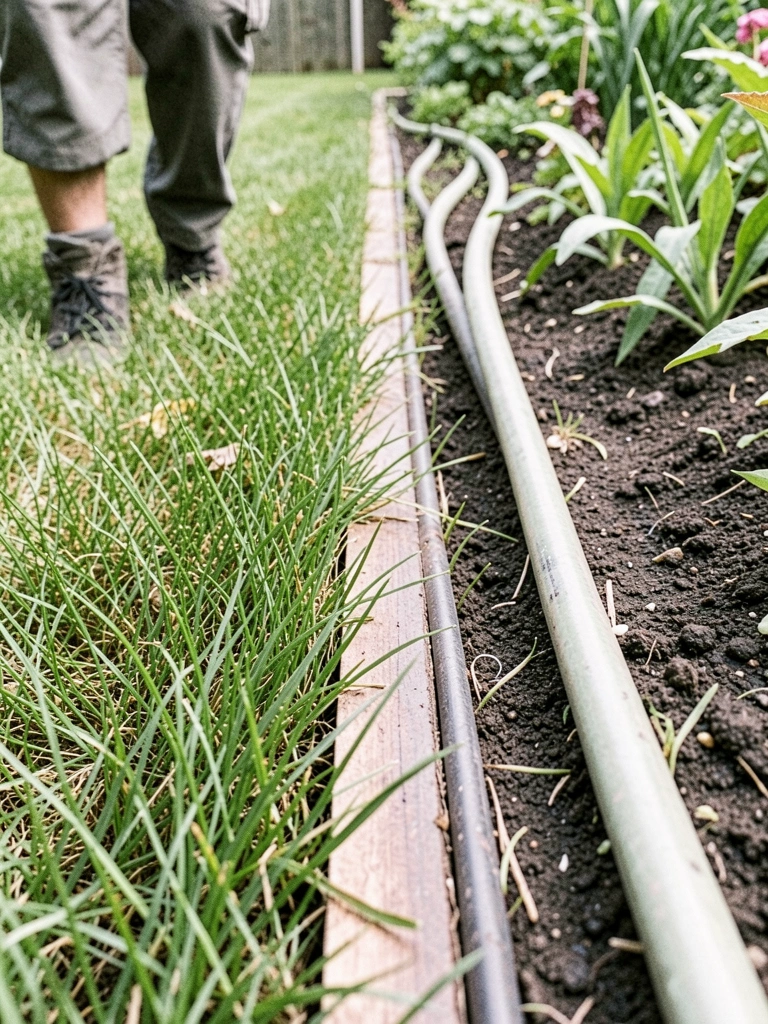
I start by walking the bed's edge. I let my eye follow where grass meets soil. Sometimes I lay a hose down. It shows the natural curve.
This sets the border's flow. Visually, the bed starts to take shape. It pulls away from chaos.
People miss how a gentle curve softens the yard. Straight lines fight the space. Avoid forcing sharp turns—they make borders look added on.
I step back often. The line feels right when it echoes the bed's shape.
Step 2: Dig a Shallow Trench
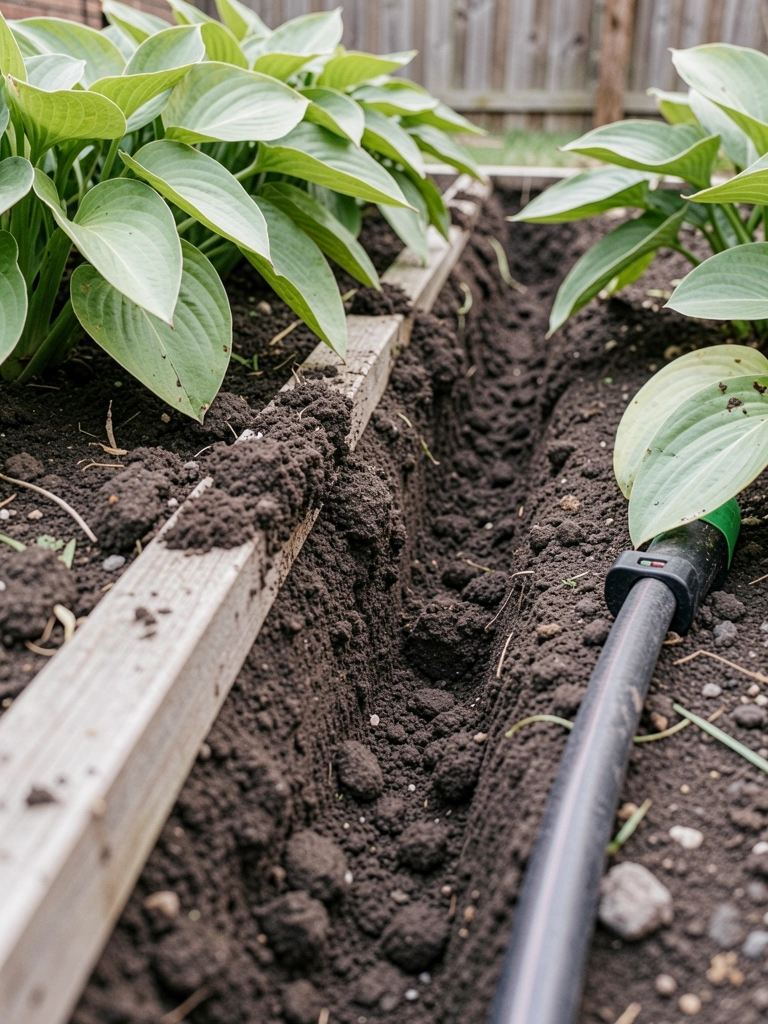
I dig a trench just deep enough for the edging. About 4 inches wide, 6 deep. I follow that hose line.
The ground opens up. It invites the border in. The bed looks ready to be framed.
Most forget to slope the trench bottom. It lets water drain. Flat bottoms pool and rot roots.
Don't dig too deep. It buries the edging wrong. Keep it shallow for clean lines.
I check the depth with my hand. Feels secure but not buried.
Step 3: Set the Edging in Place
I unroll the edging into the trench. I bend it to match curves. Push soil against it from both sides.
Now the border holds firm. The bed gains definition. Grass stops invading.
Insight: Overlap ends slightly. It prevents gaps where weeds sneak. People butt them tight—mistake.
Avoid kinks. Gently curve as you go. It keeps the flow natural.
I tug it snug. Stays put through rain.
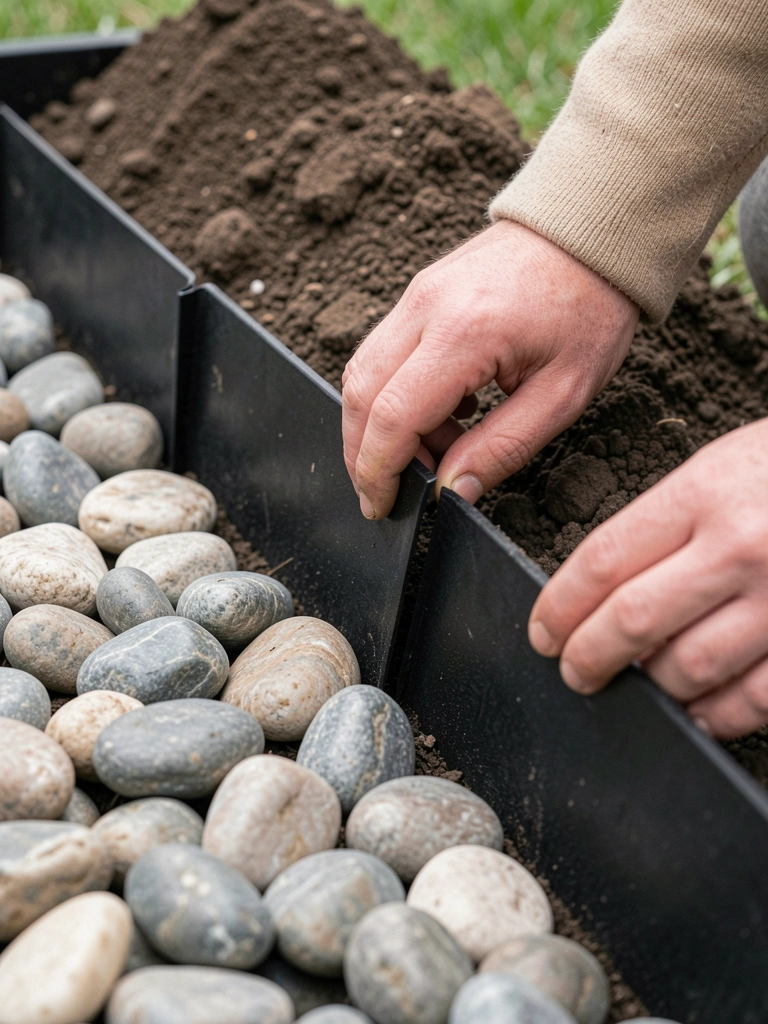
Step 4: Backfill with Gravel and Mulch
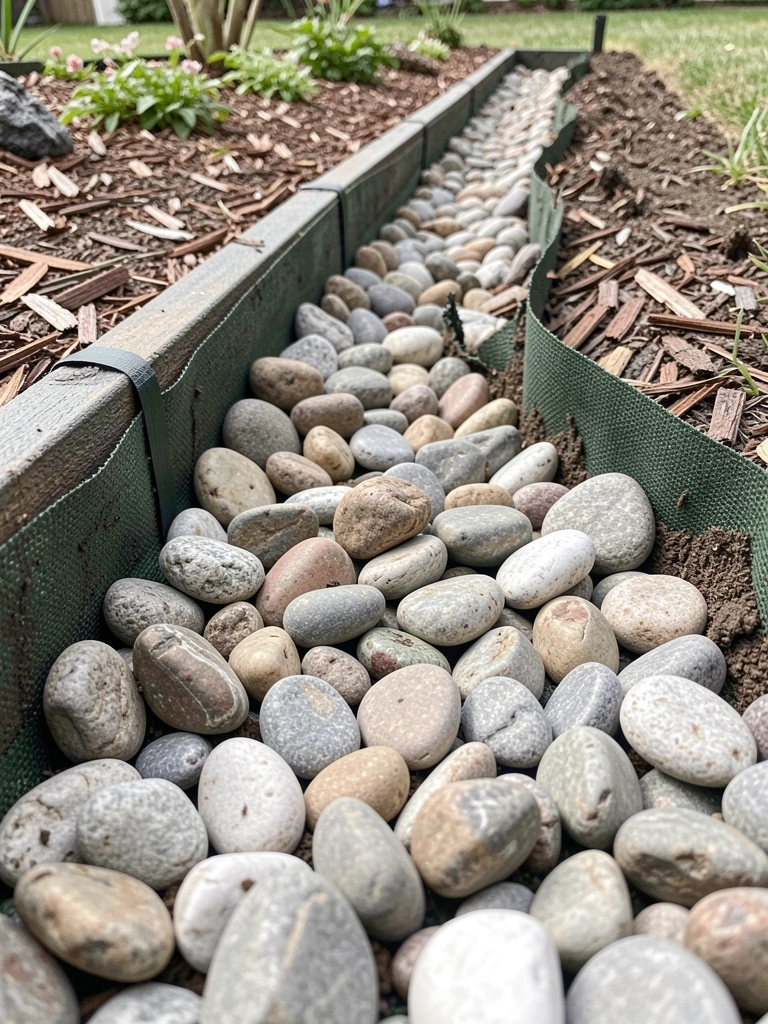
I line the trench with weed fabric first. Add river rock for drainage. Top with mulch.
The border blends in. Textures layer—rock peeks through mulch. Grounds the whole bed.
Missed tip: Gravel settles weight. Without it, mulch washes out. Big error in heavy rain.
Don't overfill mulch. A thin layer looks clean. Too much hides the edging.
I rake it smooth. Feels balanced now.
Step 5: Plant Along the Edge
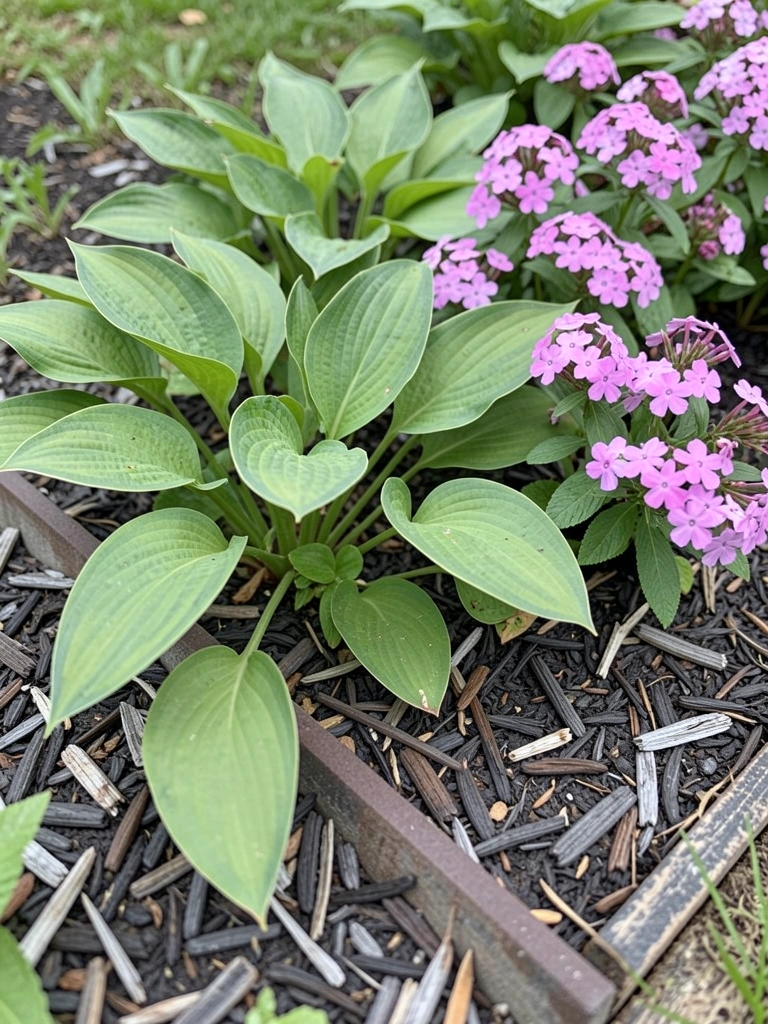
I tuck low plants like hostas and phlox right against the border. Space them so they spill soft.
Plants soften the line. The border disappears into growth. Bed feels alive, held together.
People plant too far back. Edge stays bare. Plant close for flow.
Avoid tall plants here. They flop over. Stick to dwarfs.
I water them in. They root fast.
Choosing Plants for Your Borders
I pick plants that hug the ground. They keep borders tidy.
Low growers work best. They fill without overwhelming.
- Dwarf hostas for shade
- Creeping phlox for sun
- Low sedums for dry spots
Mix heights slightly. It adds depth. But keep the front low.
Watch your soil. Wet spots need different plants than dry.
Keeping Borders Looking Good Year-Round
Borders shift with seasons. I refresh mulch yearly.
Deadhead flowers. It keeps edges crisp.
In fall, cut back perennials. Mulch protects roots.
- Spring: Add early bloomers
- Summer: Trim sprawlers
- Winter: Let seed heads stand for birds
A quick sweep weekly. Prevents buildup.
Fixing Common Border Issues
Sometimes borders sink. Top up gravel.
Weeds push through? Check fabric tears.
- Uneven settling: Add more backfill
- Edging shifts: Stake it deeper
- Plants encroach: Trim monthly
I spot issues early. A little fix keeps it right.
Final Thoughts
Start with one bed. See how it settles your yard.
You'll notice the balance right away. It quiets the mess.
Borders aren't forever. Adjust as plants grow. Yours will feel right in time.
Leave a Reply