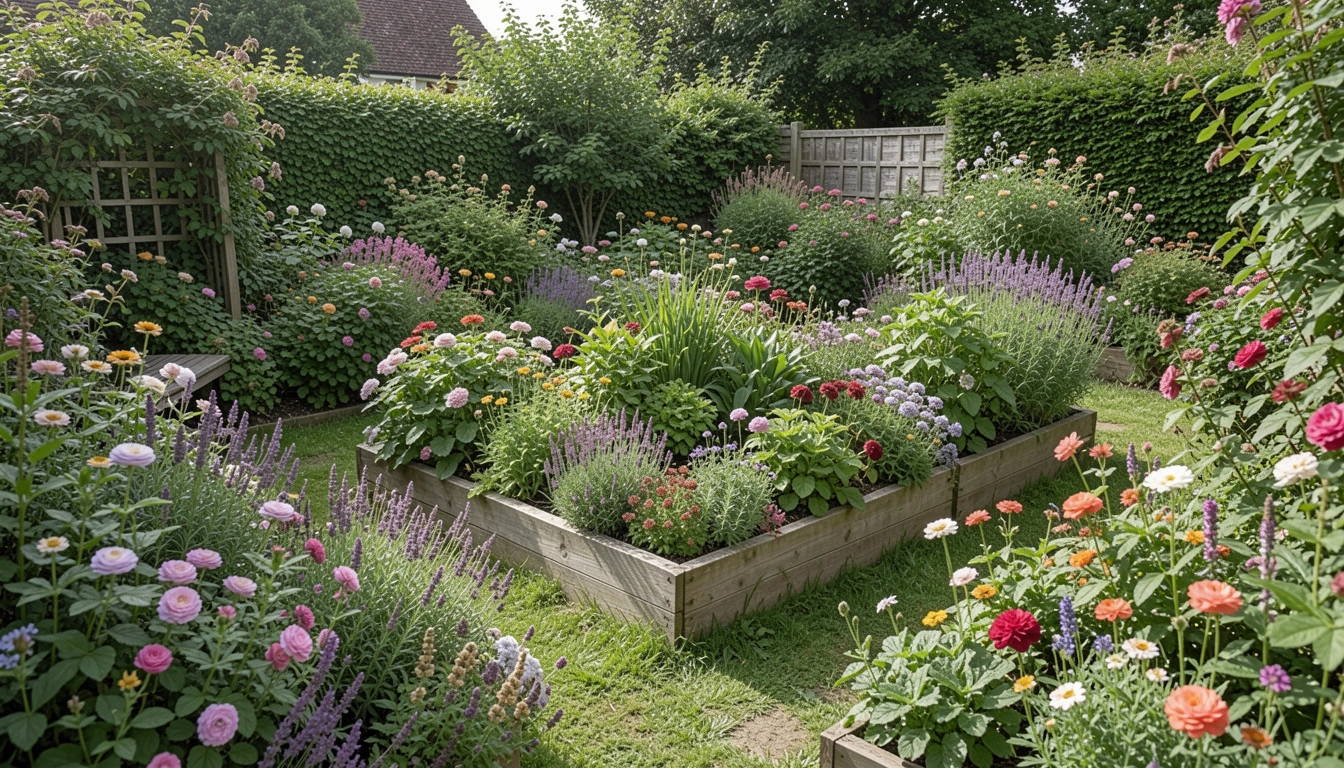
I pulled up to a friend's house last summer, and their front bed stopped me cold. It wasn't fancy—just a few tough plants hugging the path, spilling over softly. Made the whole entry feel like home.
Mine used to be dirt and weeds. I tried big shrubs once; they flopped. Now, small beds pull you in.
These ideas come from yards I've fixed. Real spaces, real dirt.
11 Beautiful Front Small Garden Bed Ideas For Entryways
Here are 11 front small garden bed ideas I've used or tweaked in actual entryways. They fit tight spots, handle neglect, and welcome people right away. Pick one and start small—you'll see the difference.
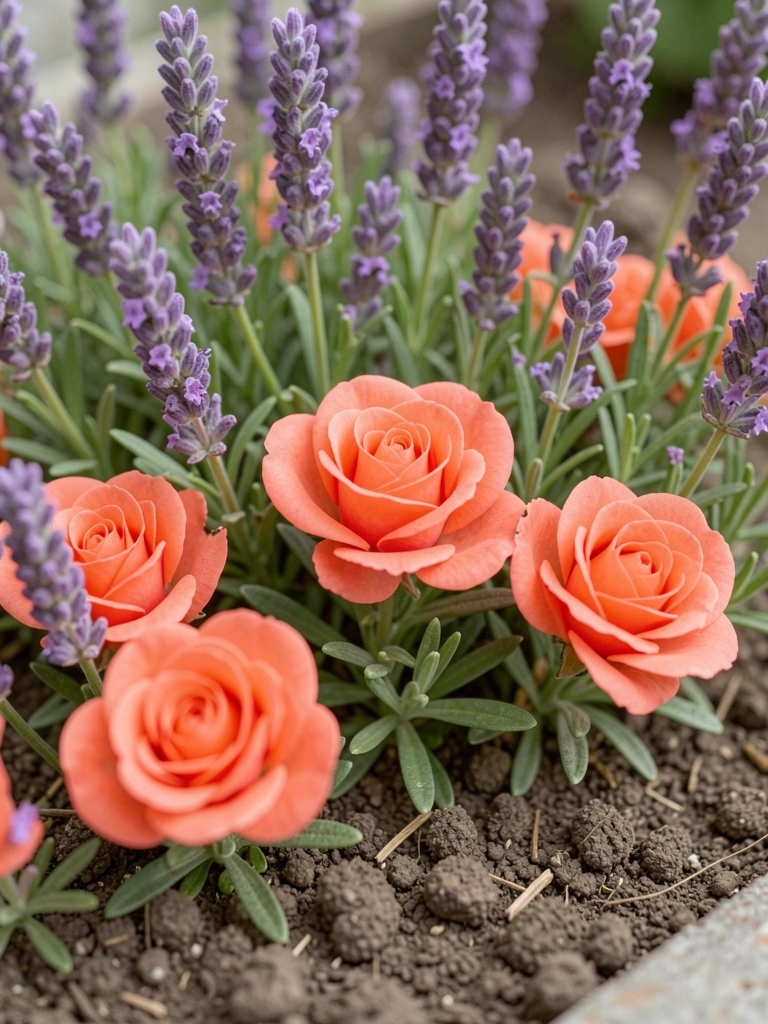
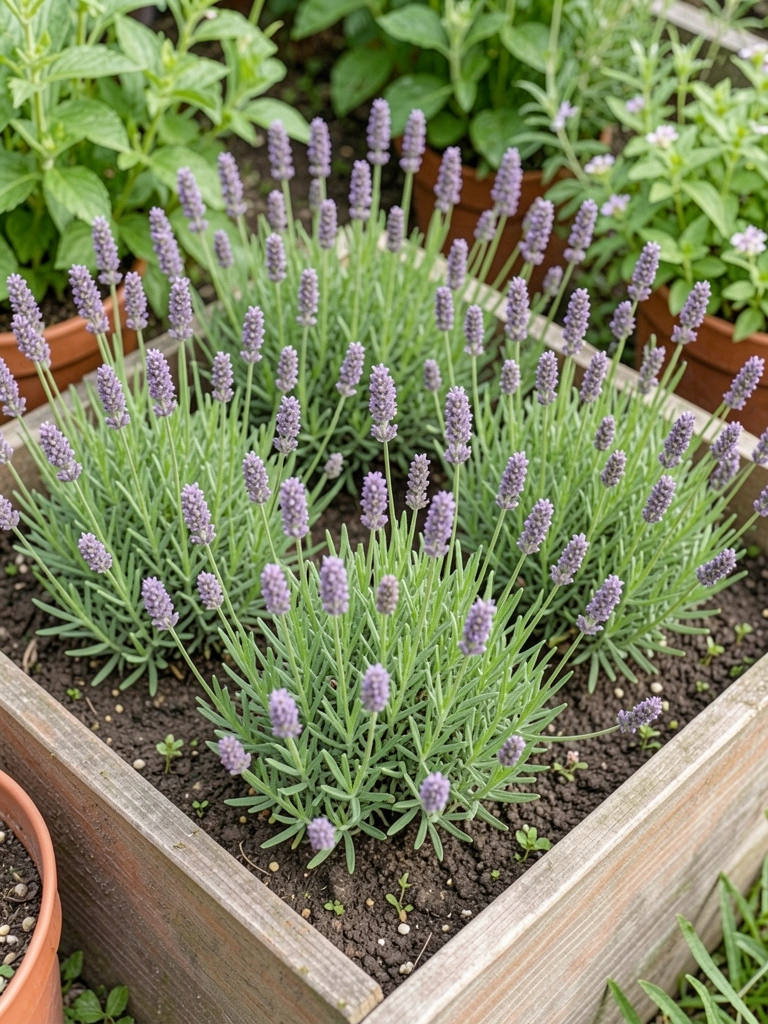
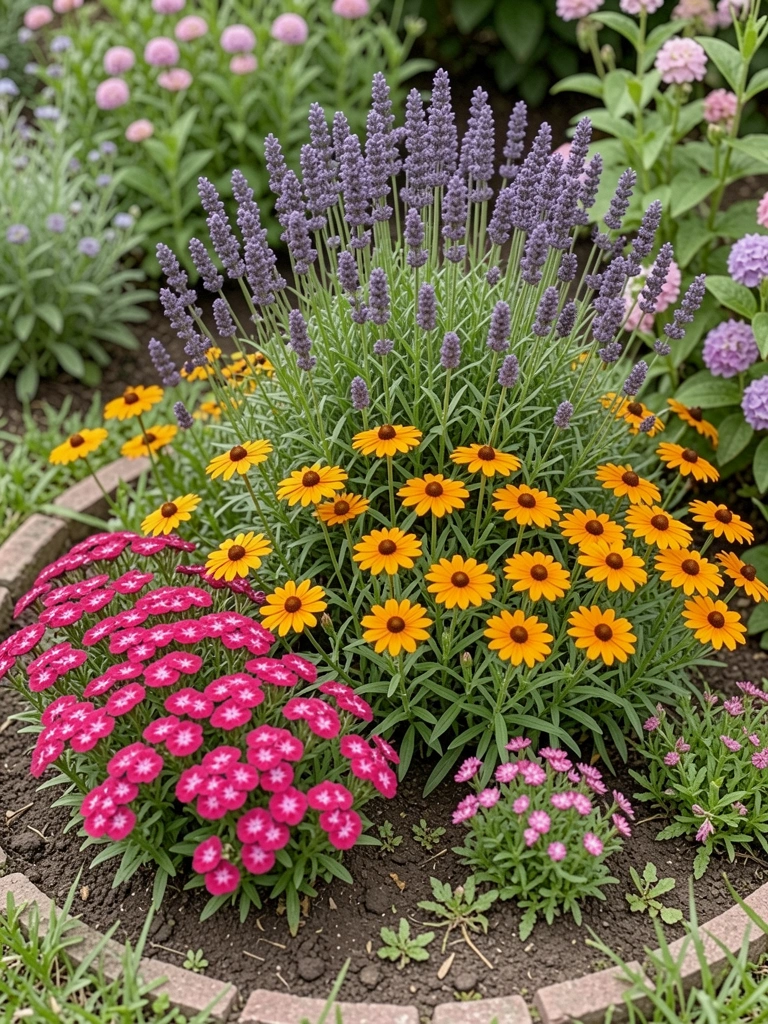
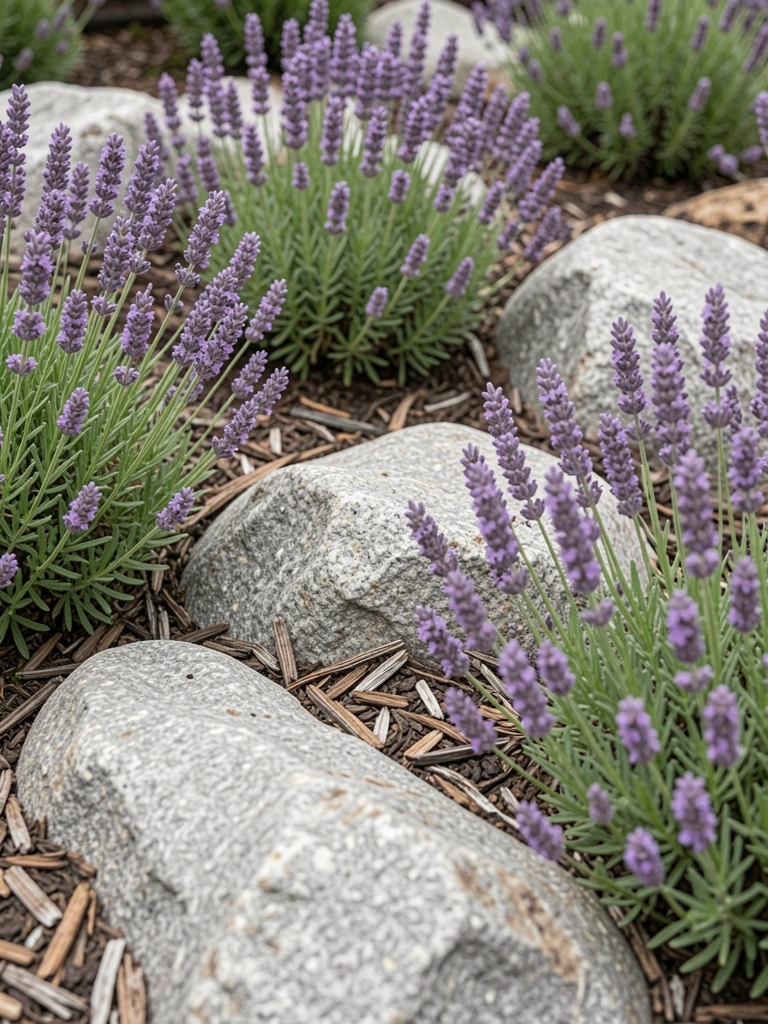
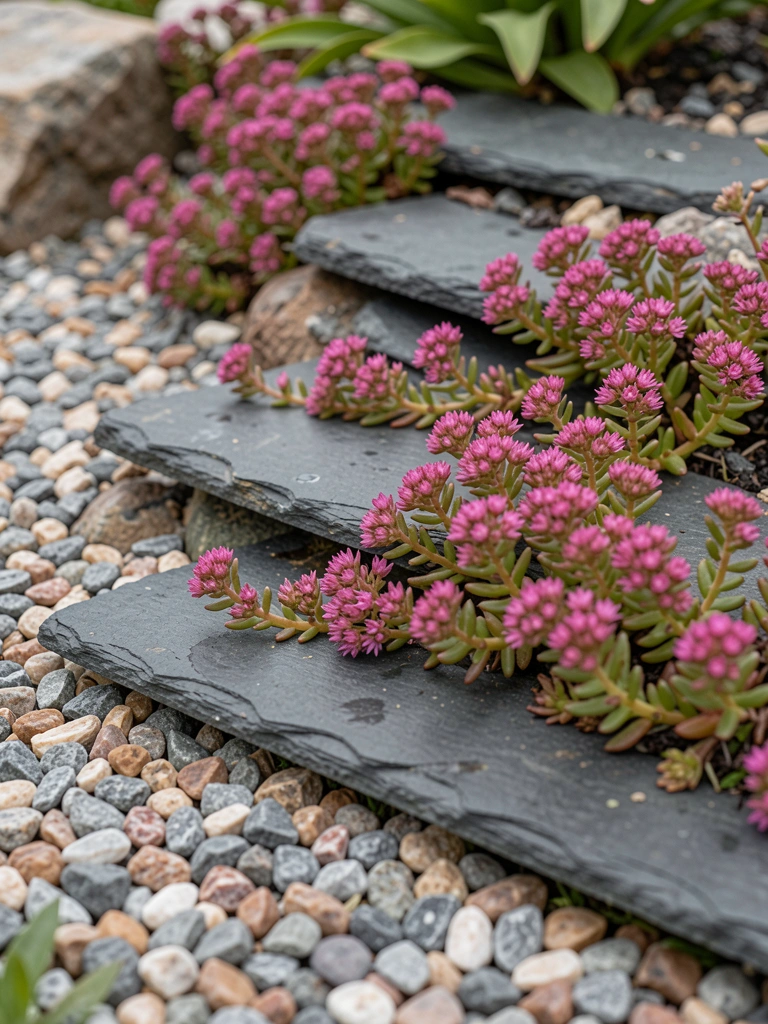
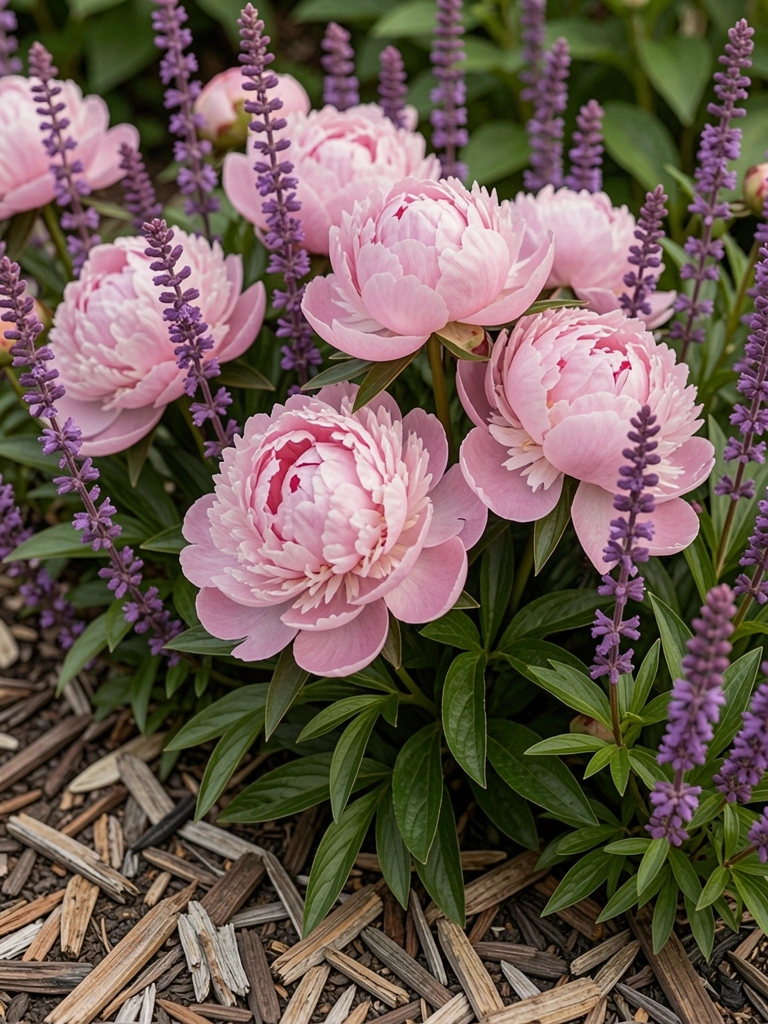
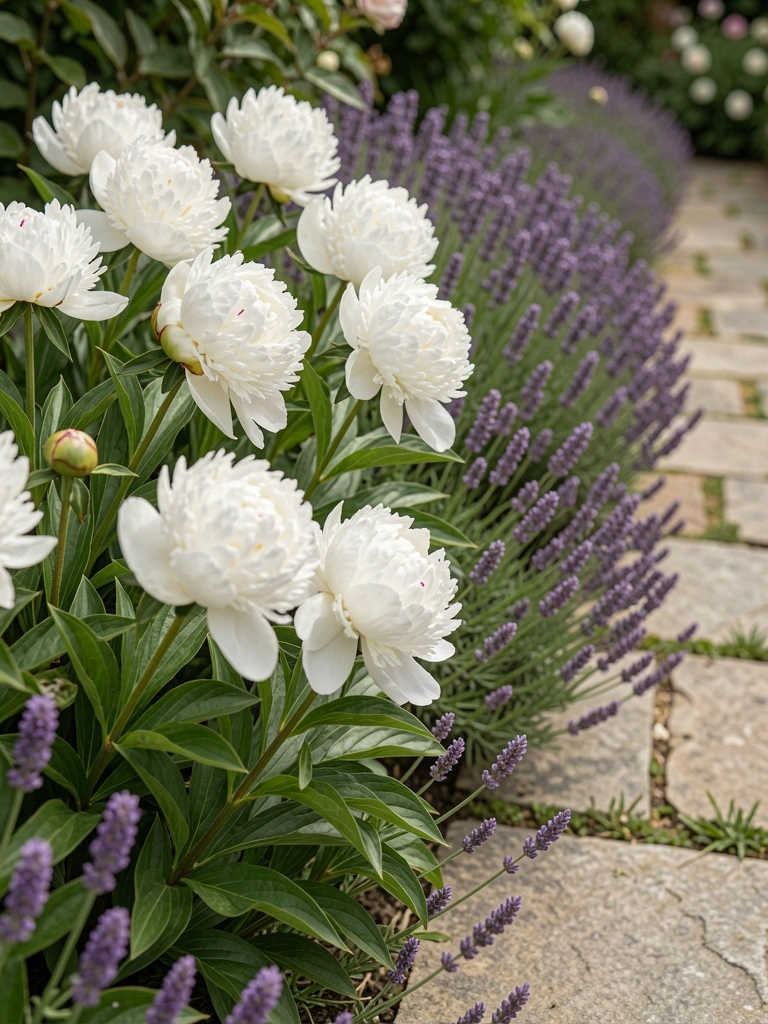
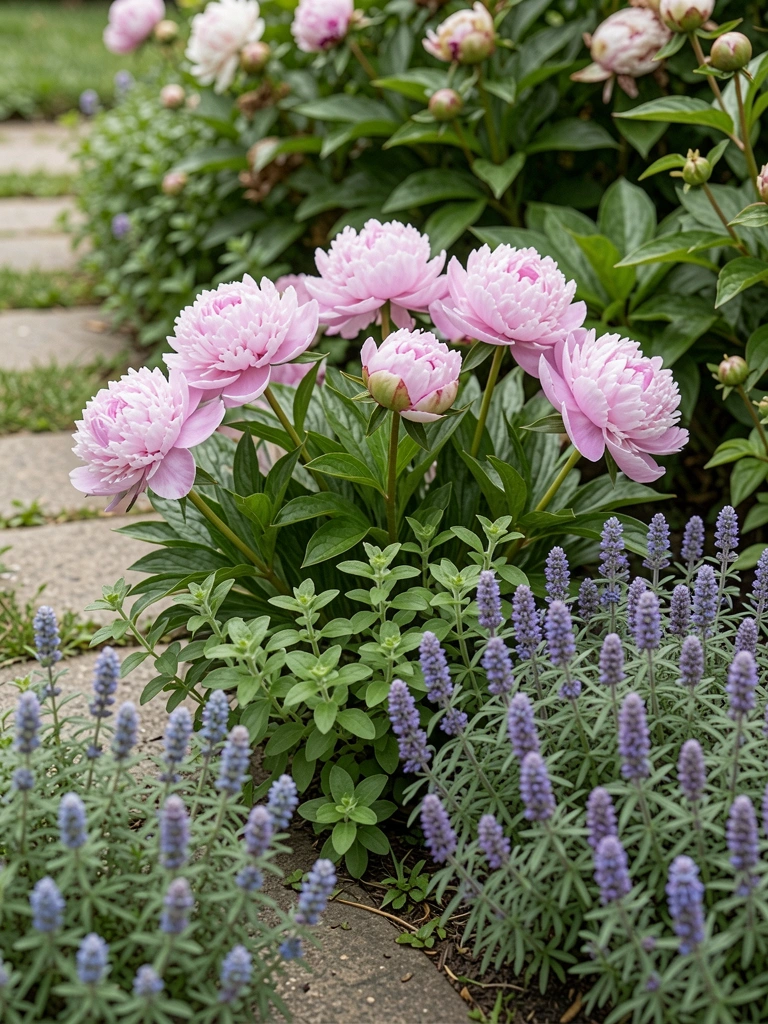
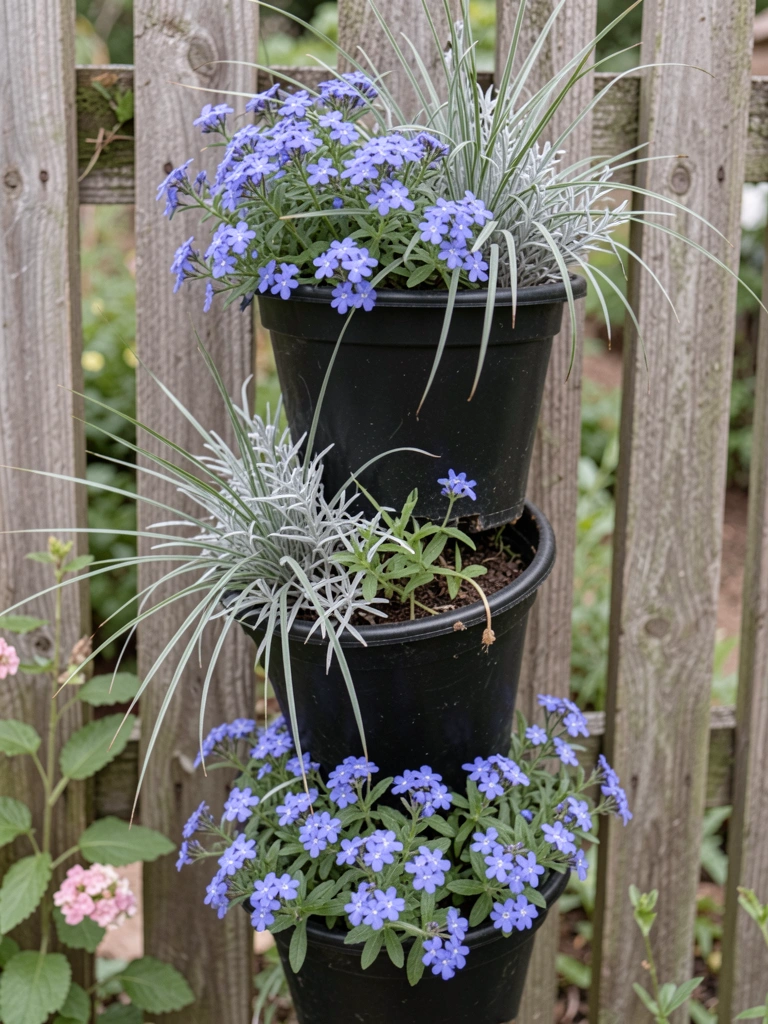
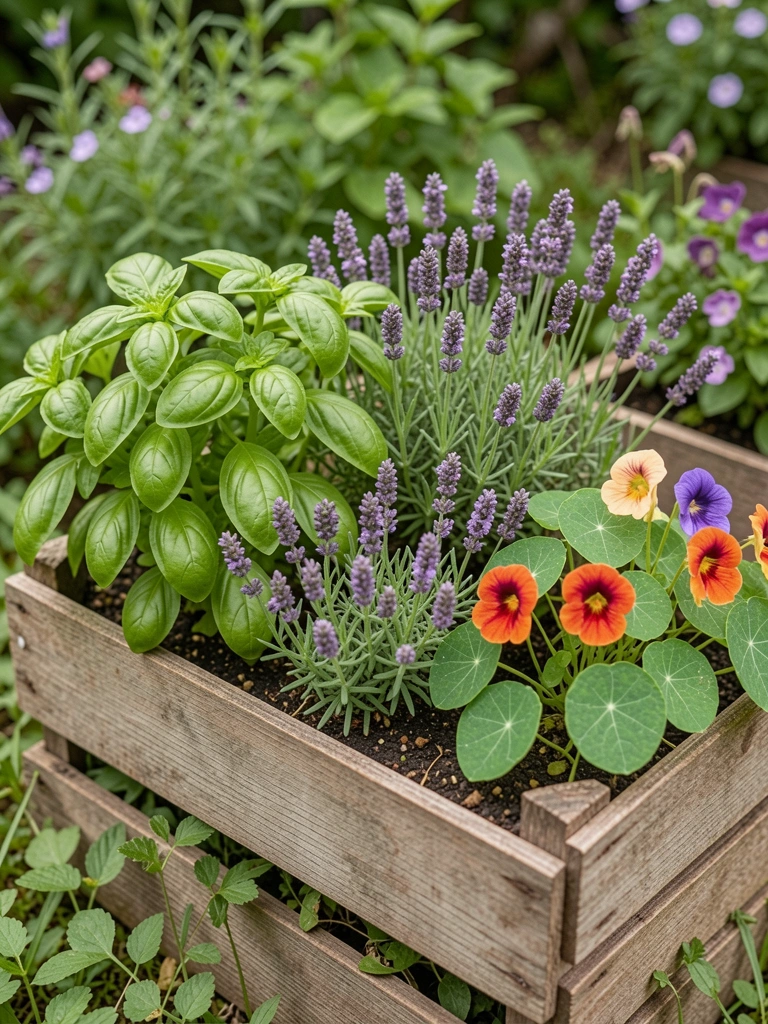
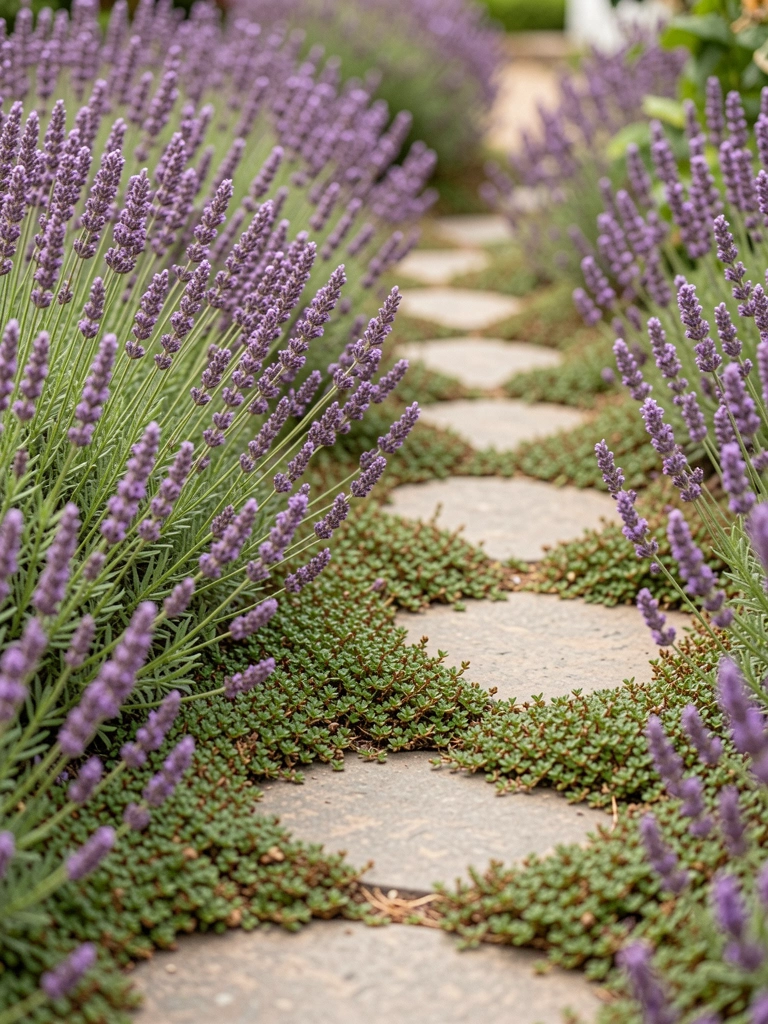
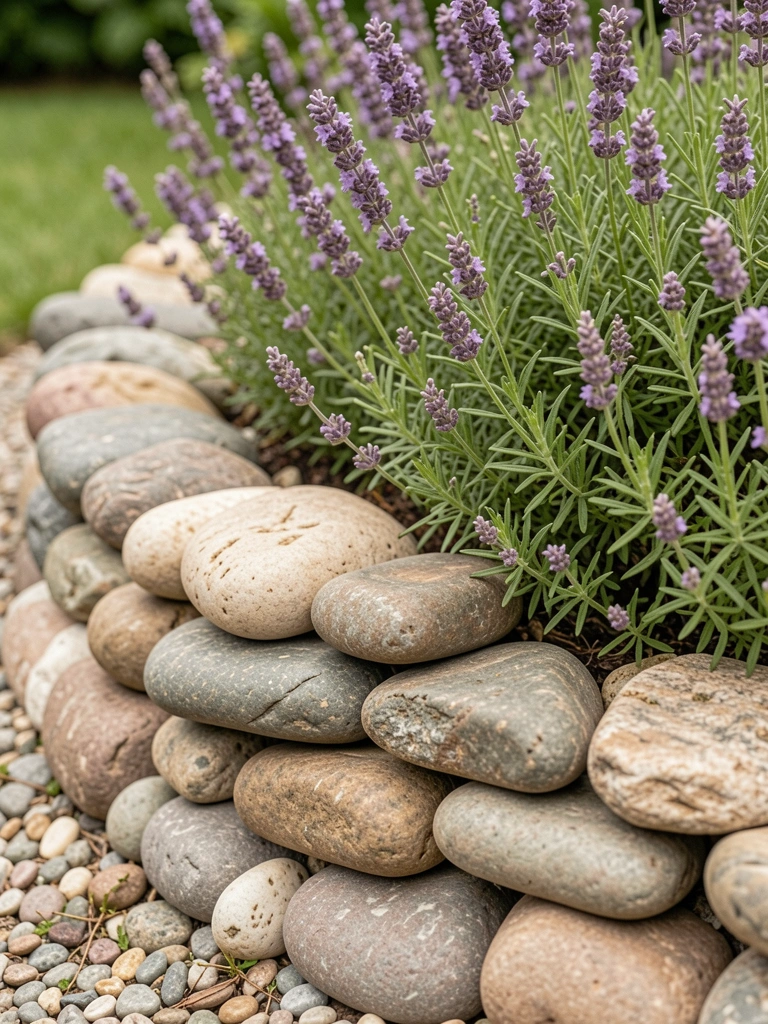
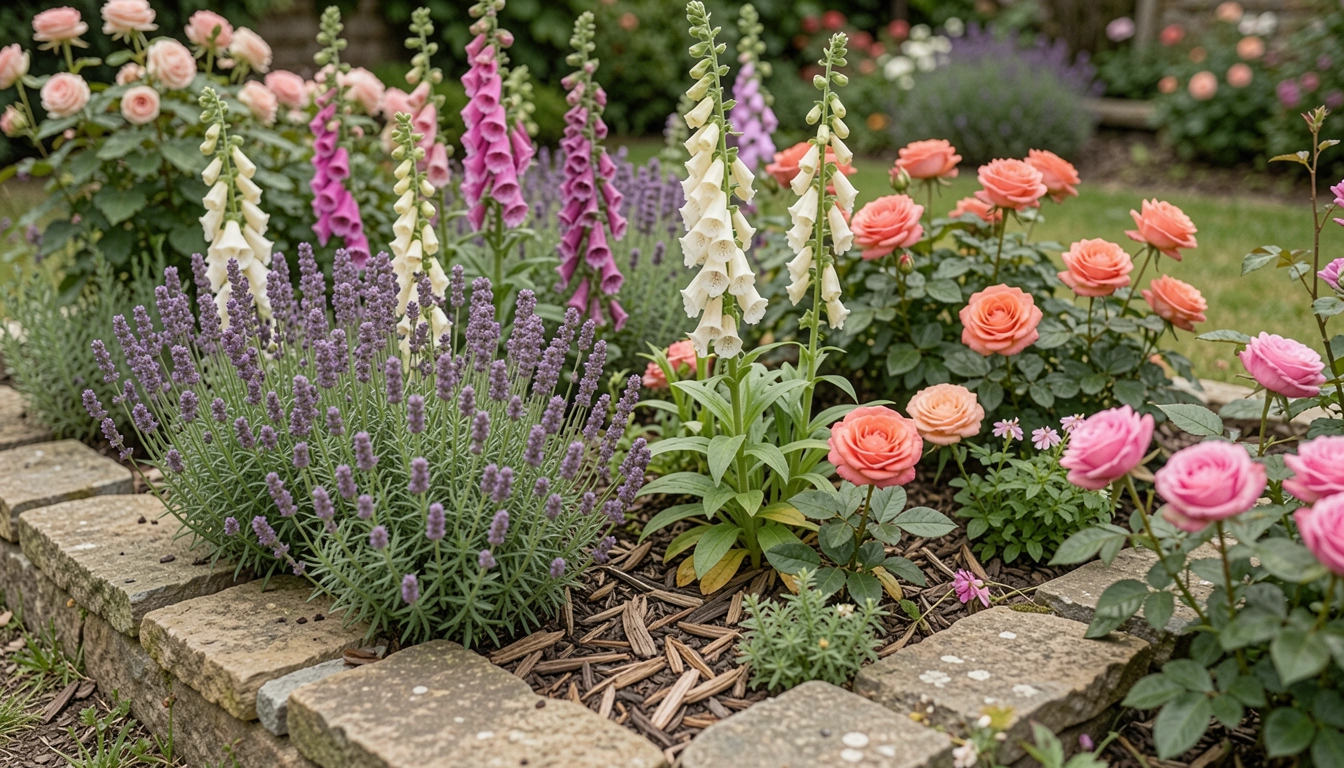
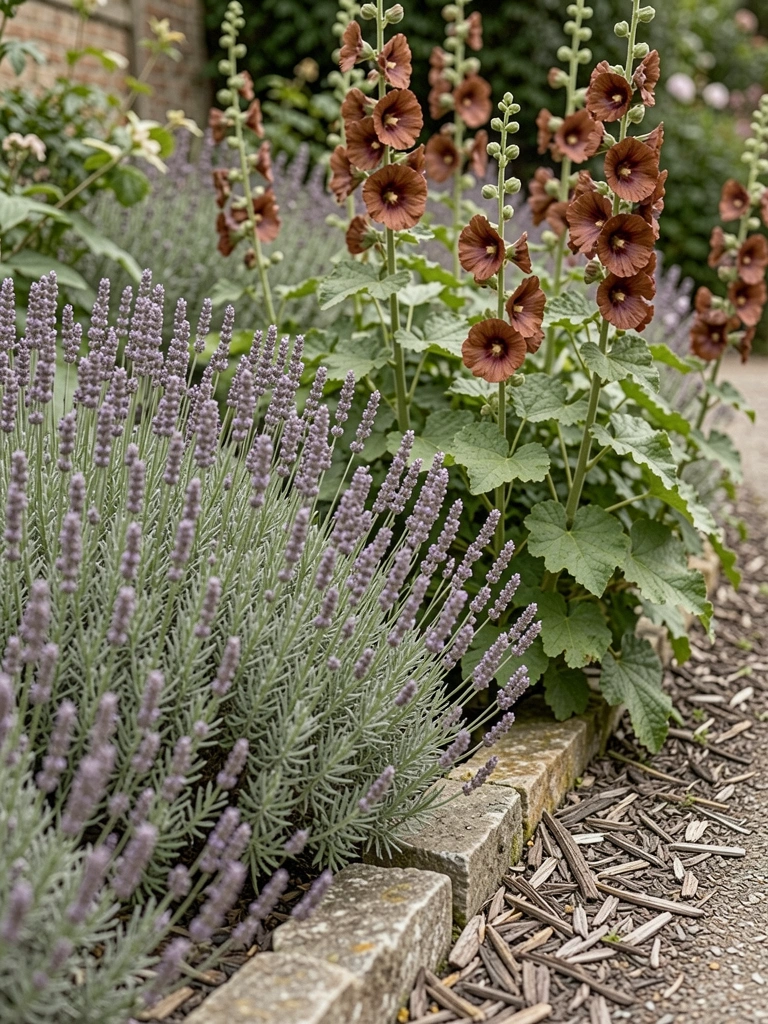
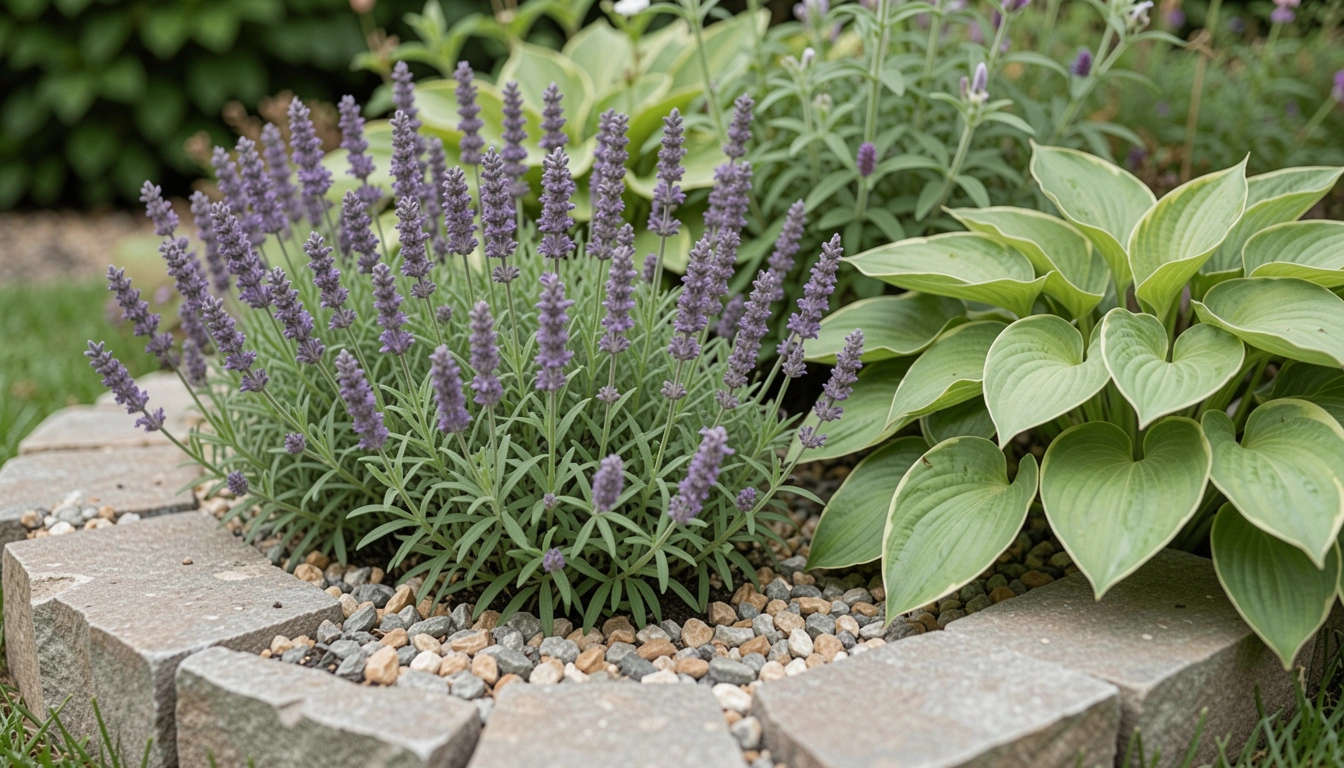
1. Lavender Layers with Trailing Sedum for Soft Edges
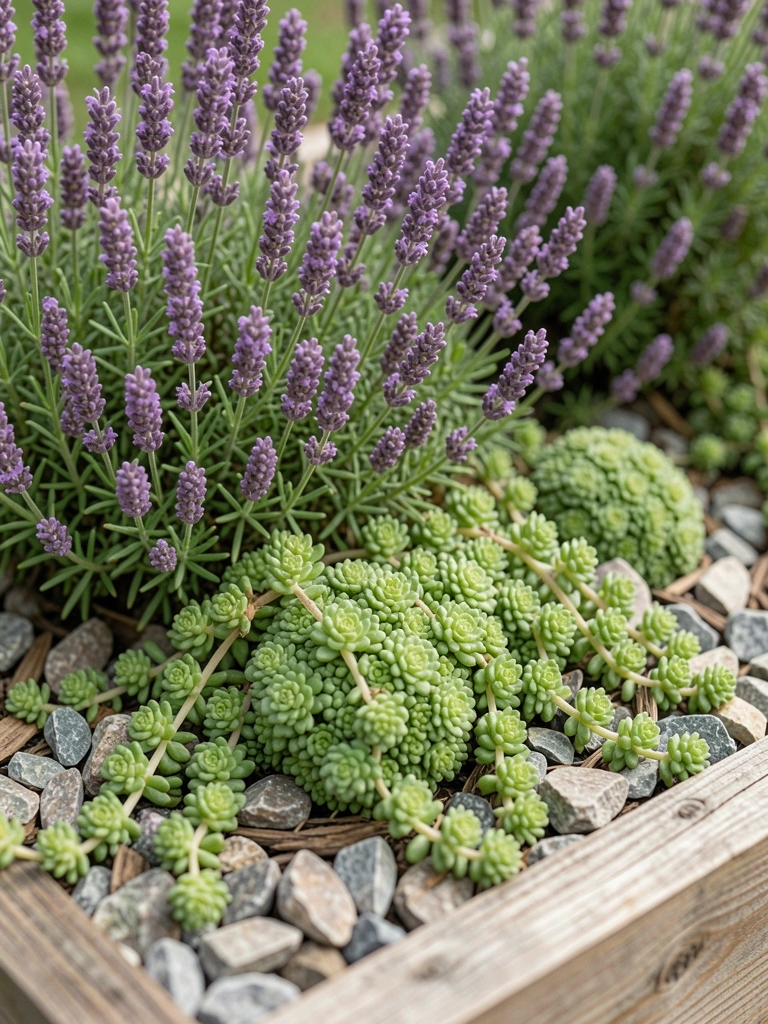
I planted lavender in my narrow front bed three years back. The tall spikes draw your eye up, while sedum trails over the edge like it's meant to. It softens the walkway without crowding.
Bees love it, and that hum feels alive when you step up. No more bare soil staring back.
Watch the spacing—lavender hates wet feet, so I raised the back row a bit. Mistake I made first time: too close, they yellowed.
Now it smells amazing on hot days. Feels intentional, not fussy.
What You’ll Need for This Look
- Lavender plants (Lavandula angustifolia, 4-inch pots)
- Trailing sedum groundcover plugs
- Pea gravel mulch bag (50 lb)
- Landscape edging stones (12-inch)
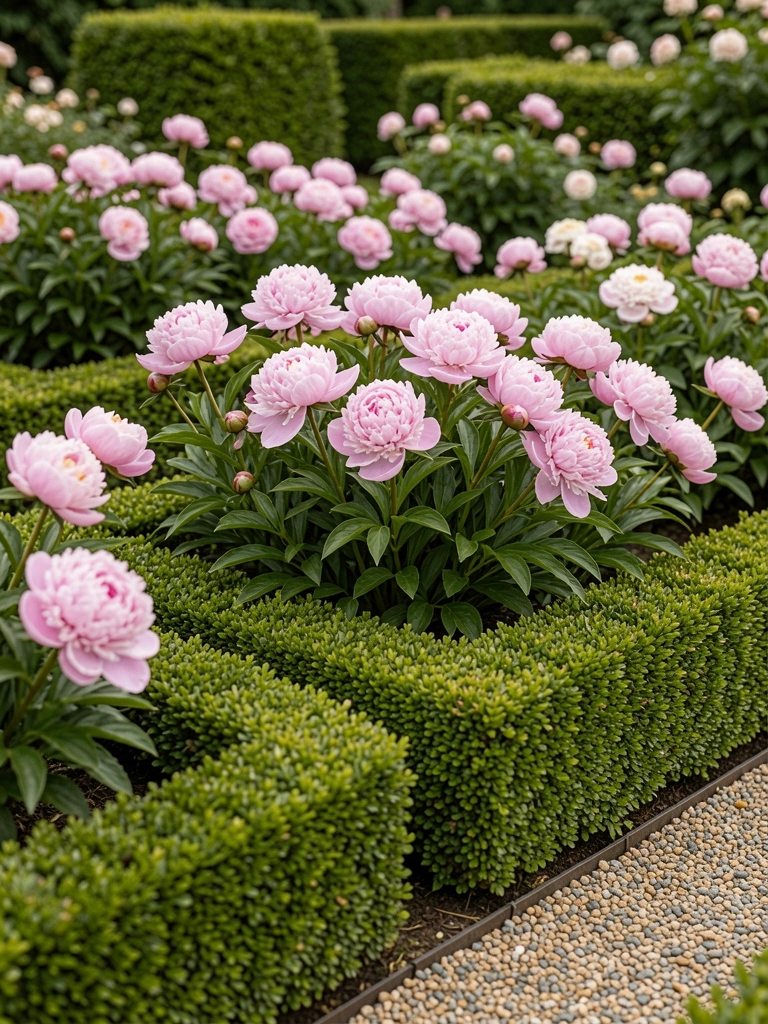
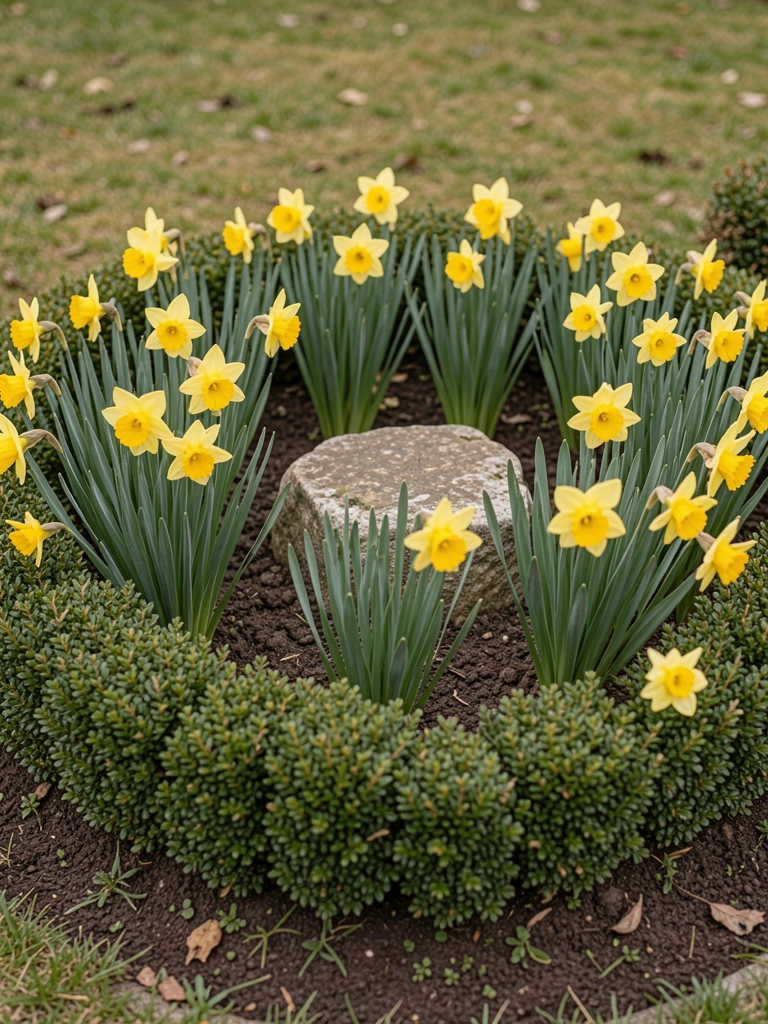
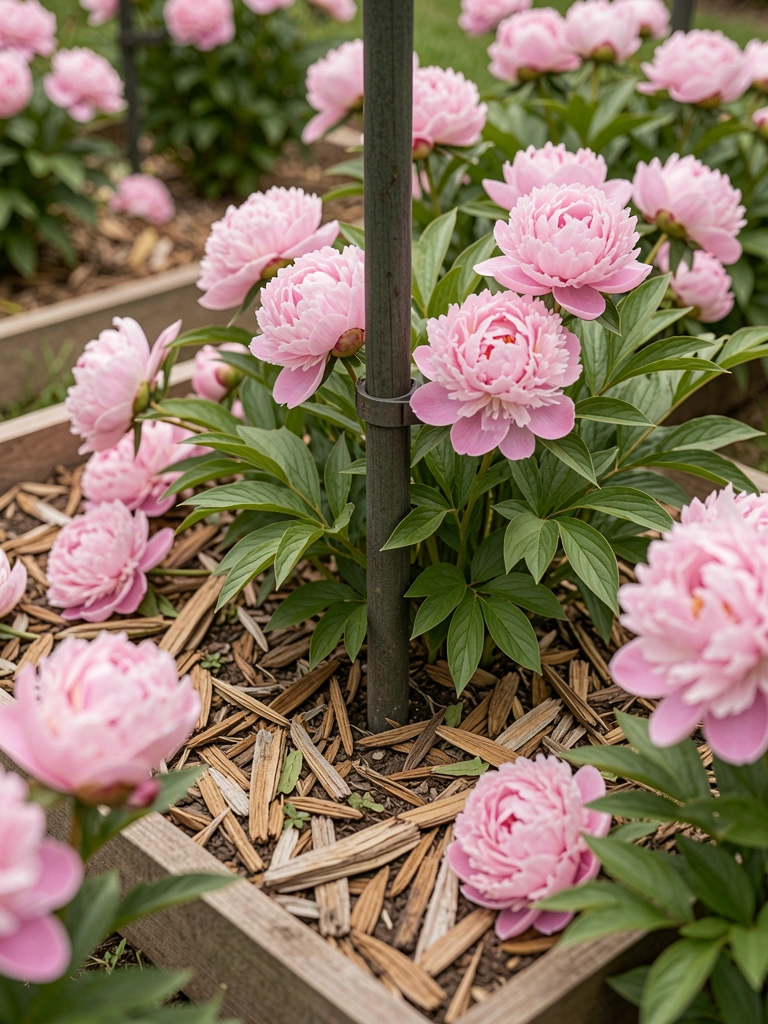
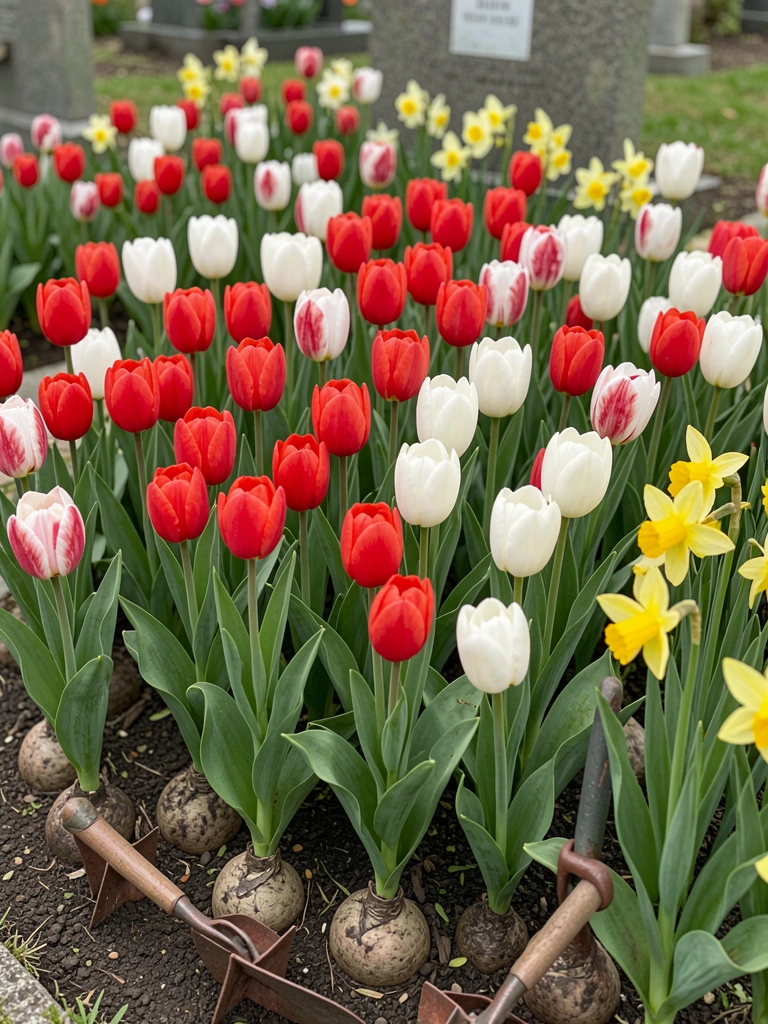
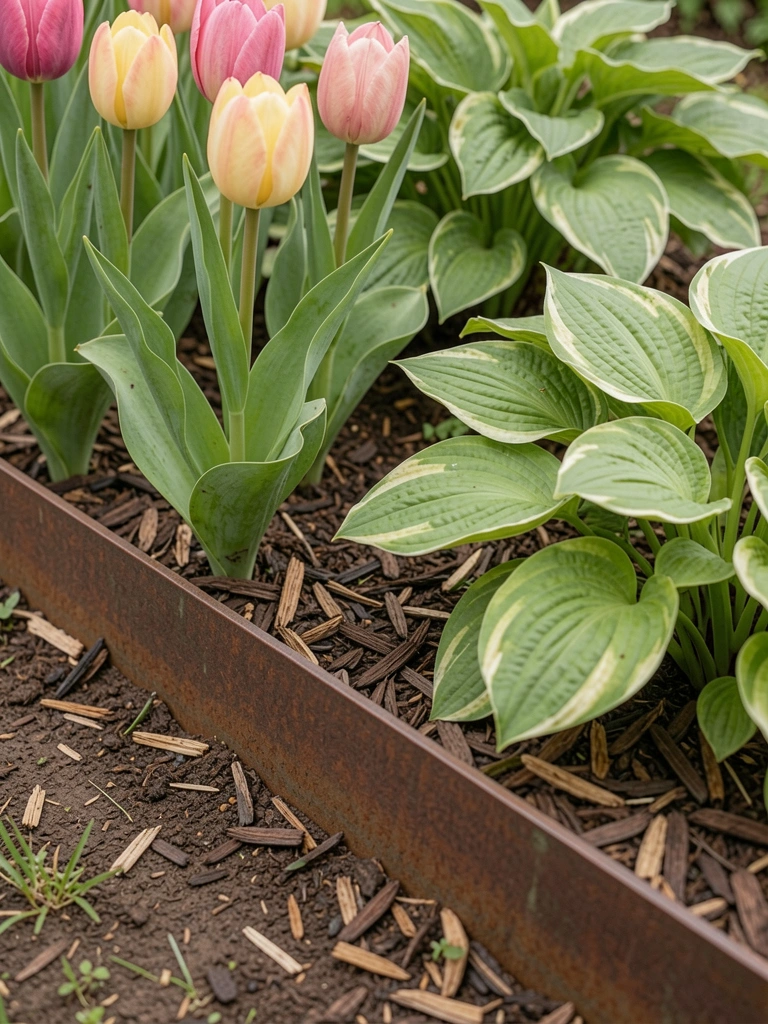
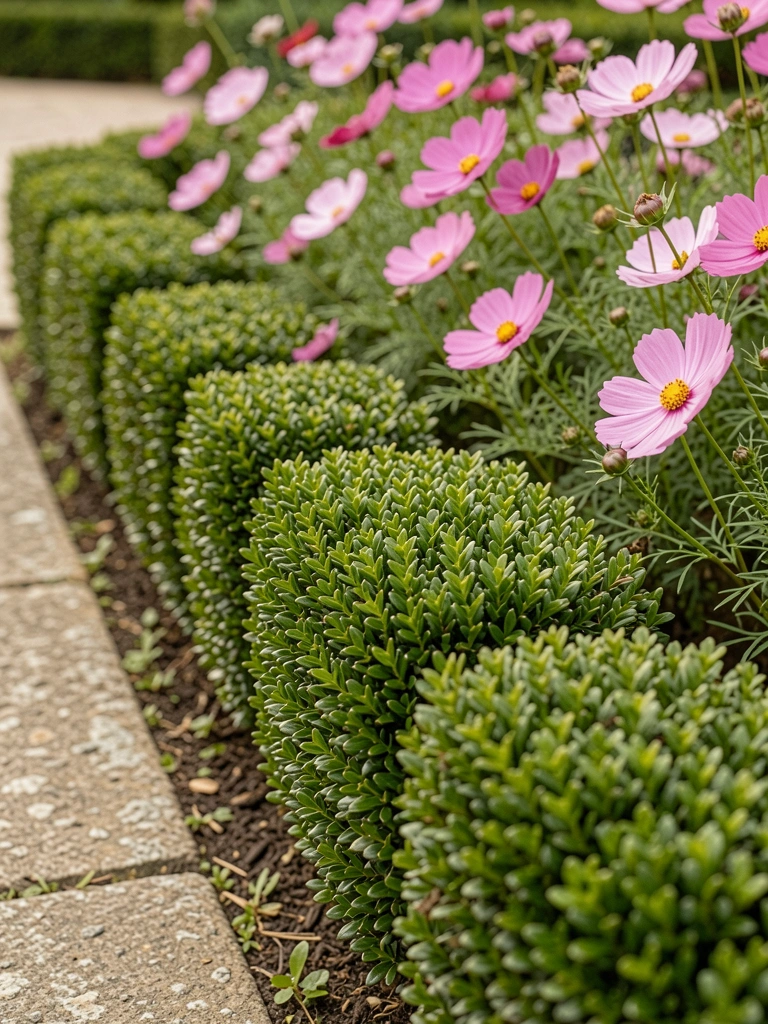
2. Compact Boxwood Frame Around Spring Bulbs
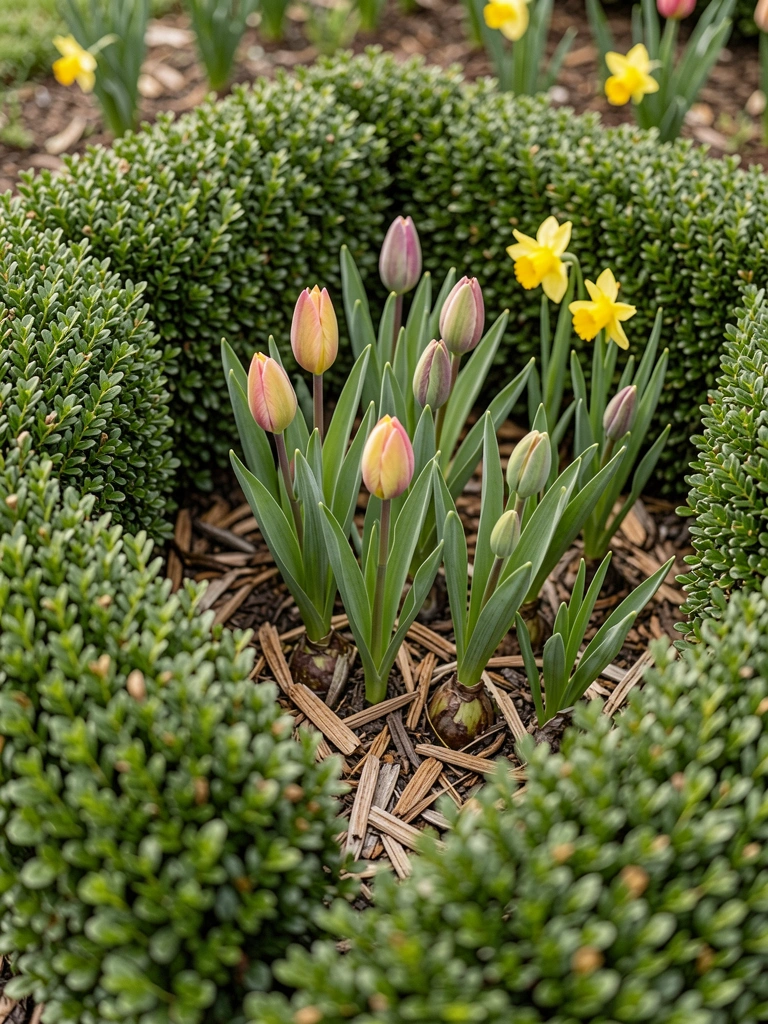
Boxwood outlines my entry bed like low arms hugging the path. I tucked daffodils and tulips inside—they pop yellow and pink in March, then fade quiet.
The structure holds through winter; no empty look. Guests notice the neat frame first.
I overplanted bulbs once; they choked each other. Now, five per square foot works.
Feels tidy yet alive. Trim boxwood twice a year, and it's set.
What You’ll Need for This Look
- Dwarf boxwood shrubs (1-gallon)
- Daffodil bulbs pack (10 count)
- Tulip bulbs mixed colors (15 count)
- Organic mulch bark (2 cu ft)
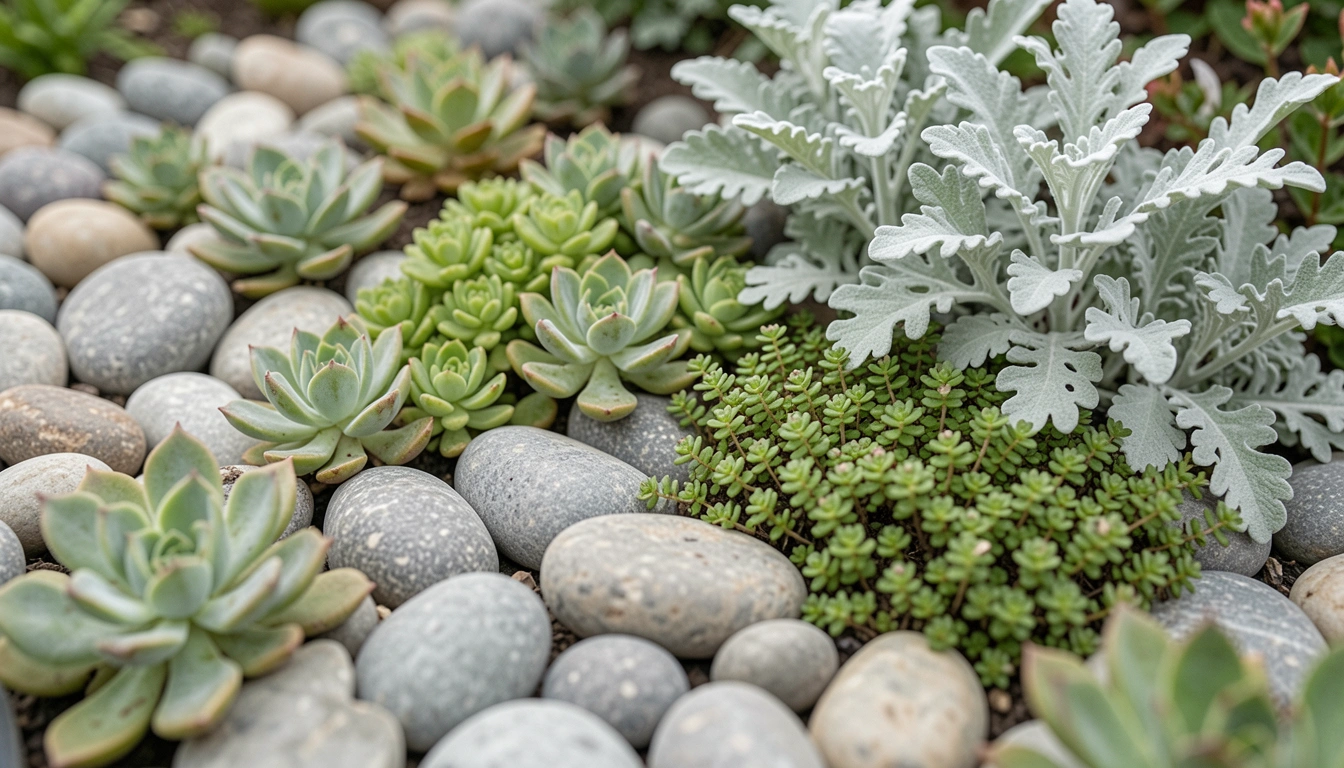
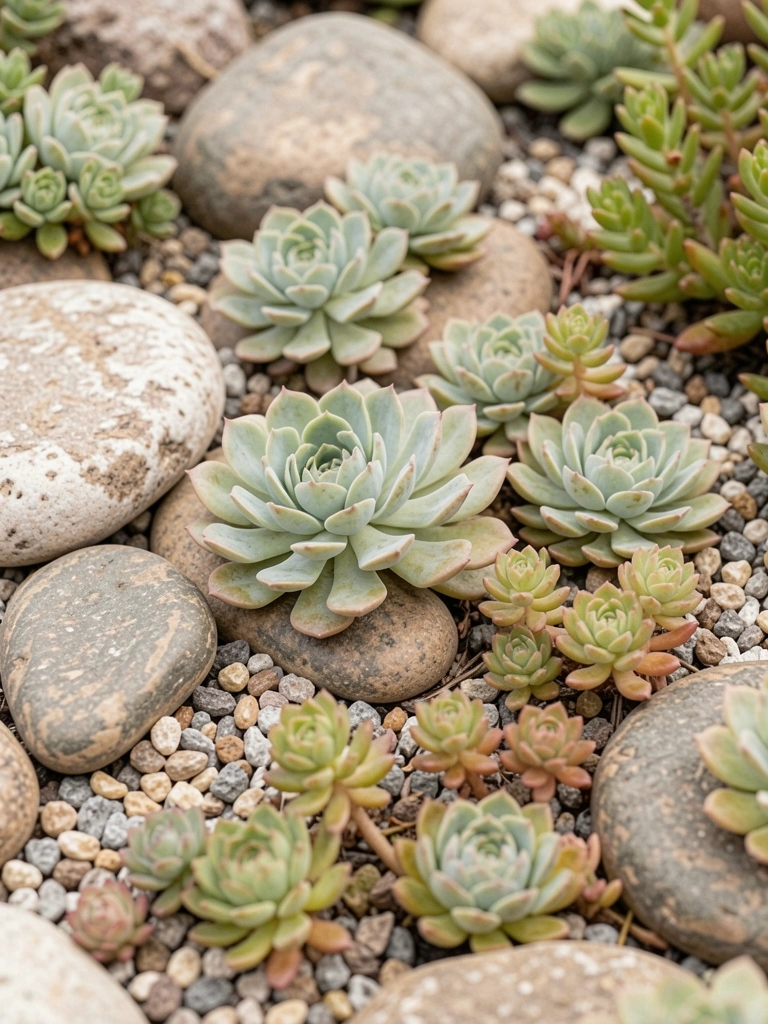
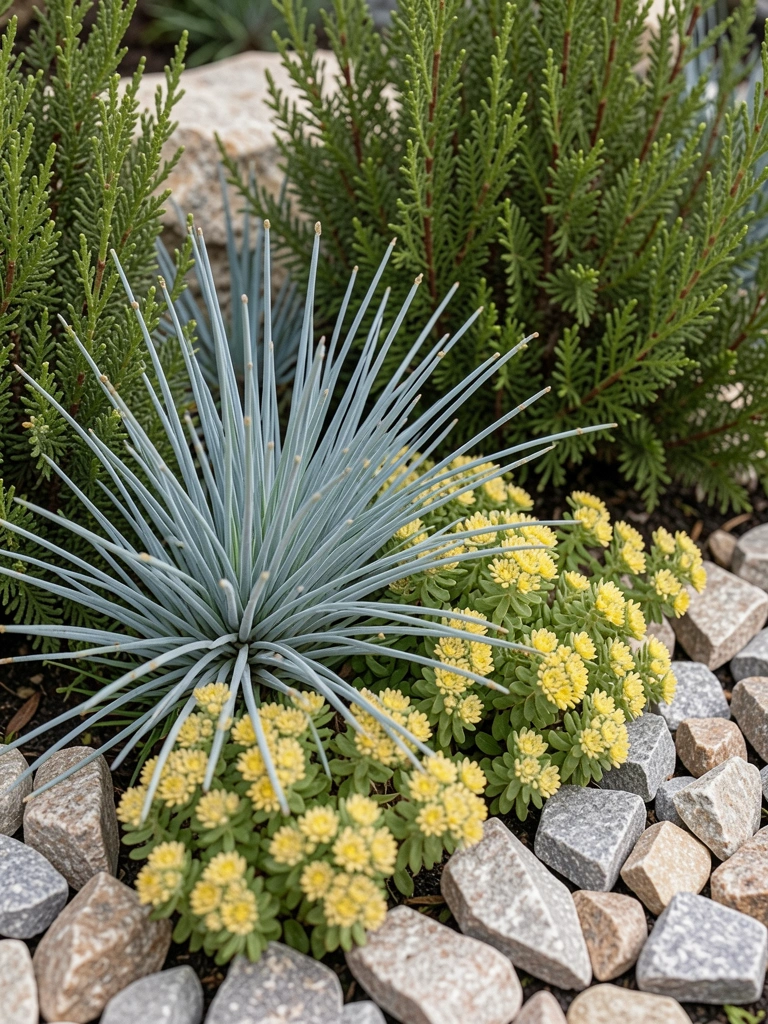
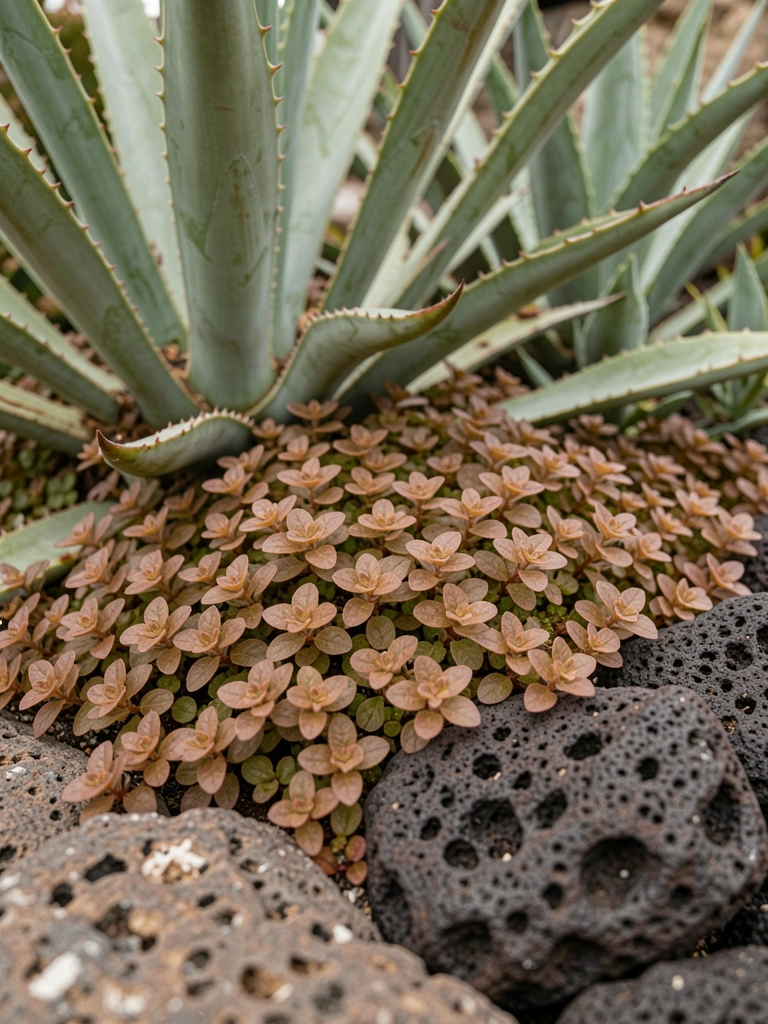
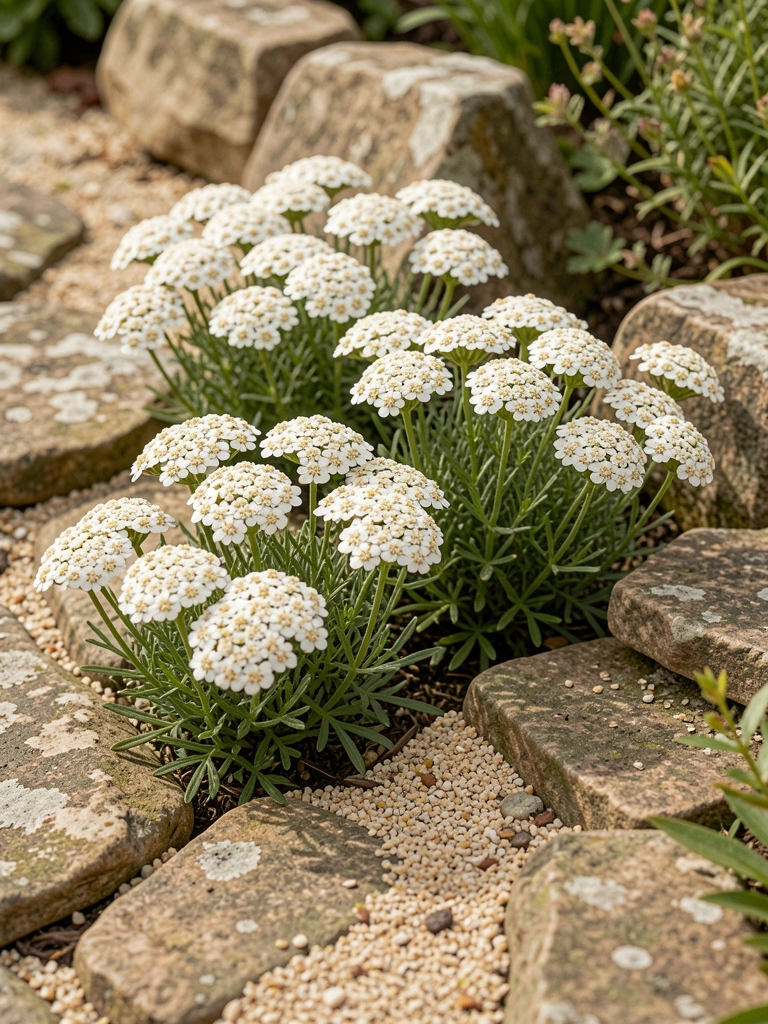
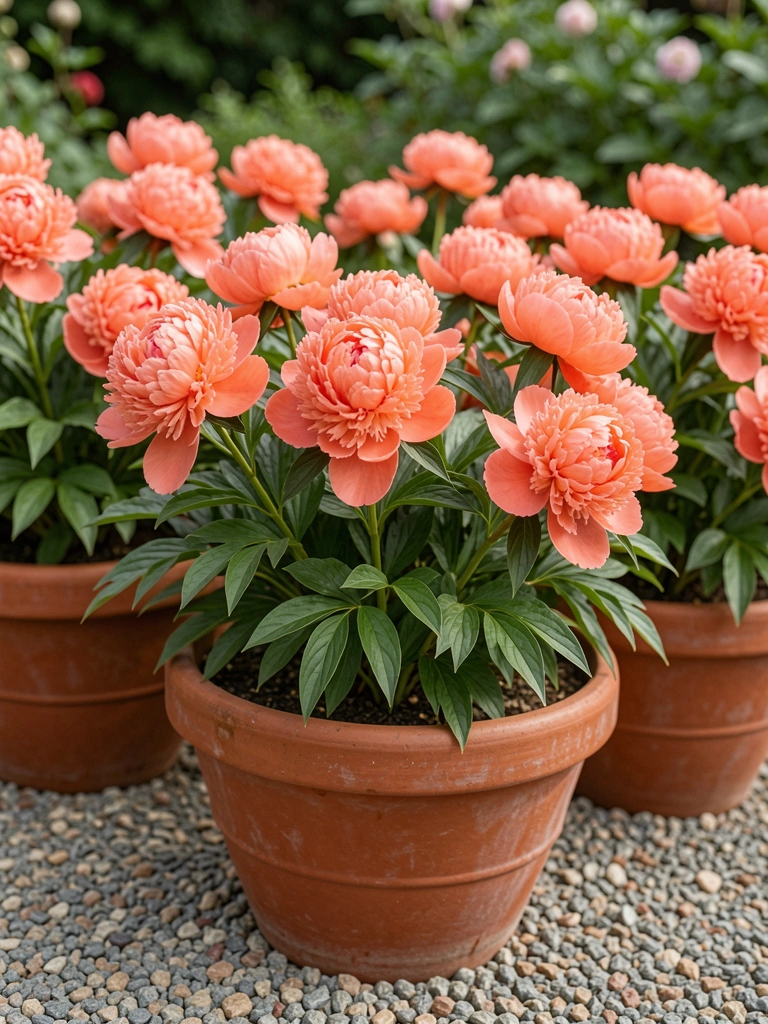
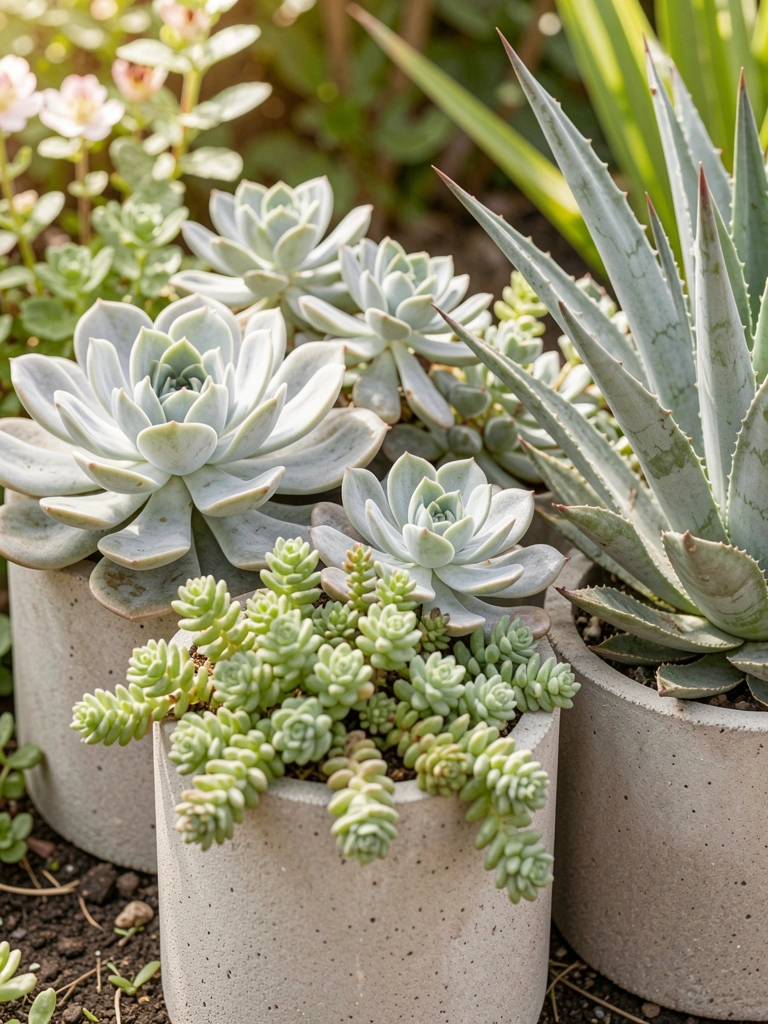
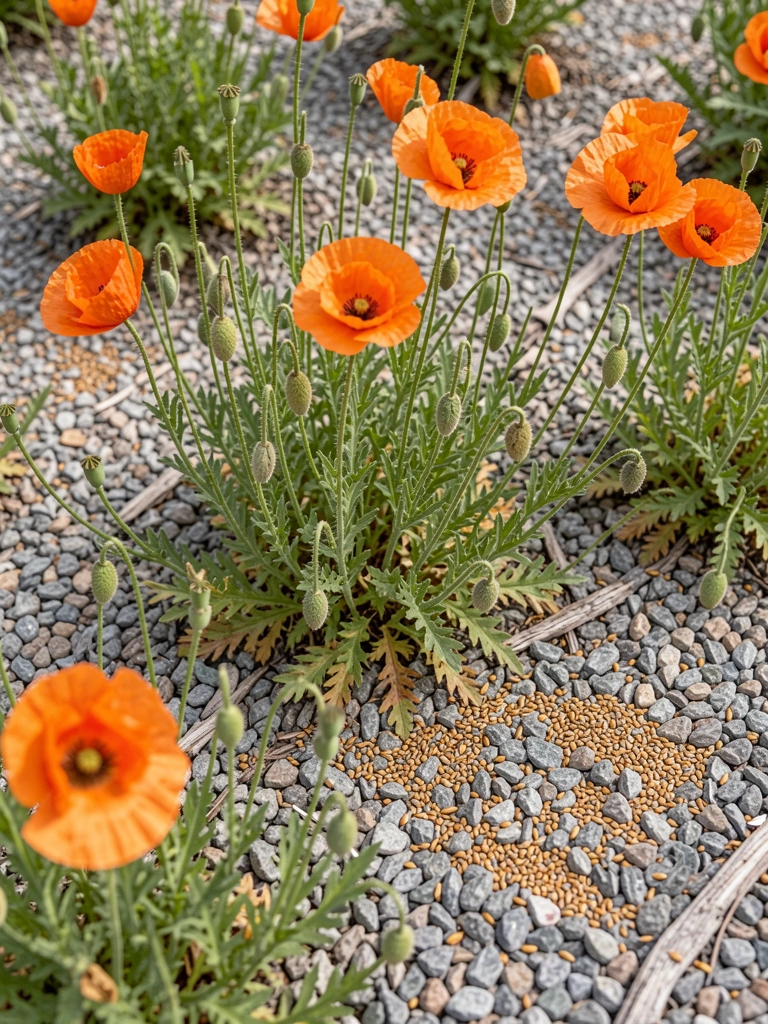
3. Gravel Patch with Drought-Tolerant Agave and Yarrow
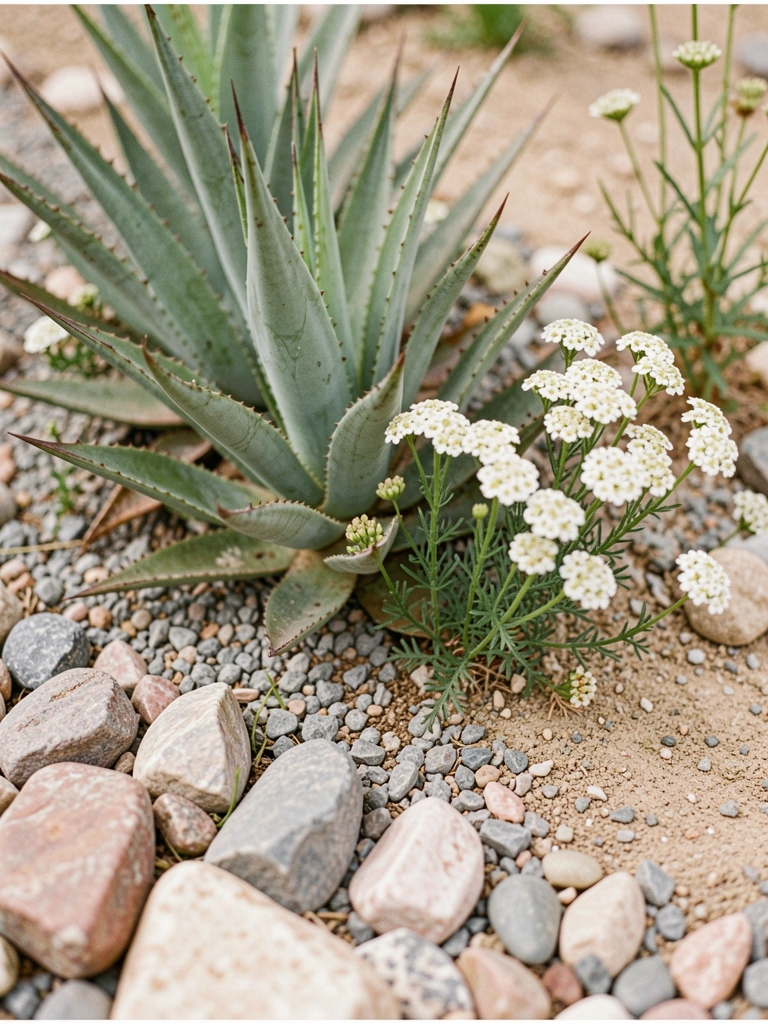
Gravel transformed my sunny front strip—no water bill spike. Agave sits bold in the center; yarrow fluffs white around it all summer.
It crunches underfoot, pulls heat off the house. Looks clean, not barren.
First try, yarrow flopped in clay; amended with sand now. Stays tough.
Feels modern, low fuss. Perfect if you forget to water.
What You’ll Need for This Look
- Agave plants (6-inch pots)
- Yarrow seeds or plugs (Achillea)
- River rock gravel (40 lb bag)
- Landscape fabric roll (3 ft x 50 ft)
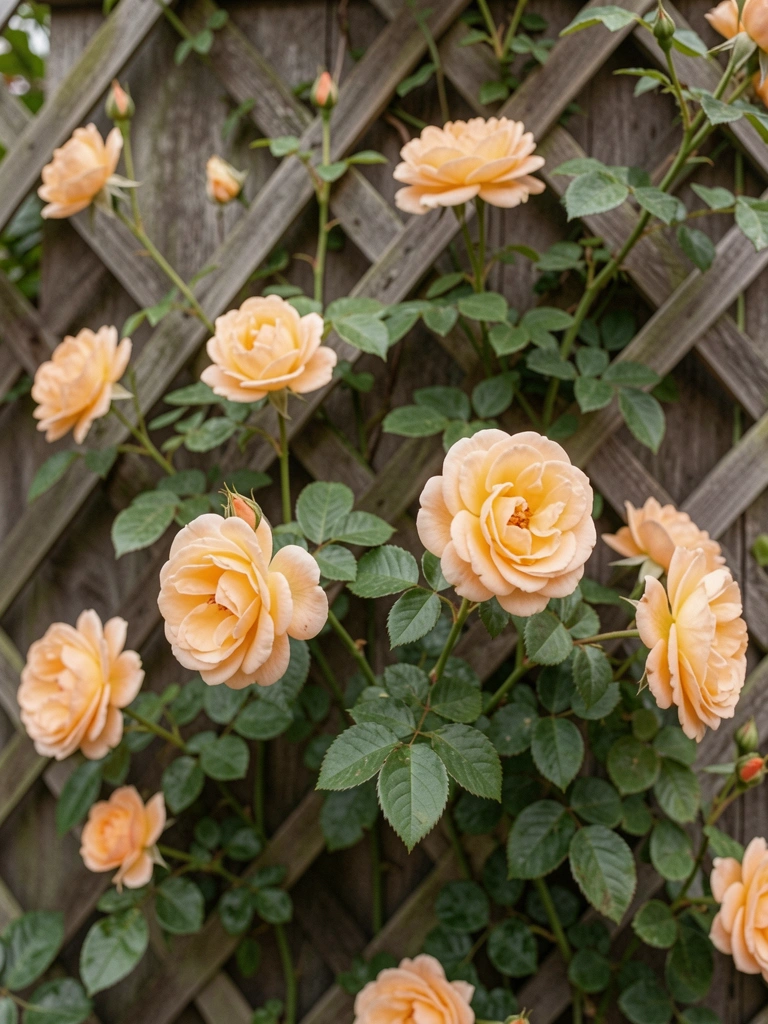
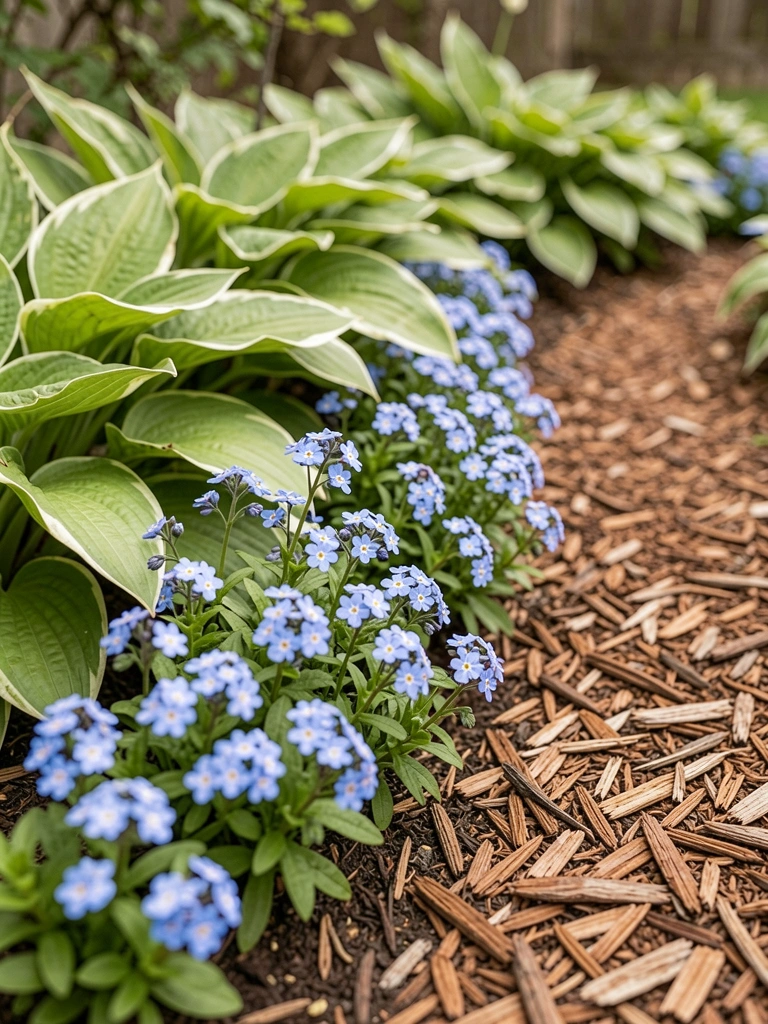
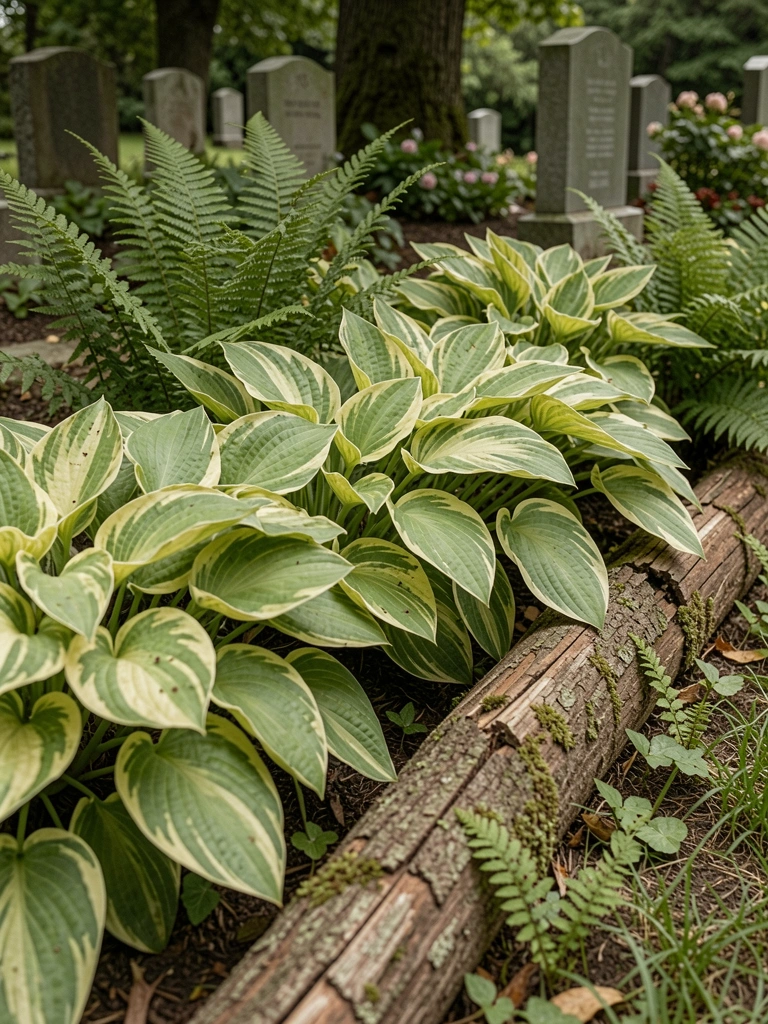
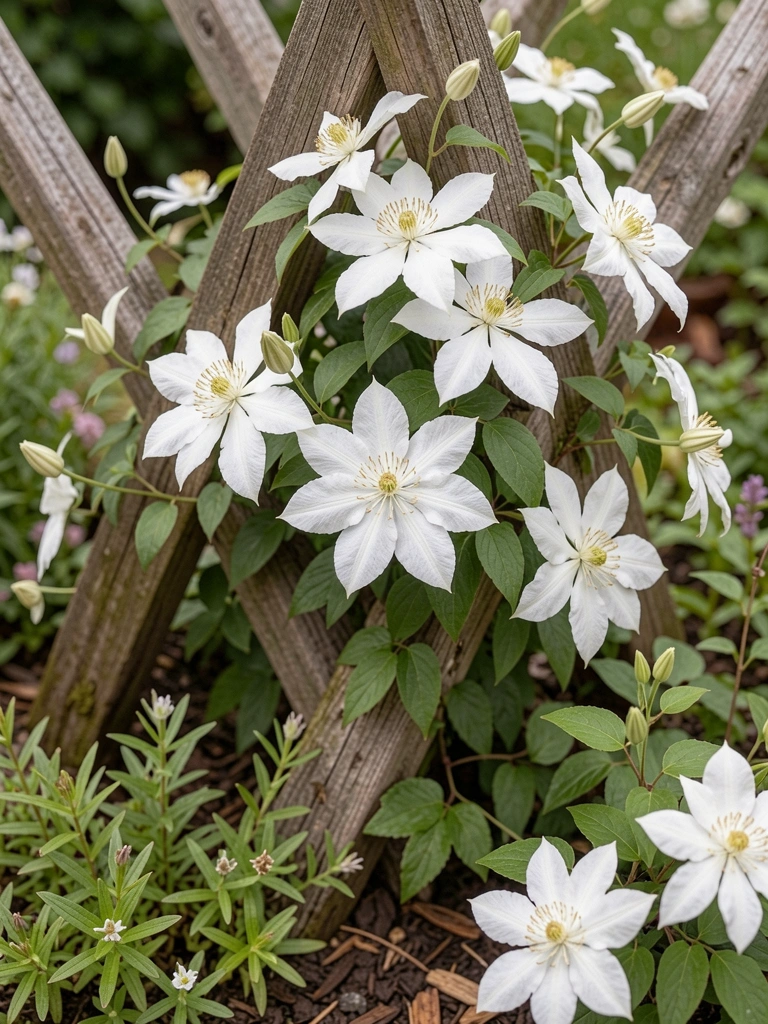
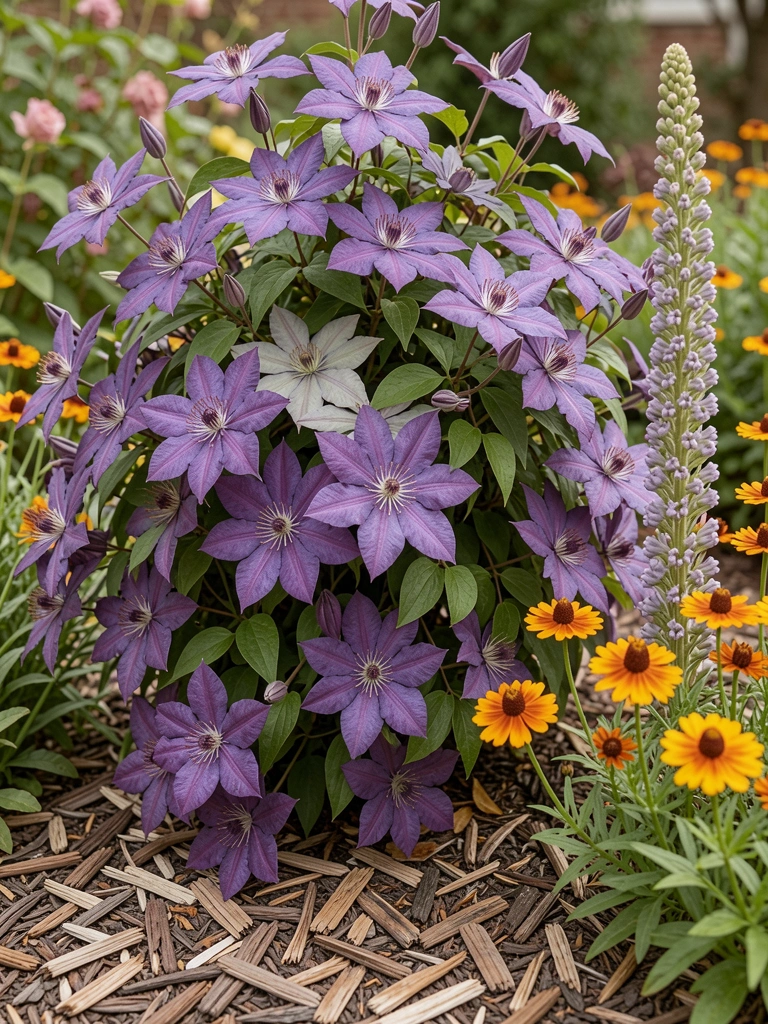
4. Trellis Corner with Clematis and Hostas Below

A slim trellis in the bed corner lets clematis climb wild—purple stars in June. Hostas shade the base, their leaves crinkling in breeze.
It turns a dead spot into depth. Path feels framed.
Clematis browned once from full sun; moved it shady now. Thrives.
Cozy nook vibe without taking space.
What You’ll Need for This Look
- Clematis vine (1-gallon pot)
- Hosta plants variegated (4-inch)
- Garden trellis panel (4 ft tall)
- Cedar mulch (2 cu ft)
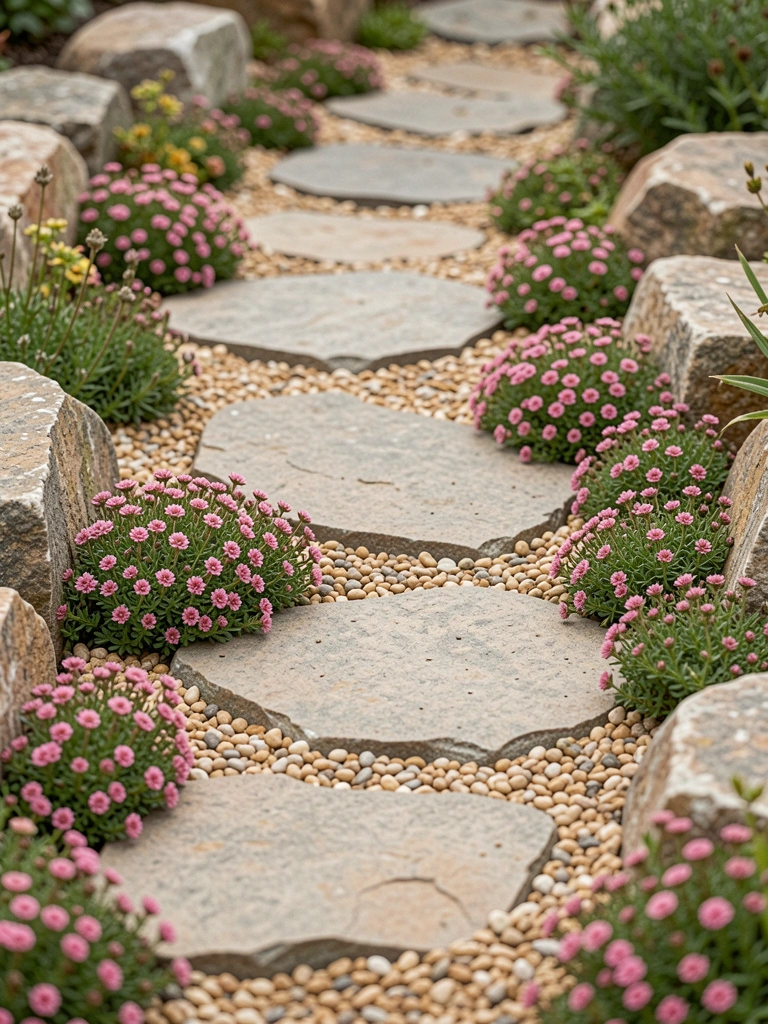
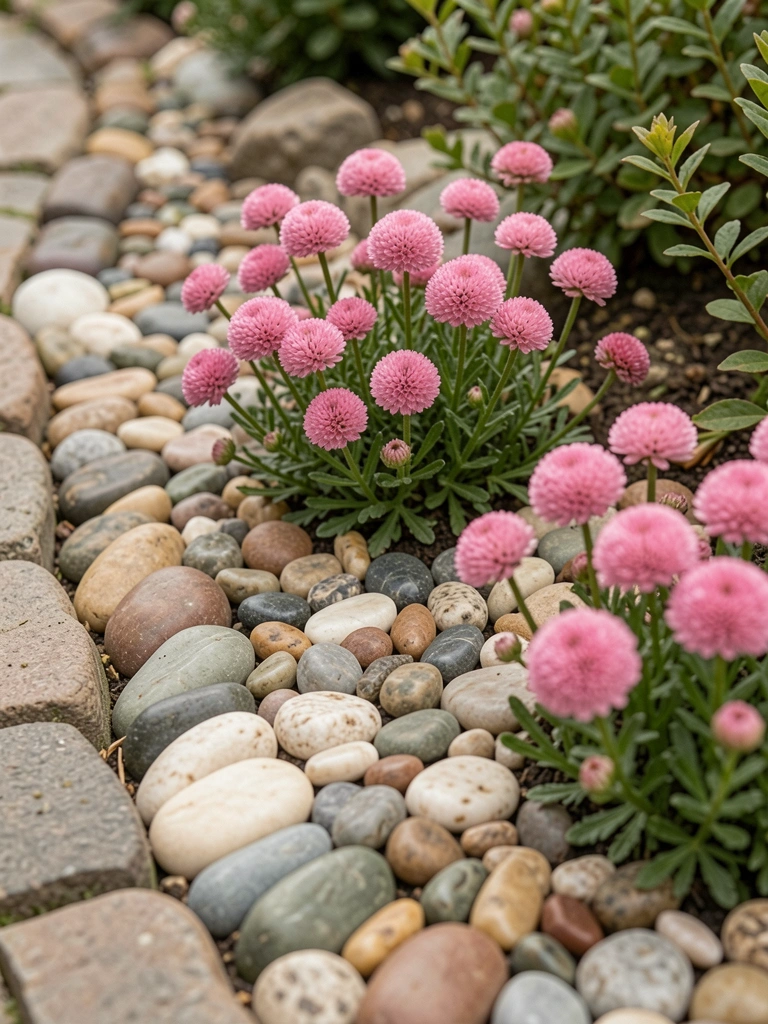
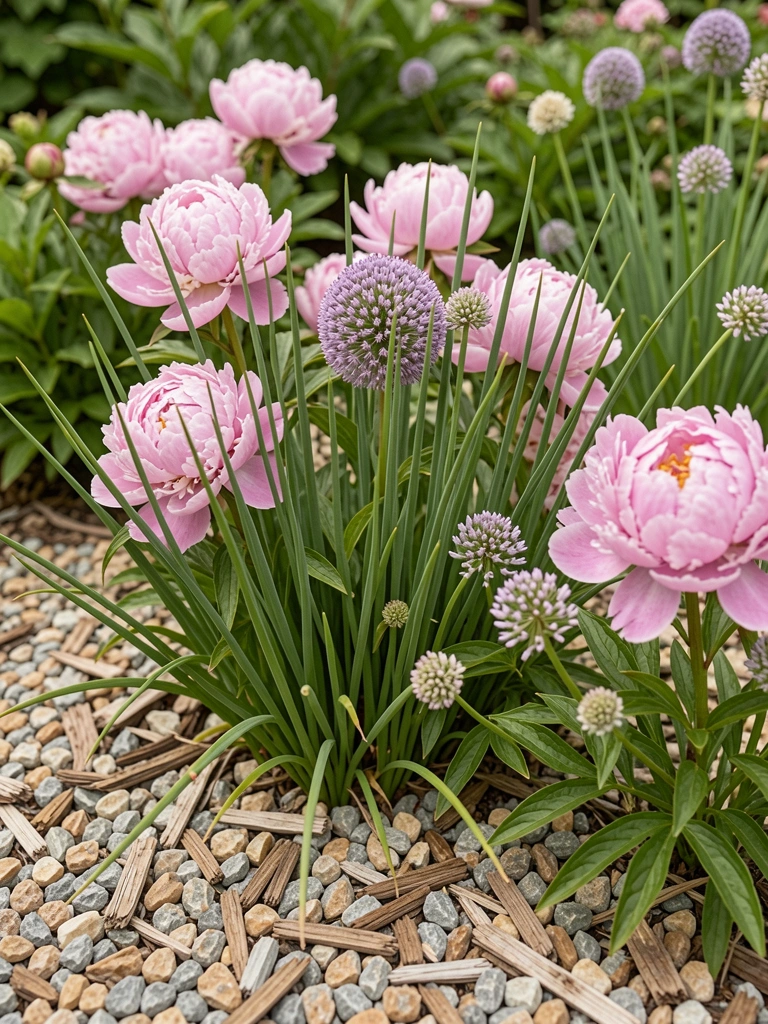
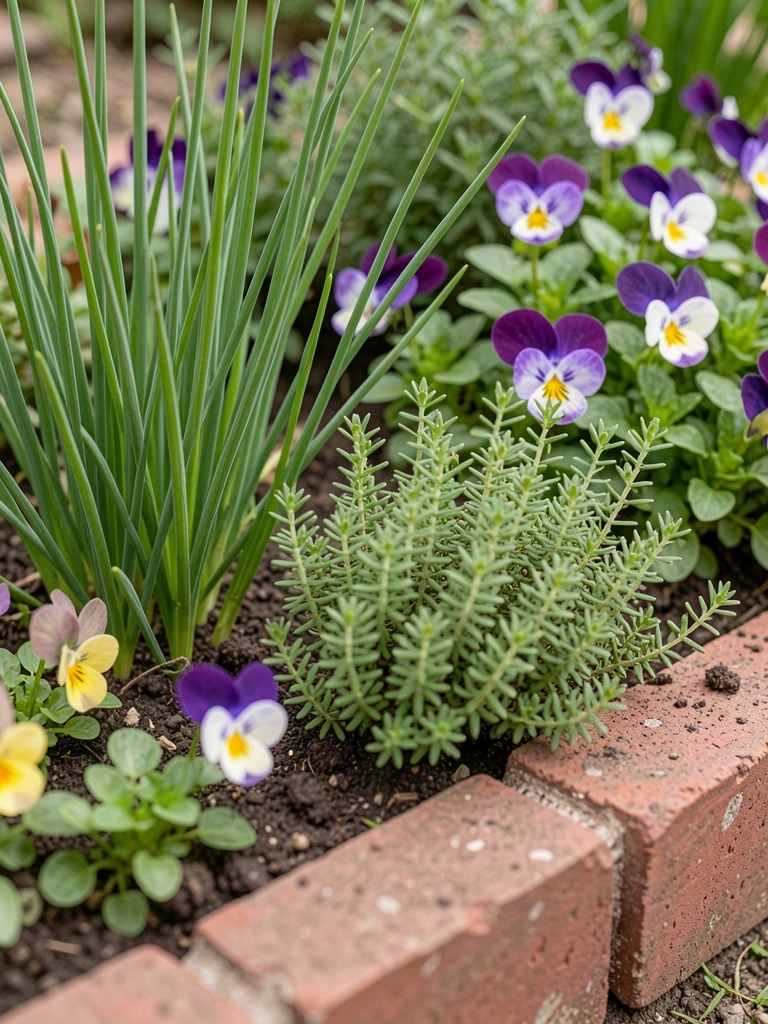
5. Herb Strip with Thyme and Chives Edging Steps
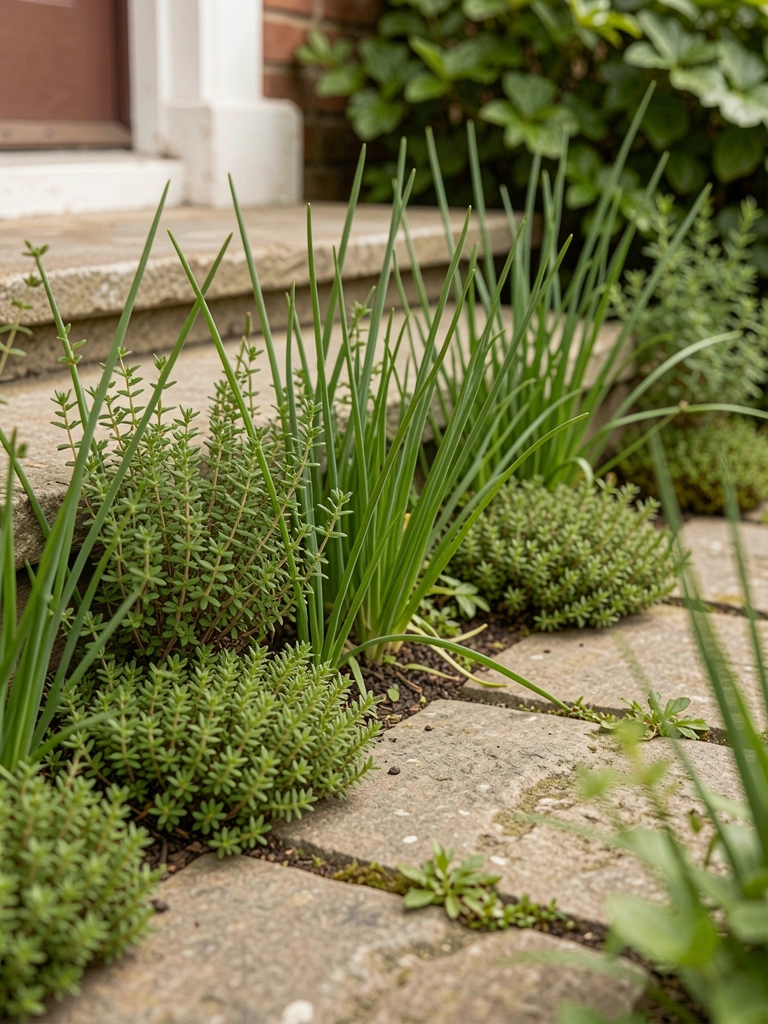
Thyme carpets the front bed edge, pink blooms in spring. Chives spike purple nearby—snip for kitchen.
Smells fresh every step up. Blends useful with pretty.
Planted too deep once; thyme sulked. Surface roots now.
Feels homey, like picking dinner.
What You’ll Need for This Look
- Creeping thyme plugs (pack of 10)
- Chive plants (4-inch pots)
- Step edging stones (6-inch)
- Compost soil amendment (1 cu ft)
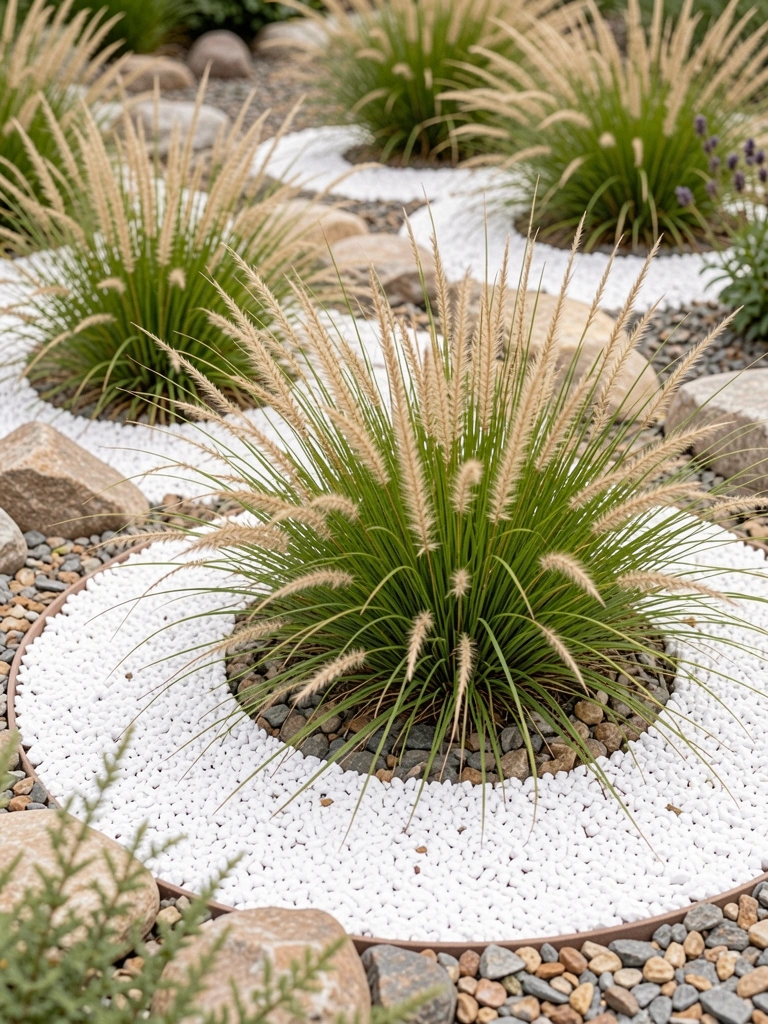
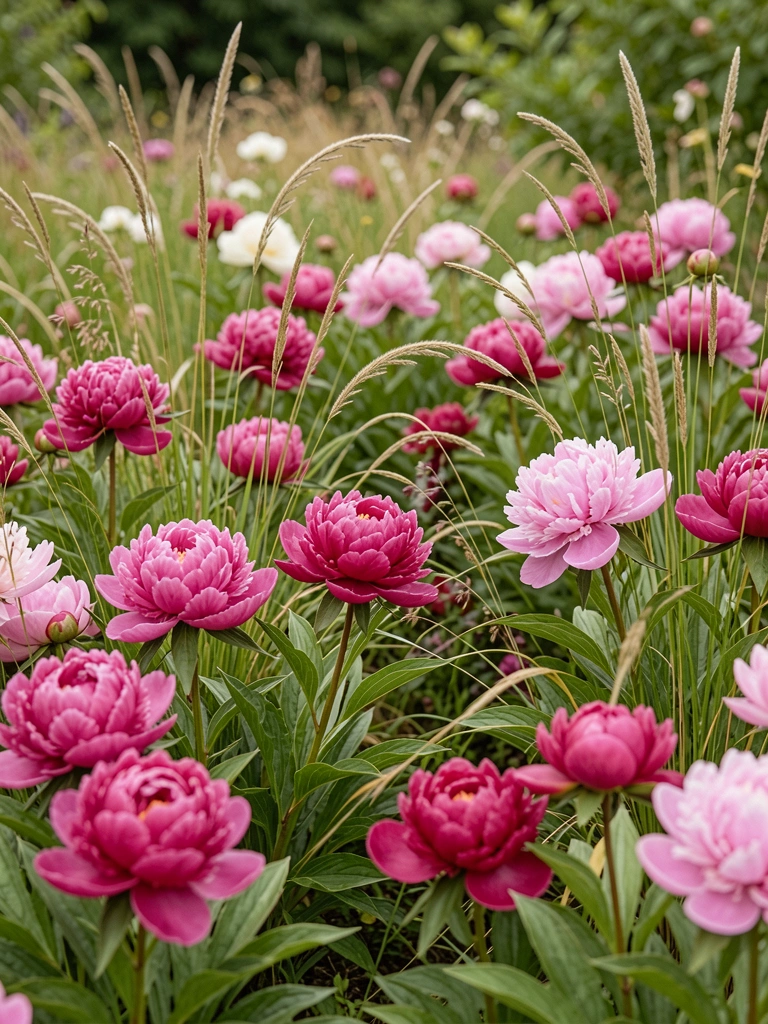
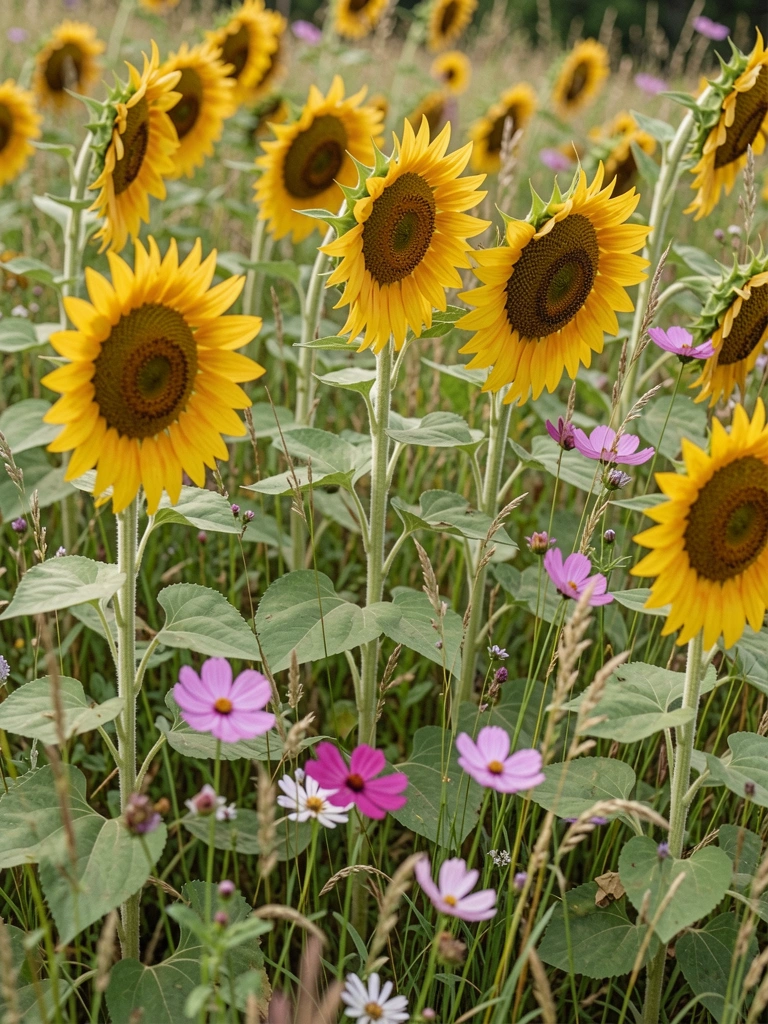
6. Ornamental Grass Tufts with Black-Eyed Susan Accents
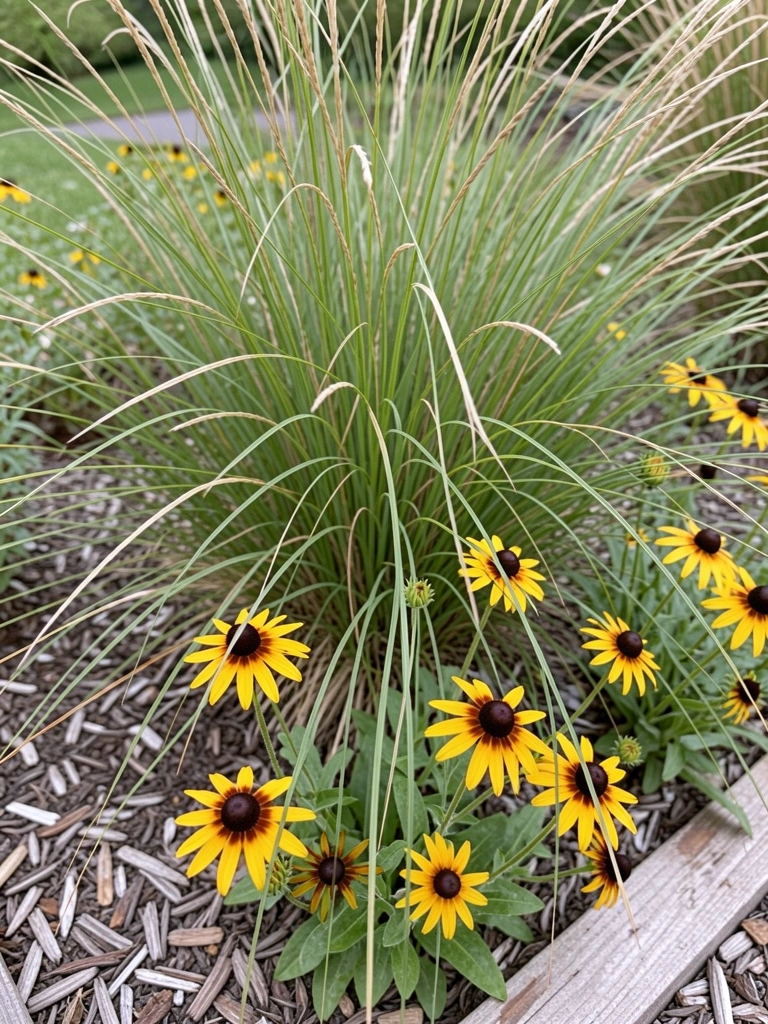
Grasses sway in my bed like waves—feather reed stays neat. Black-eyed Susans nod yellow late summer.
Movement catches the eye from the street. Softens hard edges.
Grasses flopped in wet soil first; better drainage fixed it.
Clean, modern feel that waves hello.
What You’ll Need for This Look
- Feather reed grass (1-gallon)
- Black-eyed Susan seeds (Rudbeckia)
- Rubber garden edging (4 ft strips)
- Pine bark mulch (40 qt)
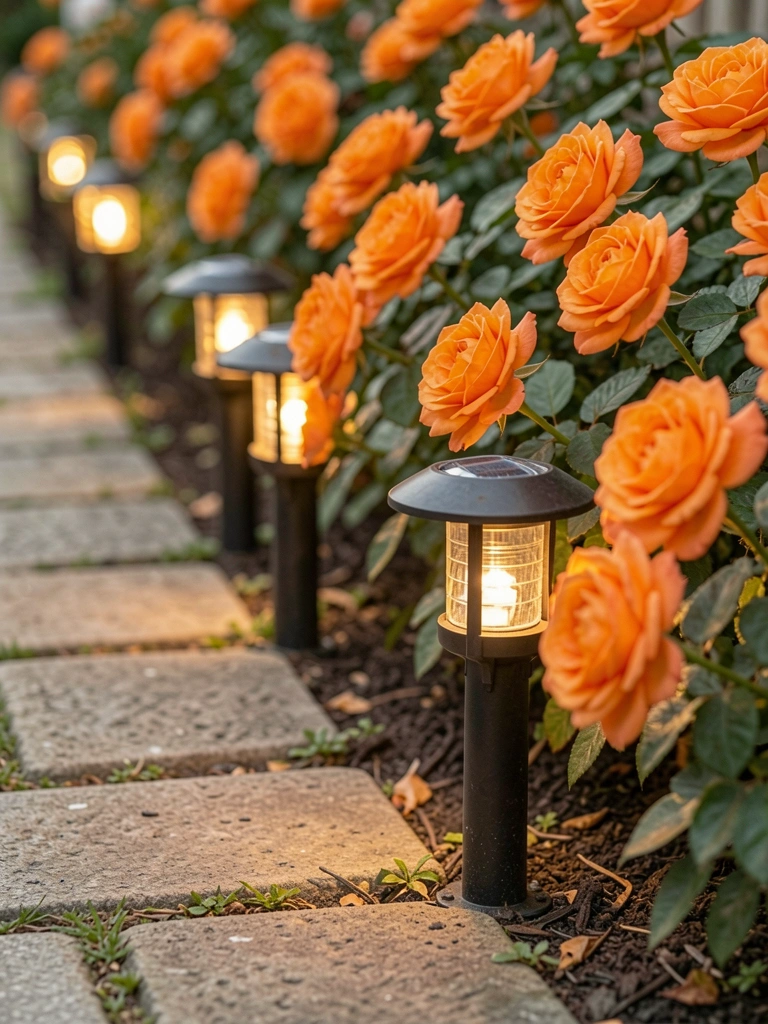
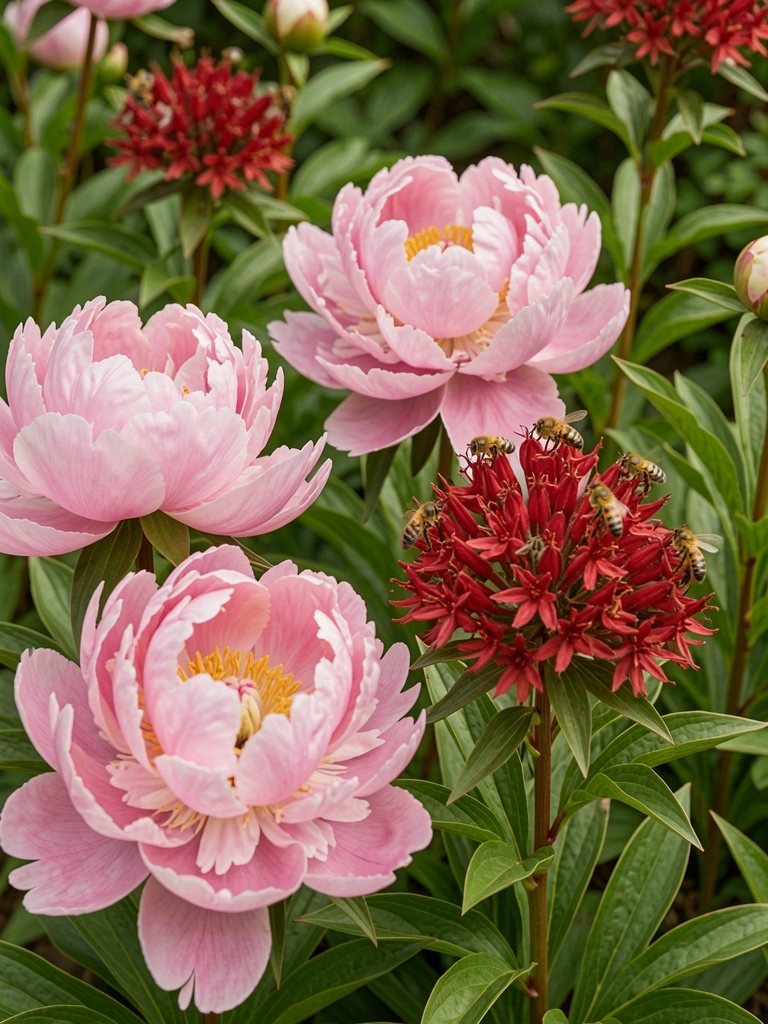
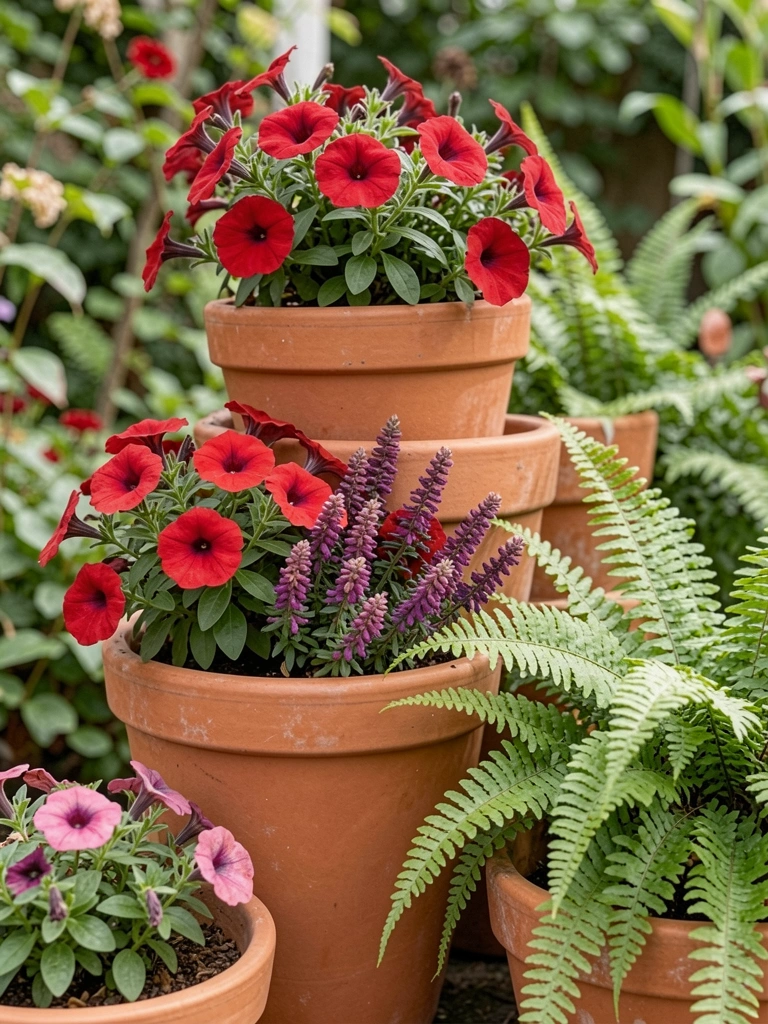
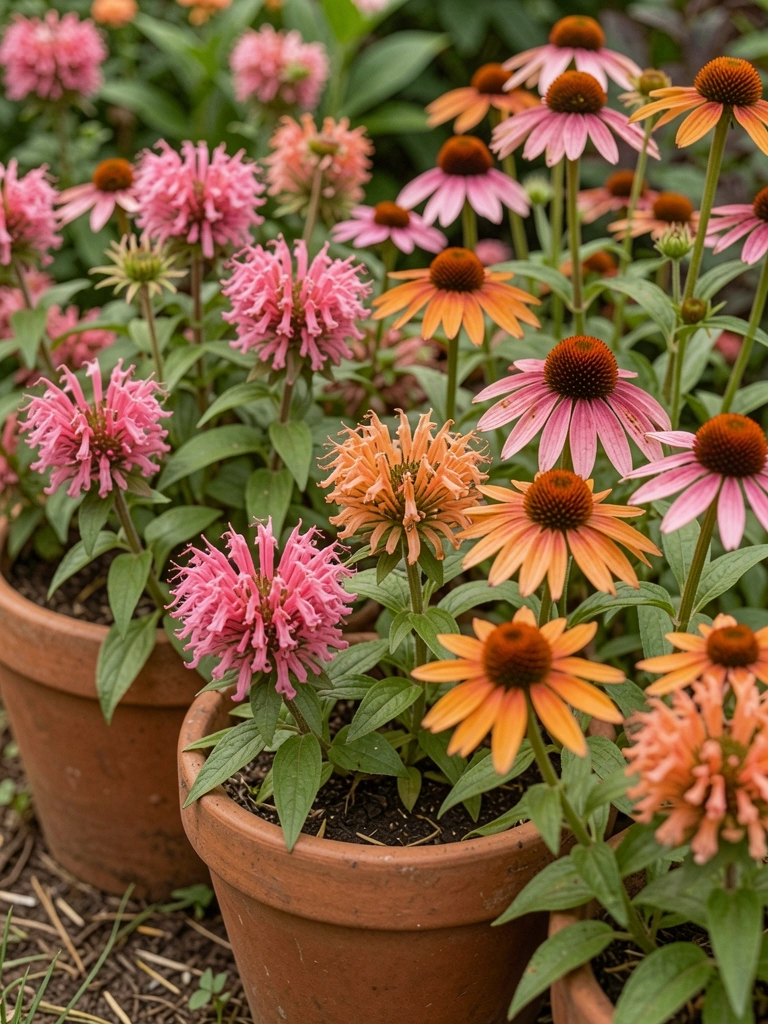
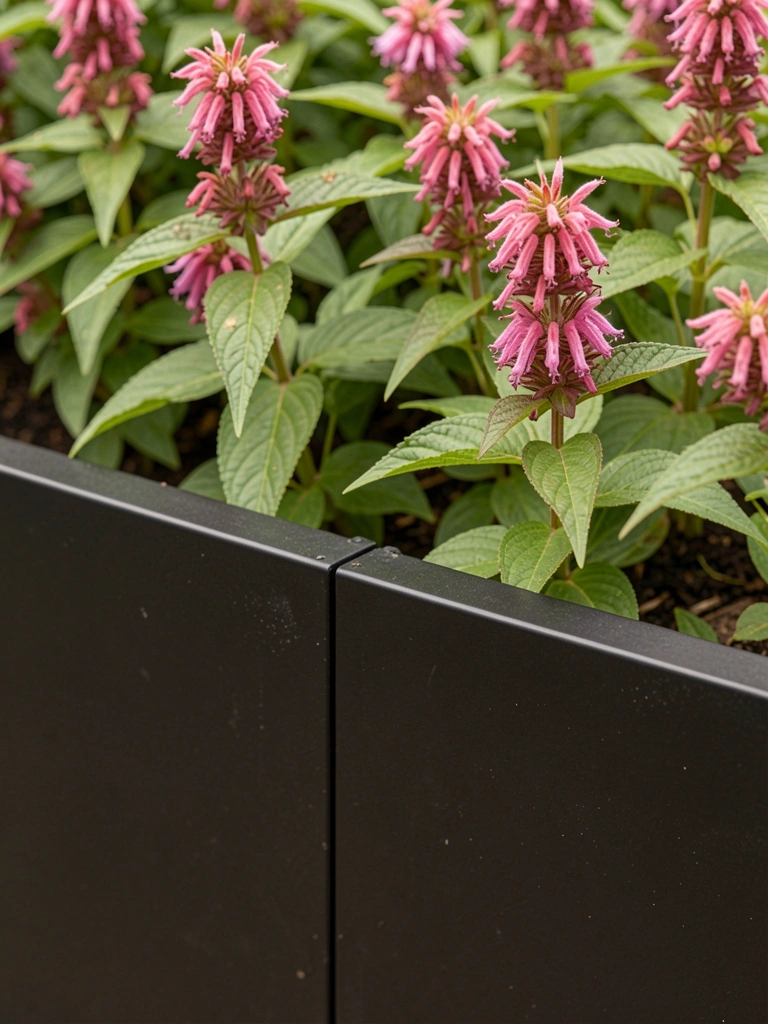
7. Bee Balm Cluster with Fern Underlay
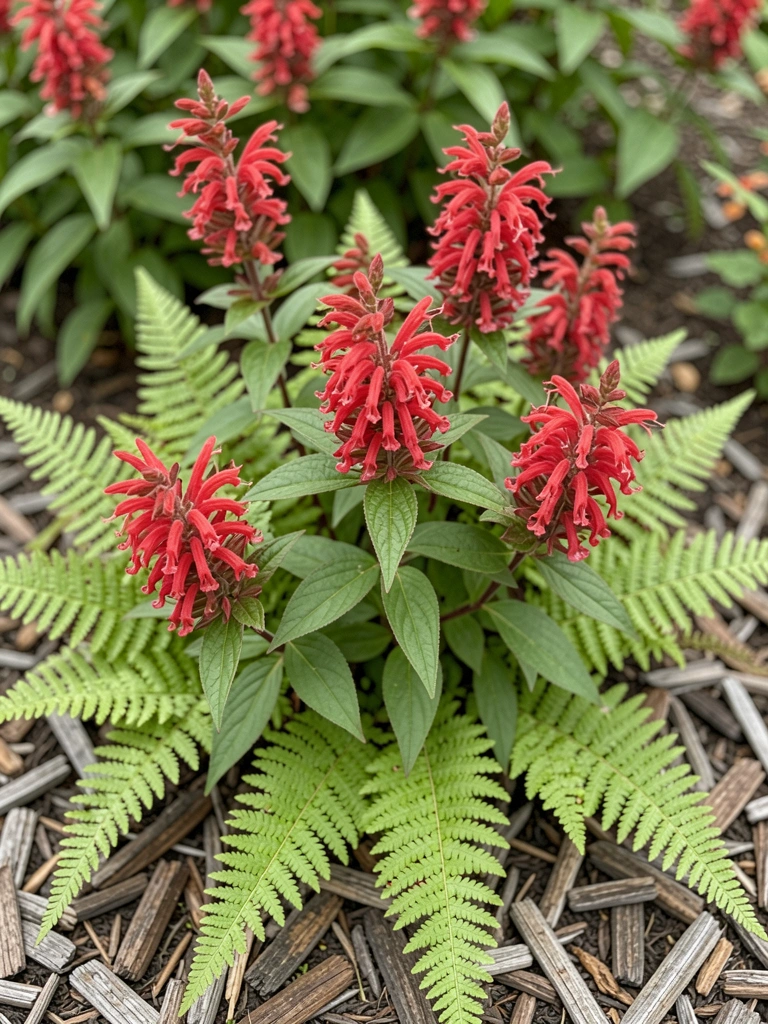
Bee balm towers red in the bed center, butterflies flock. Ferns fill below, soft and shady.
Buzzing life right at the door. Feels wild but contained.
Bee balm spread too far once; divide yearly now.
Warm, inviting patch.
What You’ll Need for This Look
- Bee balm plants (Monarda, 1-quart)
- Ostrich fern divisions
- Solar stake lights (pack of 8)
- Wood chip mulch (50 lb)
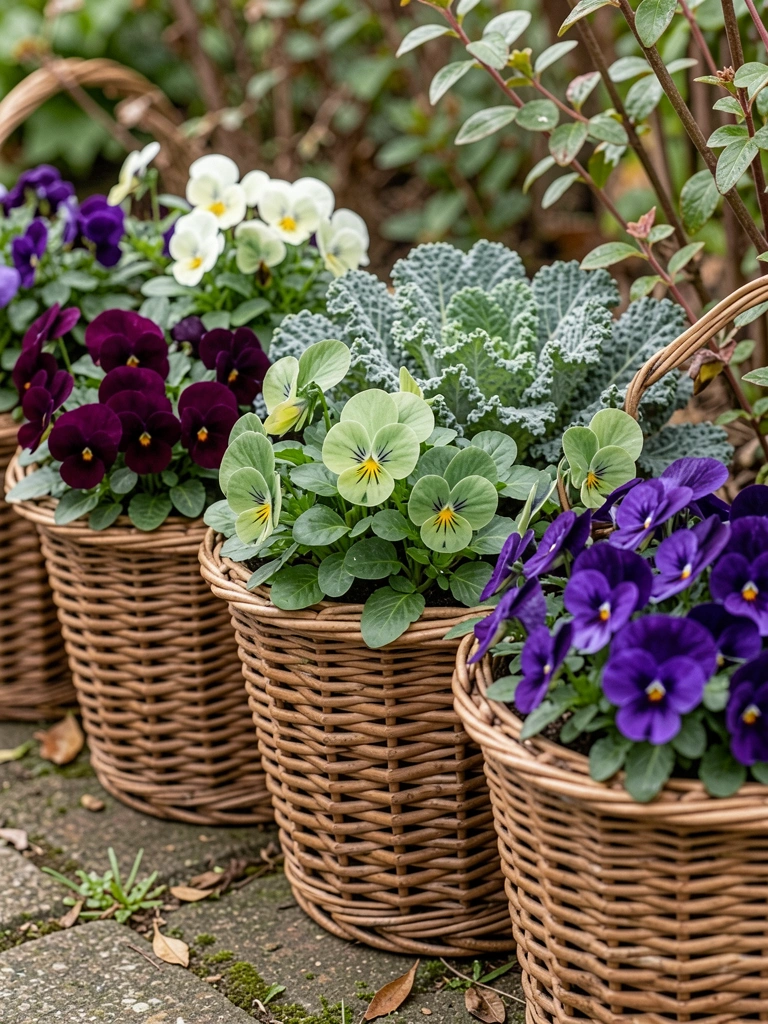
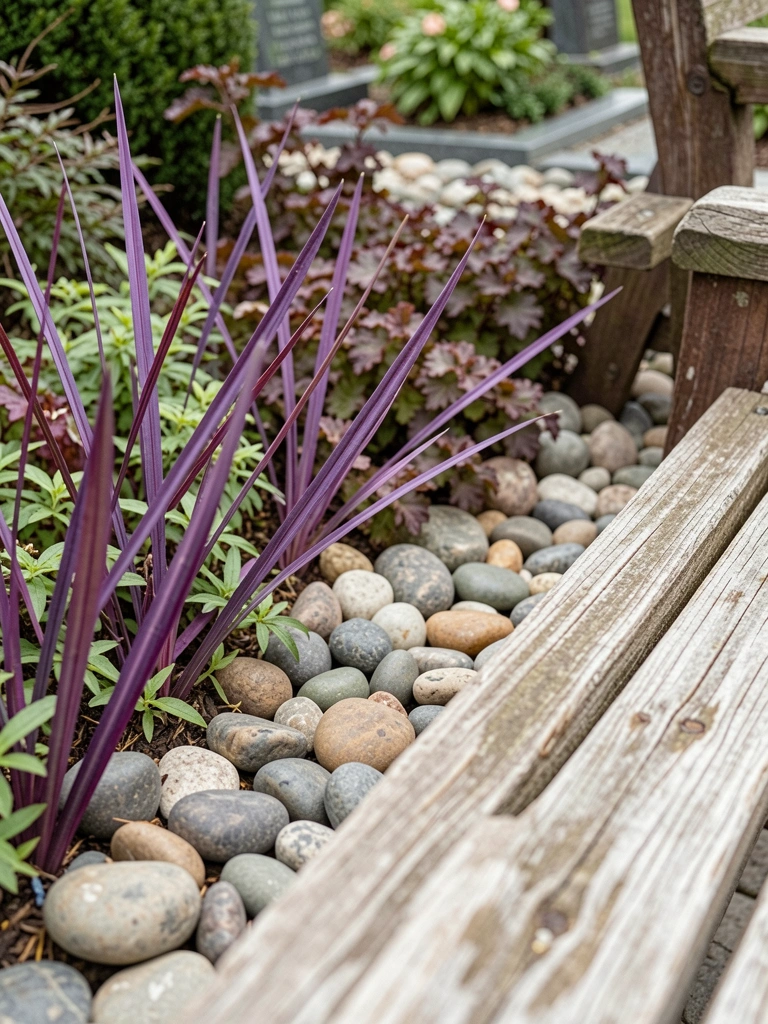
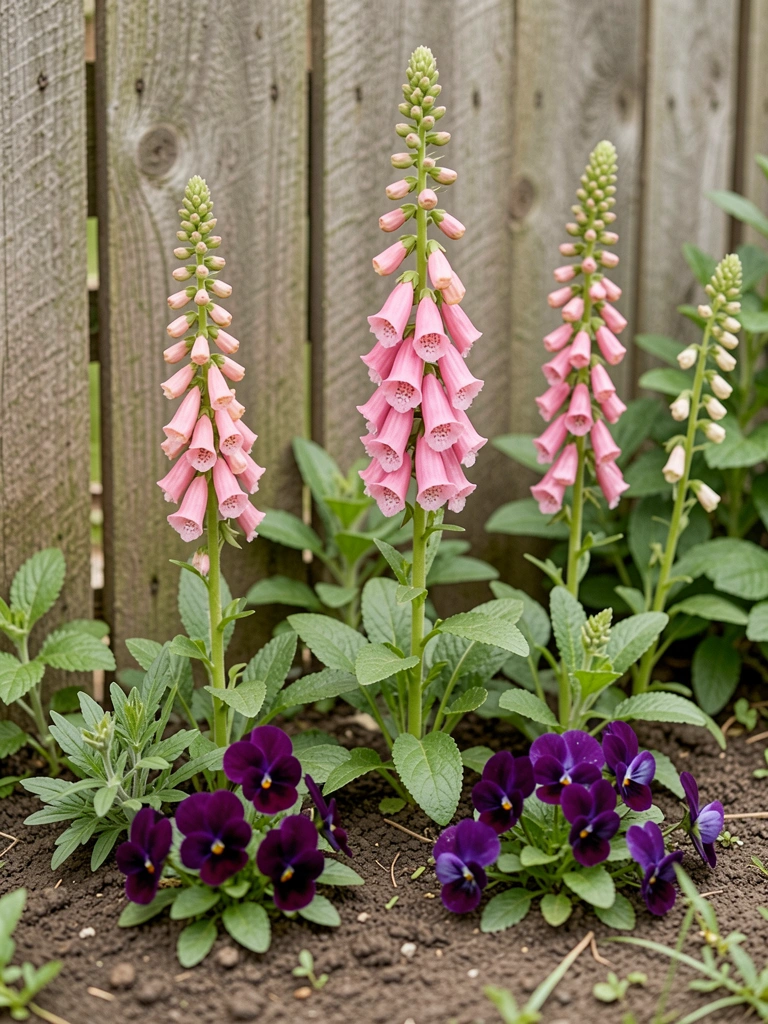
8. Mailbox Surround with Pansy and Heuchera Mix
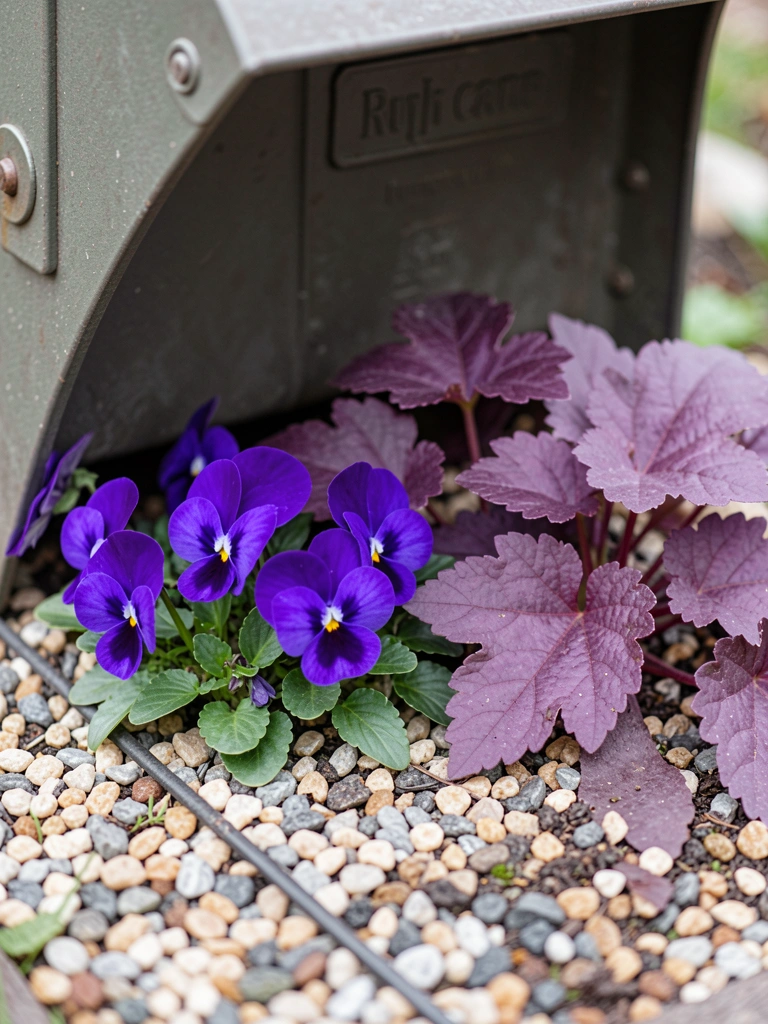
Pansies hug my mailbox base, color through frost. Heuchera leaves stay purple year-round.
Draws mail checkers in. Pops against house.
Pansies drowned in winter wet; gravel base saves them.
Comfortable, colorful welcome.
What You’ll Need for This Look
- Pansy flats (6-pack)
- Heuchera coral bells (1-gallon)
- Decorative gravel (20 lb)
- Garden hose nozzle adjustable
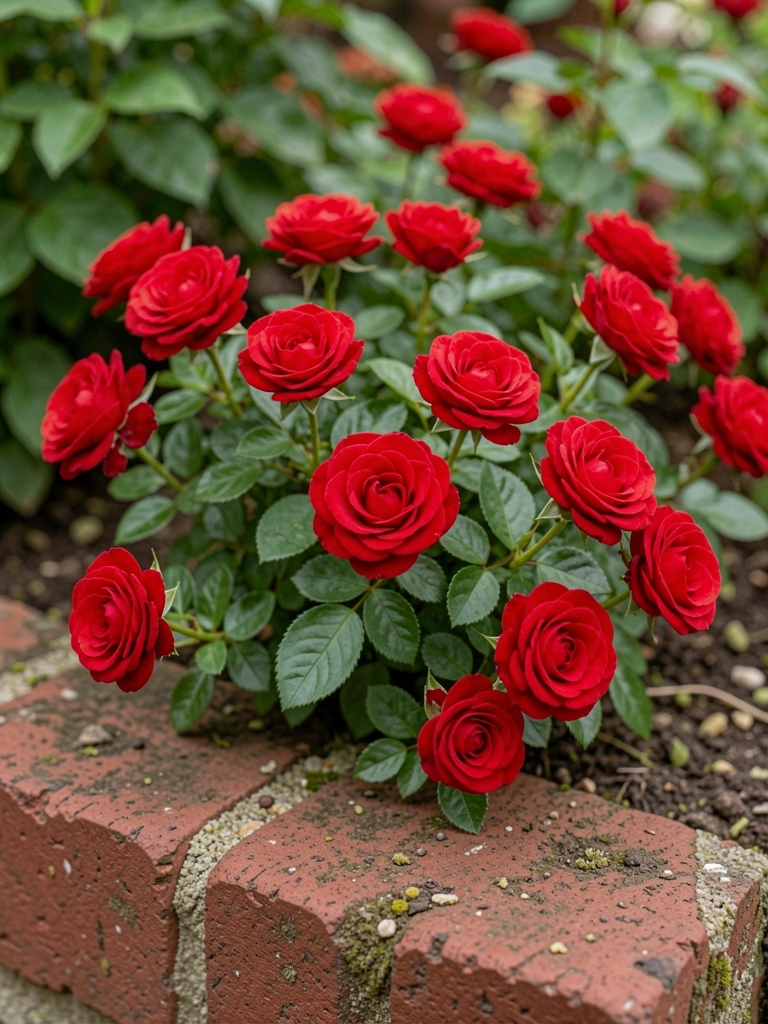
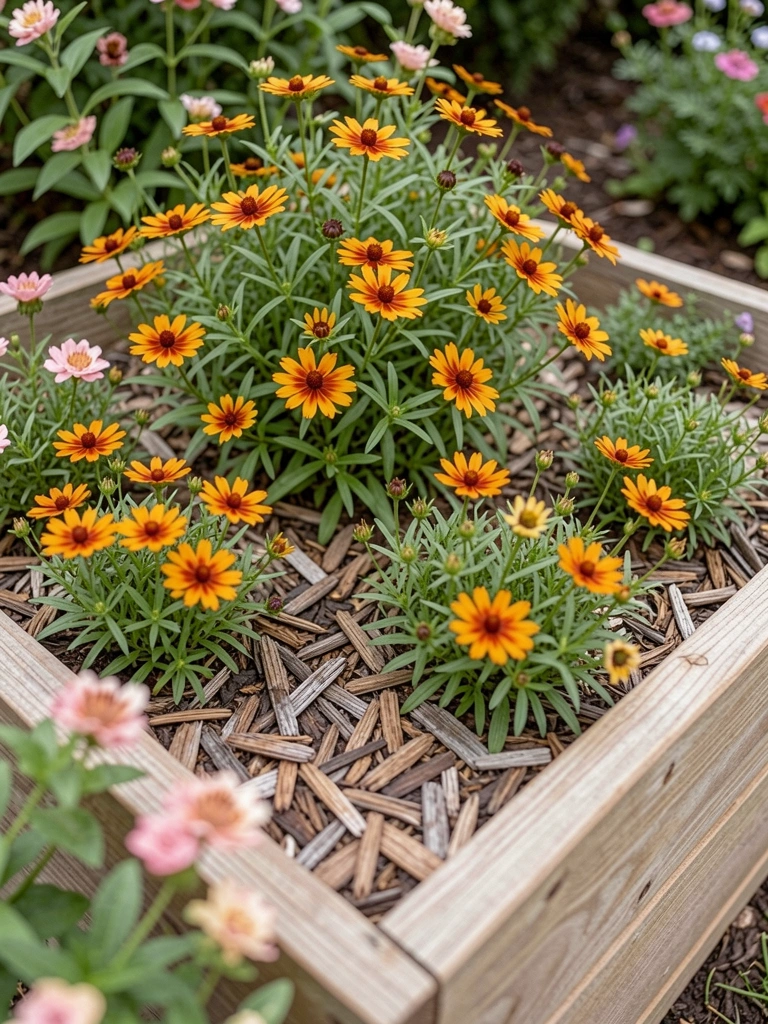
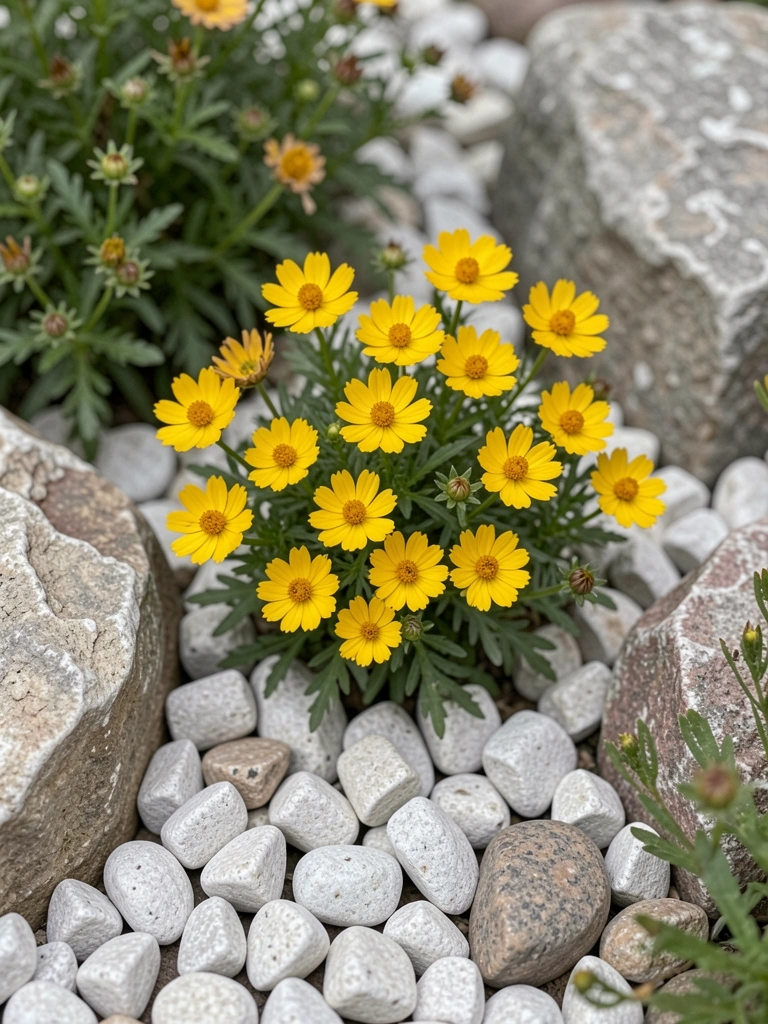
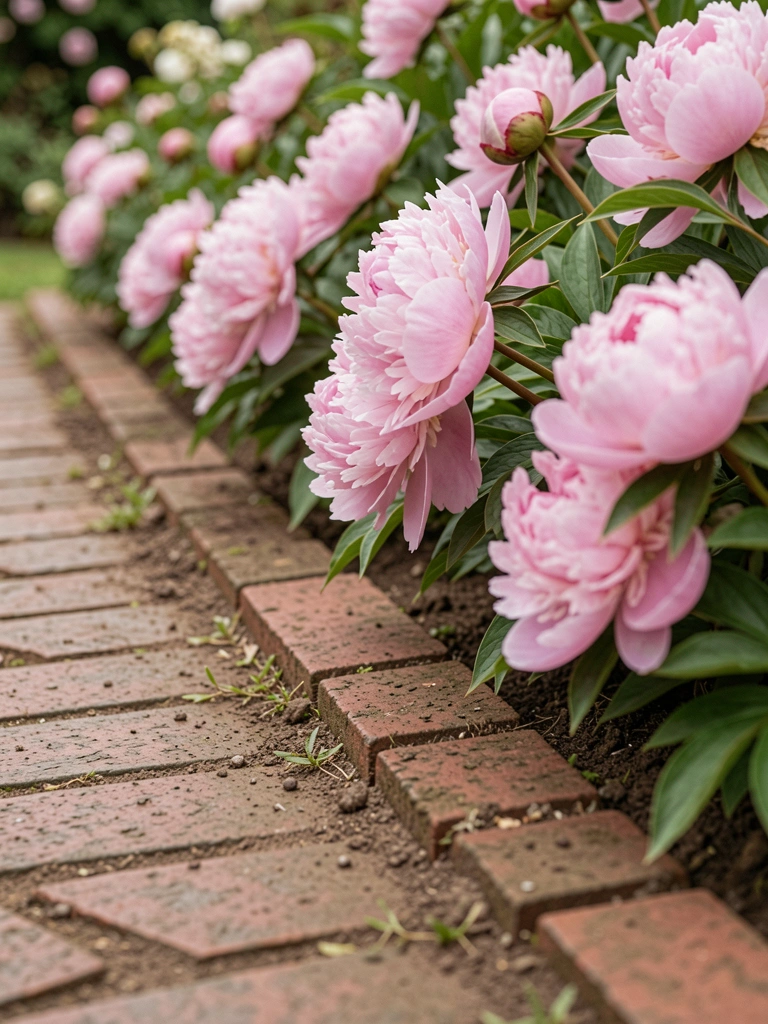
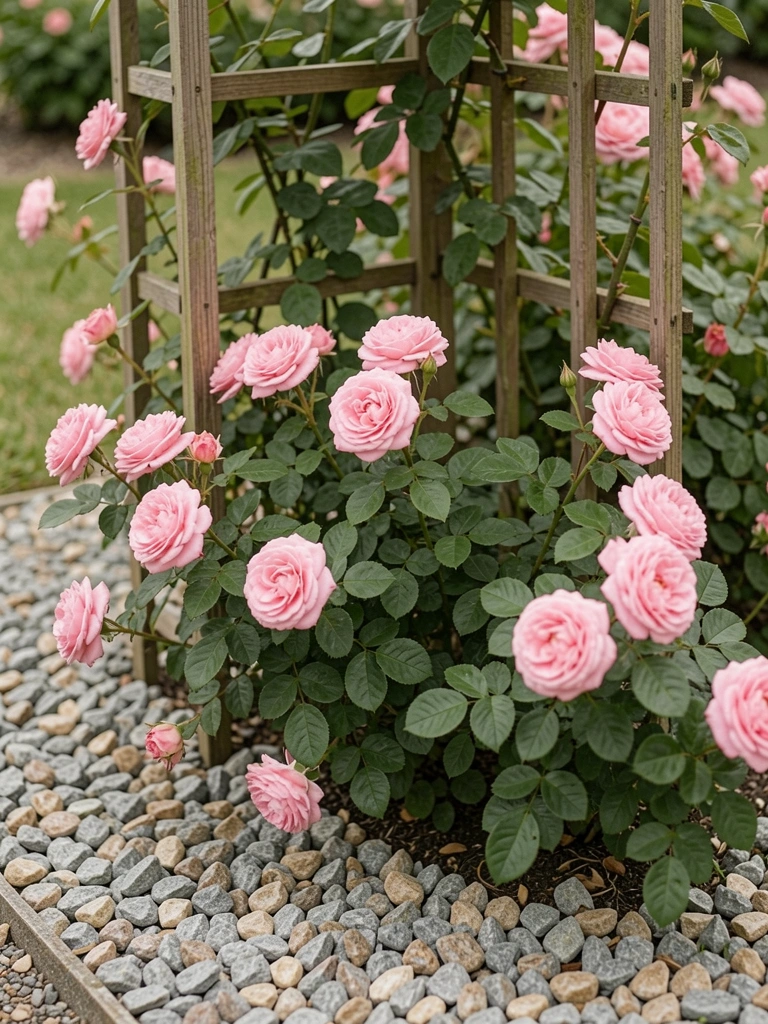
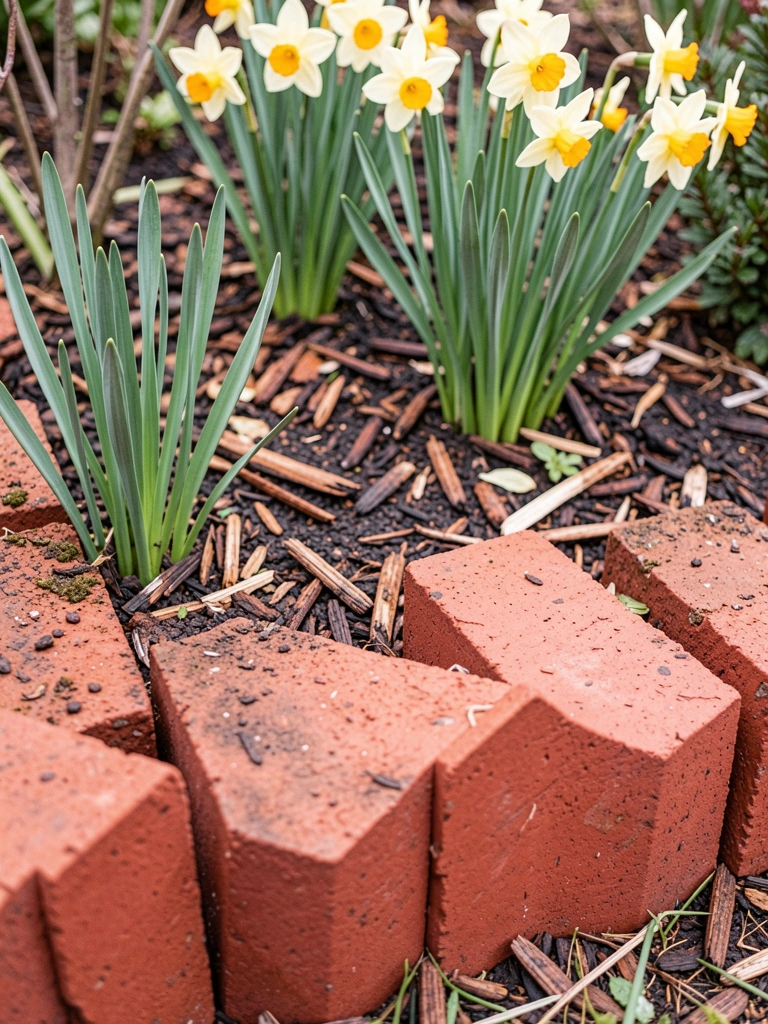
9. Brick Border with Coreopsis and Catmint
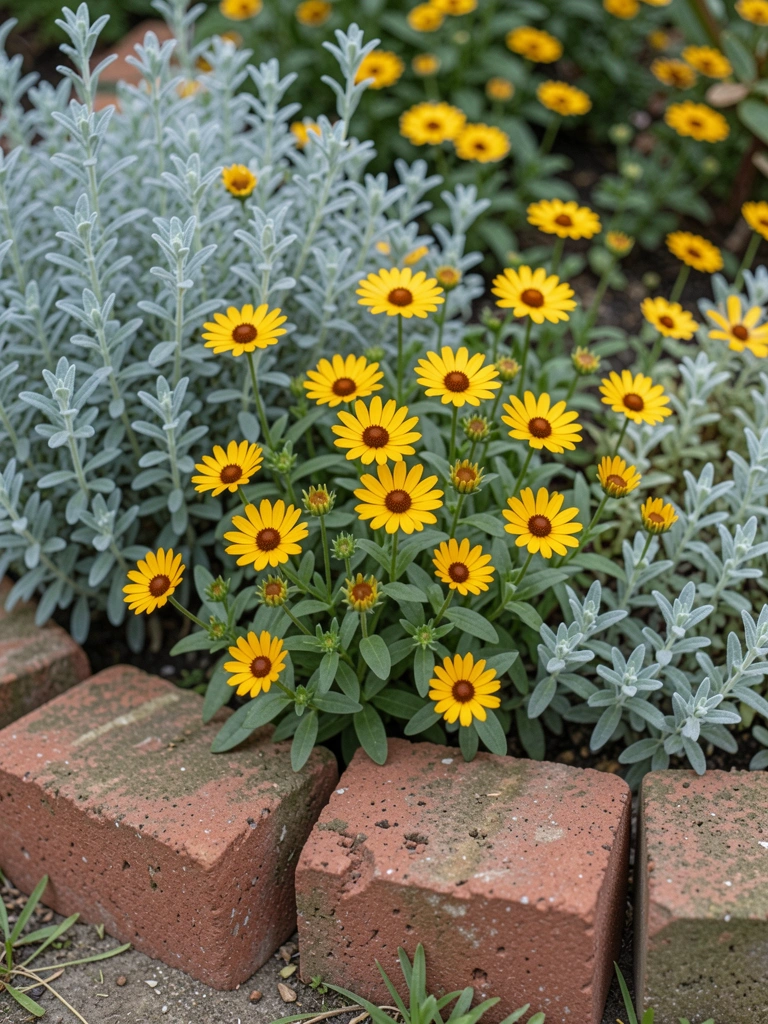
Bricks from an old path edge my bed—coreopsis yellows bright, catmint blues soft.
Holds soil, looks sturdy. Flowers lean out happily.
Catmint got leggy in shade; full sun fixed.
Simple, enduring charm.
What You’ll Need for This Look
- Coreopsis tickseed plants
- Catmint Nepeta (1-gallon)
- Recycled brick pavers (pack of 20)
- Hand trowel stainless steel
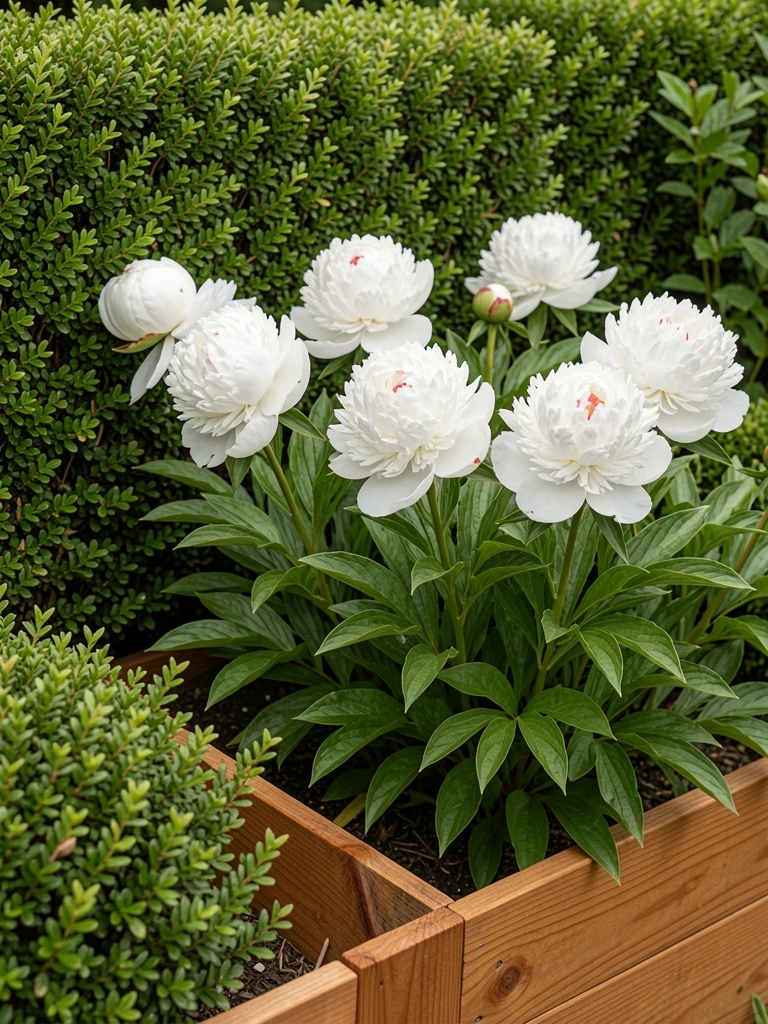
10. Raised Strip with Strawberries and Violas
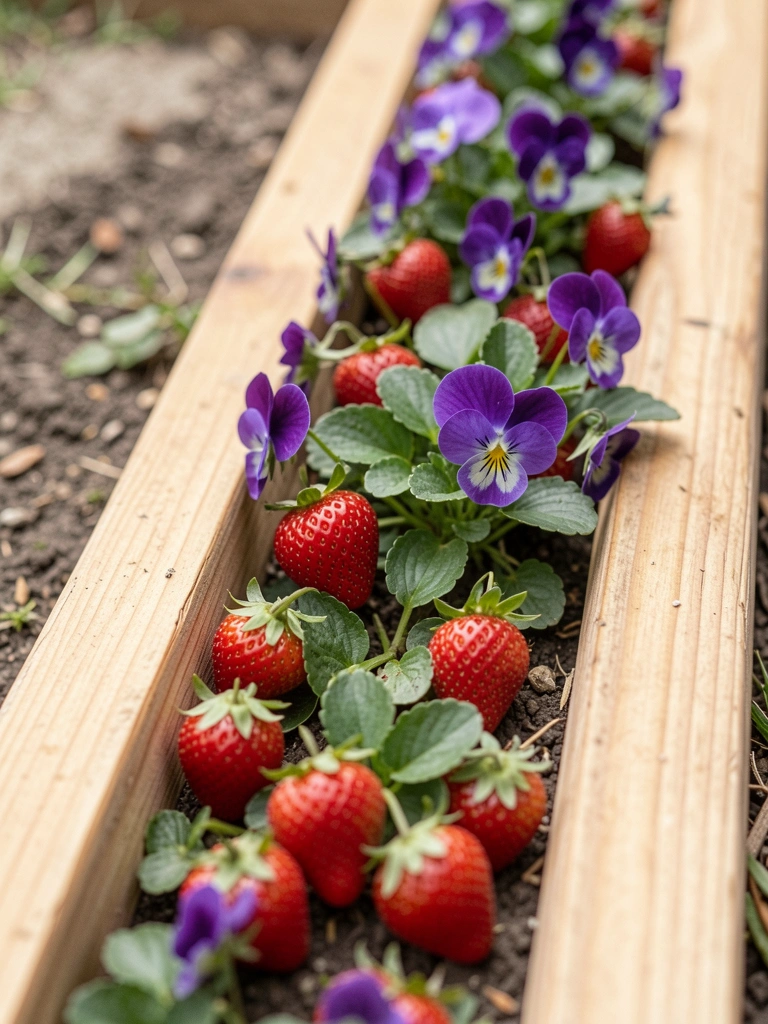
Cedar raised my front bed six inches—strawberries fruit low, violas flower above.
Easy reach, no bending. Berries taste better fresh-picked.
Strawberries ran wild first; edges contain them.
Practical joy at the door.
What You’ll Need for This Look
- Everbearing strawberry plants (6-pack)
- Viola pansy mix flats
- Cedar raised bed kit (4 ft x 1 ft)
- Potting soil mix (1.5 cu ft)
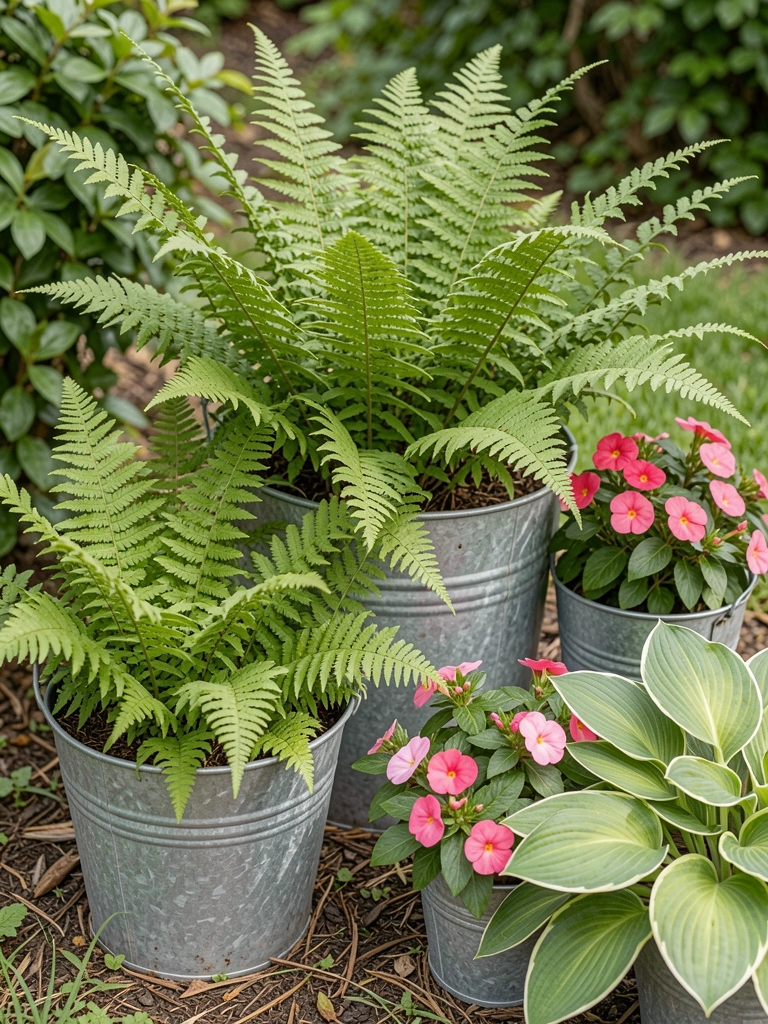
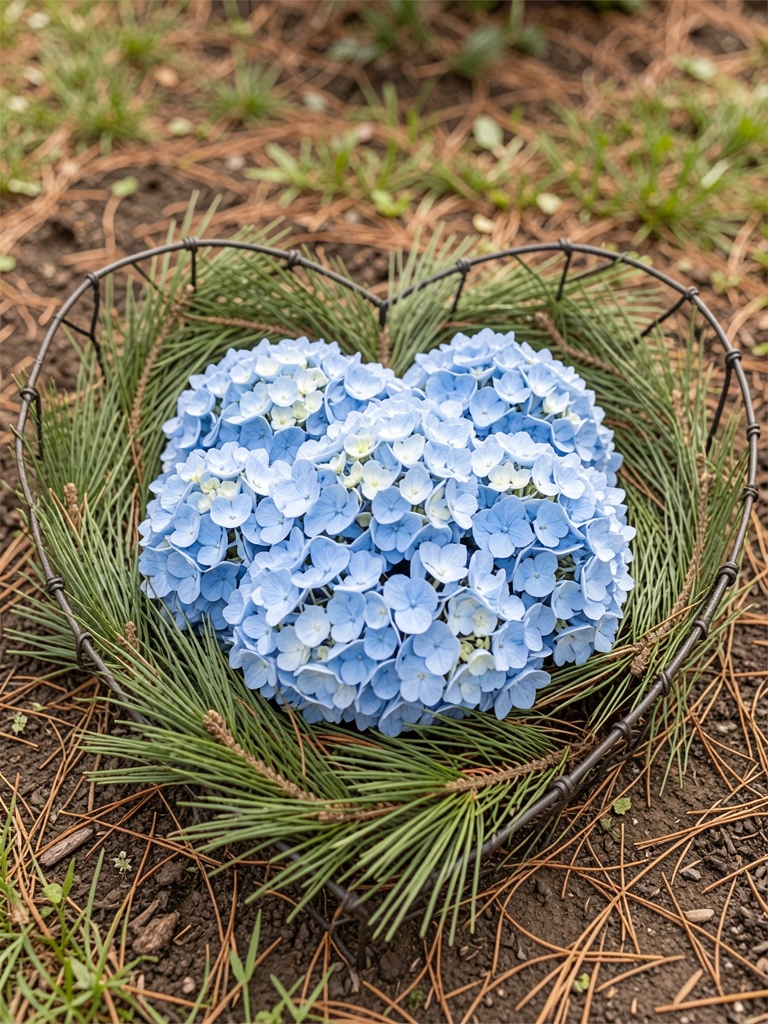
11. Shady Fern Grotto with Bleeding Heart
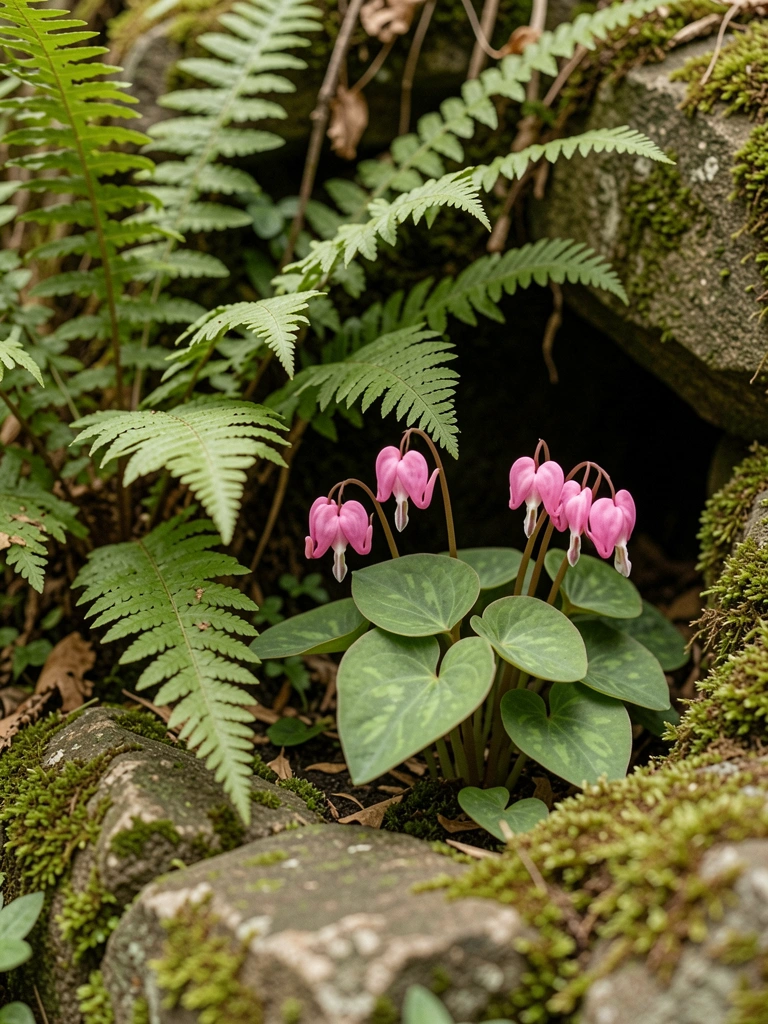
Ferns carpet my shady bed, bleeding hearts dangle pink springs. Mossy stones tuck in.
Feels secret, cool on hot walks up.
Hearts wilted dry once; shade and mulch help.
Lived-in peace.
What You’ll Need for This Look
- Lady fern plants (1-quart)
- Bleeding heart Dicentra (1-gallon)
- Mossy garden stones (10 lb)
- Leaf mulch shredded (40 lb)
Final Thoughts
Start with one idea that fits your light and space. These beds grew on me over time—no rush.
You'll tweak as you go, like I did. Your entry will feel right.
You've got this. Dig in.